This was written March 07, 2024 as part of the 2024 Learning to Draw People Challenge
Credits: 1
Introduction
Hello everyone, I hope you’re all doing well! Today was a shorter session than usual, clocking at 39mins. What’s more, it was a distracted session, where I also tried to eat some food while drawing (this didn’t work out, so I opted to stop, focus on my drawing, and handle the food afterwards). Regardless, I tried something new and learned a few things.
Before getting into it, I started drawing around 5:30pm and evaluated my tiredness at 7/10 (I actually considered taking a nap instead of drawing). I’ve been particularly tired this week, in part from trying to keep up with both the blog and class while also having a social life. But I think it’s gradually getting better, so we’ll see. For what it’s worth, my tiredness partially dissipated as I progressed through the drawing. On that note, let’s get started.
Exercises
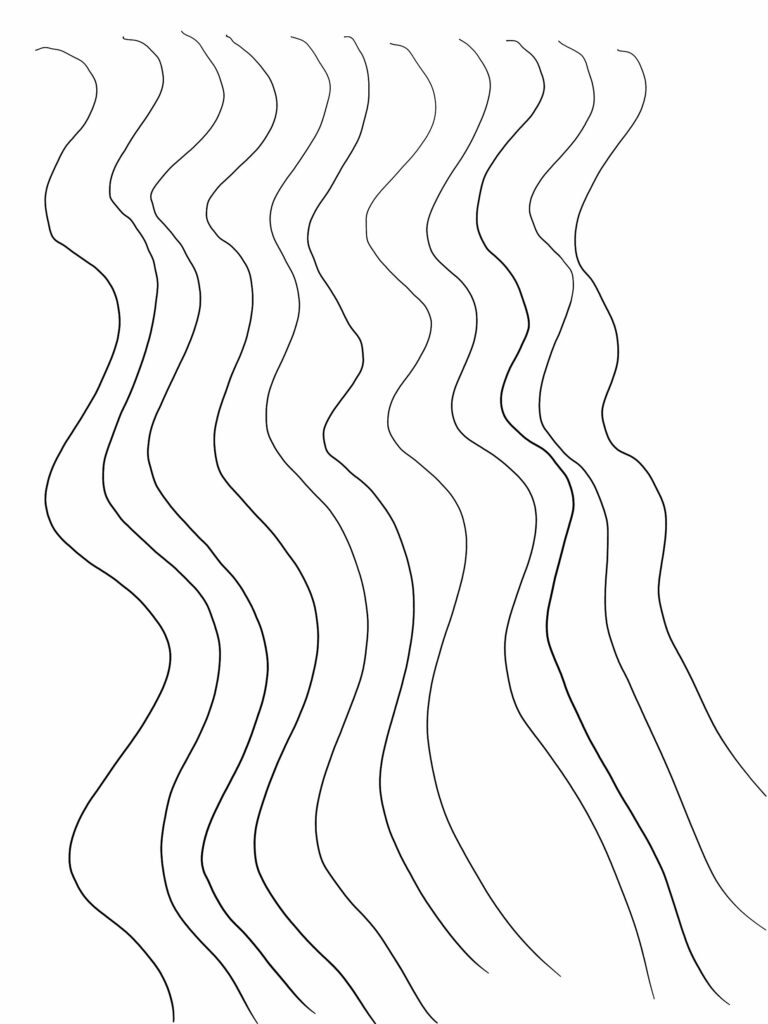
I think the line exercise was ok. There was still some slanting, but not as bad as it sometimes get. I did however have some wavering lines.

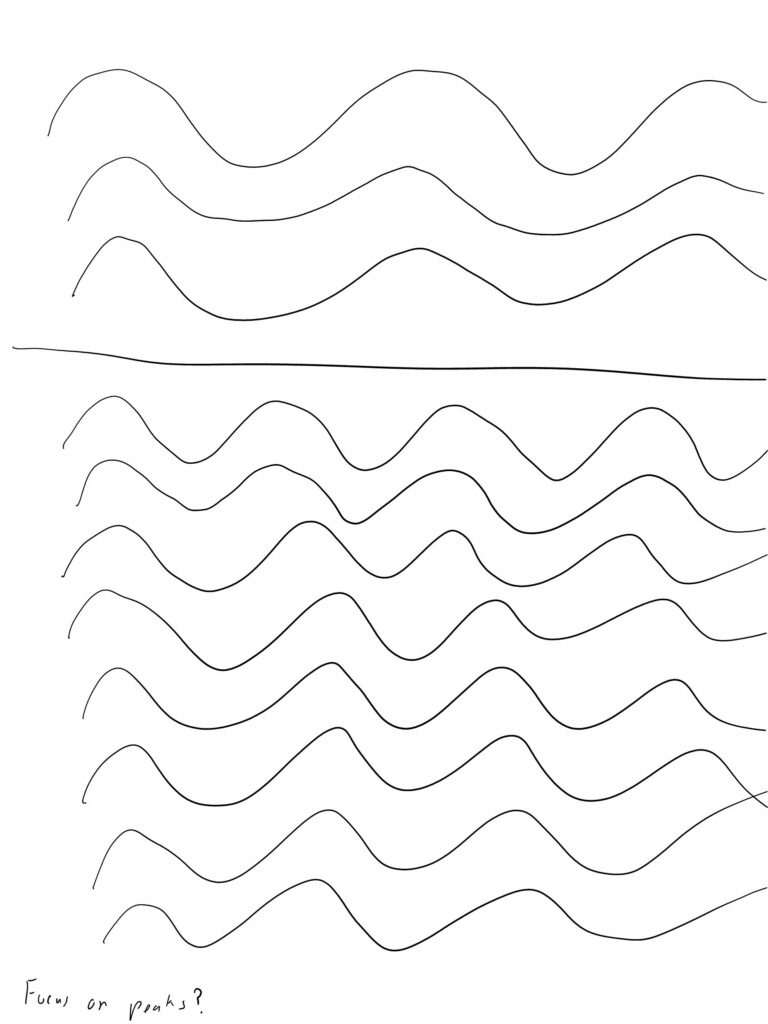
The wavy lines exercises wasn’t too bad. Honestly, the vertical ones lasted a few iteration before degenerating too much. Meanwhile, I failed right away with the horizontal ones, and opted for a “refresh”. Following this, I think I need to focus on the peaks and troughs. If I can focus on aligning those, instead of focusing on the distance, I might be able to maintain sinusoidal waves, as opposed to cycloids.
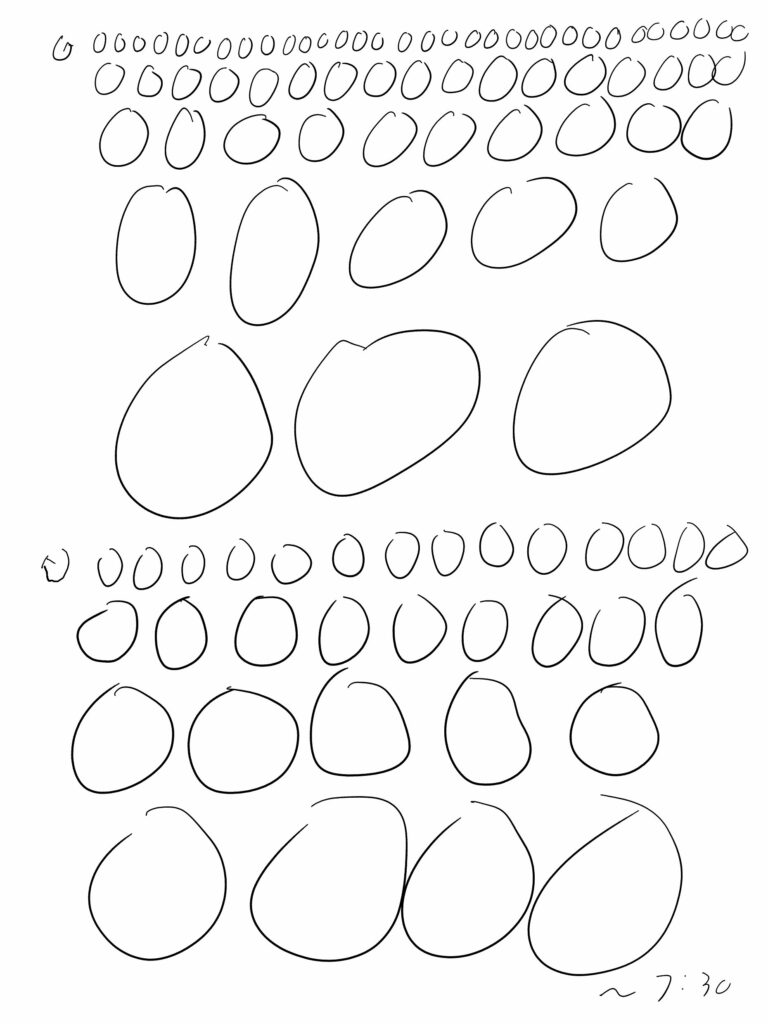
Finally, the circles exercise. It’s…not great. Line confidence is iffy, and a lot of those circles are not that round. I might want to look for a few tutorials on how to draw circles. Regardless, it’s still a good warmup.
Drawing
Today, I decided to try something completely new, and was a little out of my depths. All the same, I rose to the challenge and learned along the way.
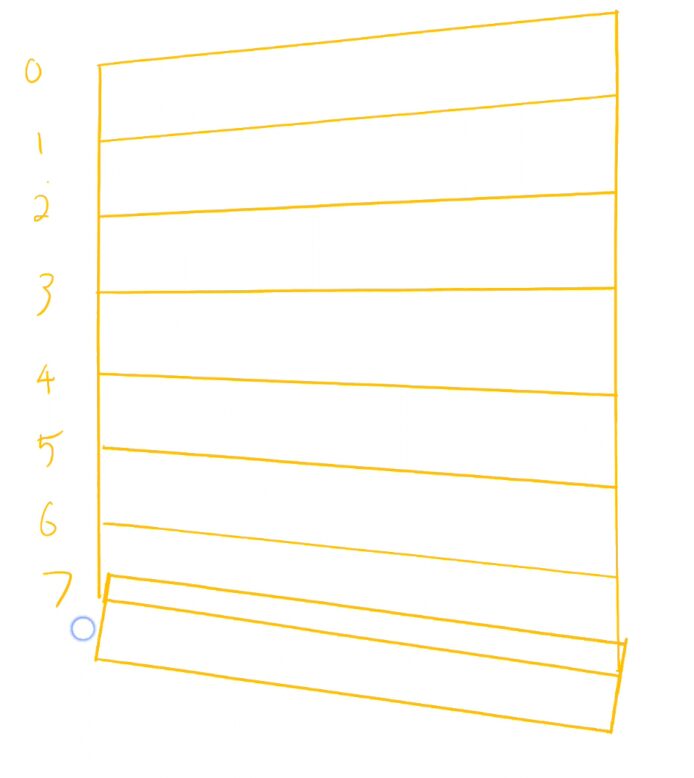
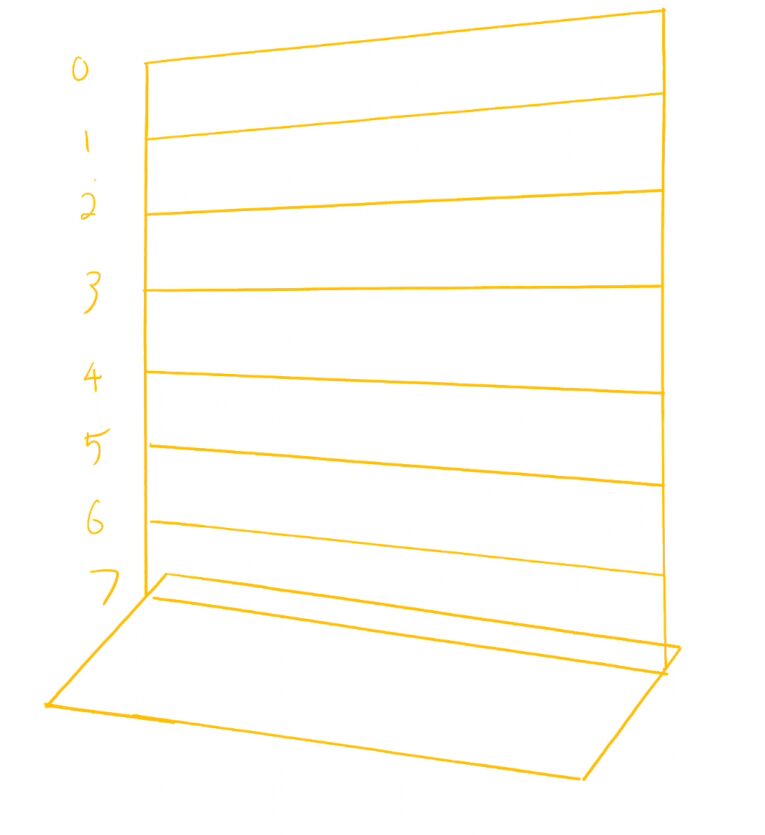
This time, I went for an angled profile. The first phase was to set up a grid. In this case, we create the plane along which the character will stand, along with measurements. This looked like it was a one-point projection, so I figured I’d give it a go. Unfortunately, I had no experience with one-point projections, so it was no piece of cake. Especially since I opted against looking up tutorials at the time. For my point, I placed a pencil further down the table and planned to align my ruler with its tip. Accordingly, I looked along the ruler as if it were a sight, and when things were aligned, drew the new line. However, one of the issues was gauging the distance of successive lines. I think I’ll have to look up tutorials on one-point projection in the future. Regardless, here’s the grid I ended up with. Not too bad for a self-guided first attempt I’d say.

Next up, it was time to add a base: a separate plane to represent the ground. For some reasons, I initially thought I was supposed to have a perpendicular angle between its sides and the bottom line of the grid. I have no idea where this notion came from. Since the other sides should be parallel to it, this would mean the “perimeter” would have right angles, which shouldn’t be the case. You can see this failed attempt below.
After some fiddling, I got something that seemed reasonable. What worked for me was to add two lines parallel to the bottom line of the grid (since it should be aligned with the ground). Then, I simply connect both of these at an appropriate angle to represent how the grid is “perpendicular” with this plane. My example is not perfect, but it’s workable for now.
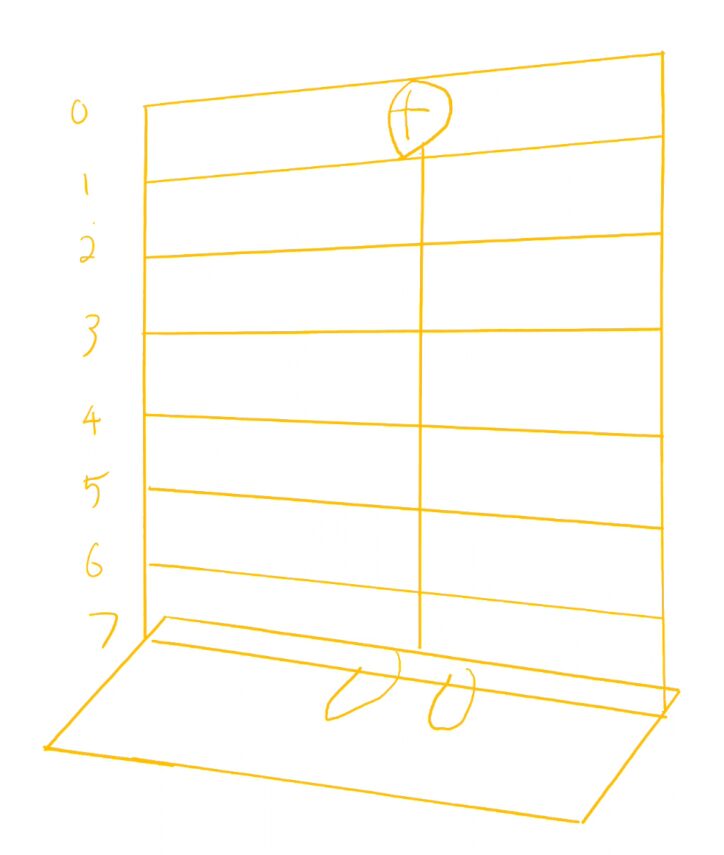
Afterwards, I drew a vertical spine. For the head, I was expected to draw a box to represent how to align it against the grid, but found it too difficult. So I opted (for now) to draw the two lines to represent the orientation of the face, and then draw the contour accordingly. I also added two feet, although I now realize I forgot to add a line to represent the midpoint between the feet, such that in the 3d space it’s perpendicular to the grid (“wall”). This would definitely have helped me align the feet correctly.
Then, the interesting bits, the body’s wire-frame. My first attempt wasn’t too great. I tried to start with the nodes, roughly based on their positions on the reference model.
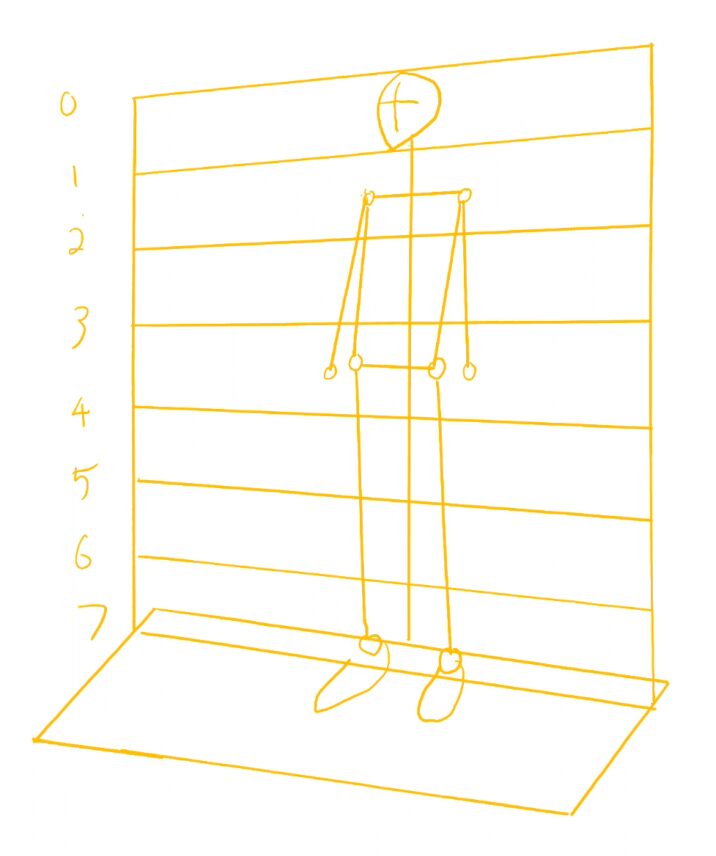
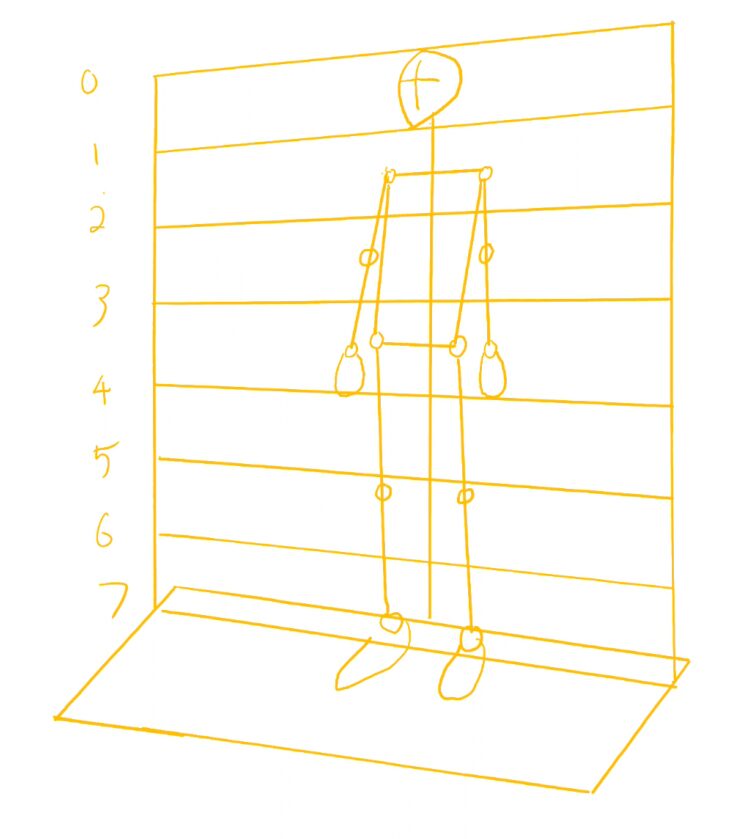
I was displeased with the 3d positioning of the elements: the legs had the wrong angles (in relation to the torso and in relation to one-another), and the torso was too slanted. Here it is, annotated.
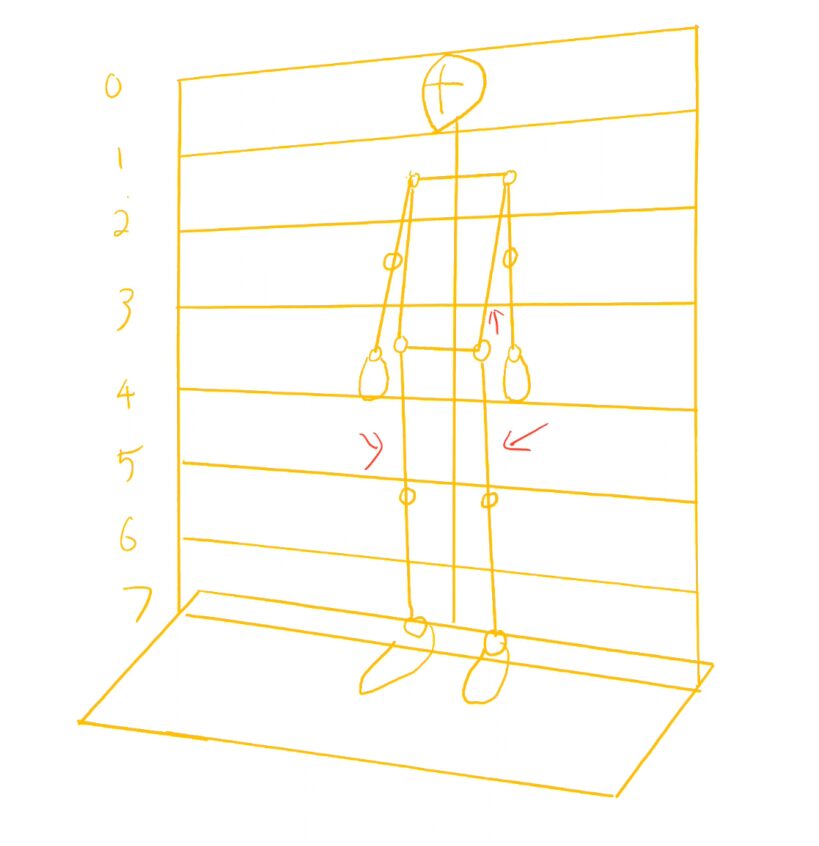
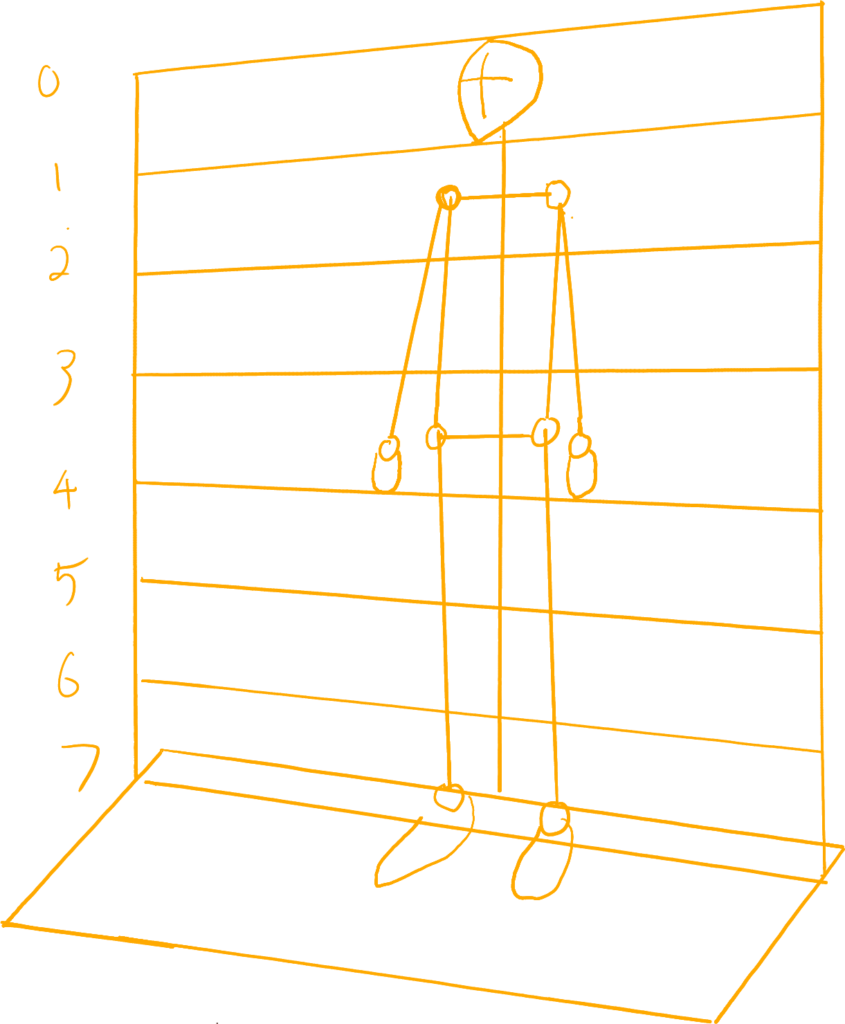
Back to the drawing board. Then, I had an epiphany: I was doing things backwards. I shouldn’t try to place the nodes first, and then create the segments from them. Indeed, the nodes are just specific positions on these segments, sometimes intersections between them. Instead, I should draw the segments first, and then add the nodes. This way, I would also able to align them as needed, while considering the 3d-space.
Thus, I started with the legs, drawing one starting from the foot at an angle I was happy with. Then I added the other leg, adjusting the angle based on the first leg. Once done, I adjusted their lengths and placed the nodes on their ends. Same thing for the torso’s vertical segments. Meanwhile, the horizontal ones simply connected existing nodes. Finally, I added the arms and the hands. However, I now realize I forgot the elbows and knees.
Conclusion
I’m fairly happy with this session, since I learned a lot, and started thinking a little more in three-dimensions. Speaking of, this whole exercise leads me to wonder whether 3d modeling might be easier than traditional drawing, since drawing still requires you to think about most of the 3d elements, before translating them on paper, while also simplifying some elements. Meanwhile, with the 3d models, you simply handle the 3d aspects directly, and can more easily handle fine adjustments/fixes.
Tangent aside, drawing took me 39 minutes overall, and writing the blog post was broken into two parts, 28 mins and about 25 mins, for a total of about 53 minutes. Reviewing took about 35 minutes, for a total of 88 minutes spent on the article. This means a total session of about 127 minutes, or just over two hours. The drawing took about 30% of that time, and reviewing was about 40% of the article preparation time.
Following this session, I was thinking it might be worth having my first sessions on new types of drawings focused on the first few steps. Since they’re more fundamental and core to the drawing, it seems like they should be practiced more. Therefore, instead of a first session where I try to go as far as possible with the drawing, maybe I would only draw core aspects, such as the wire-frame, but draw it multiple times. On top of offering more practice, it might also result in increased velocity. I’m curious about your thoughts on this, feel free to share in the comments.
With this, I hope you all have a wonderful weekend! See you next week.
This post is followed by Learning to Draw People Challenge – Day 18 (2024/03/08) – Akira Toriyama Tribute