This was written March 12, 2024 as part of the 2024 Learning to Draw People Challenge
Credits: 1
Introduction
Welcome everyone, hope you’re doing well. So far, this has been a busy and sleepless week for me, so I decided to try something to alleviate this. I opted to use a timer of 30 minutes for this session, and stopped when it rang. Moreover, I tried to limit how much I redrew individual parts and strokes, and instead carry on.
I once again started at midnight (technically on the next day). I also evaluated my tiredness level to be at 8/10.
Let’s see how this went.
Exercises
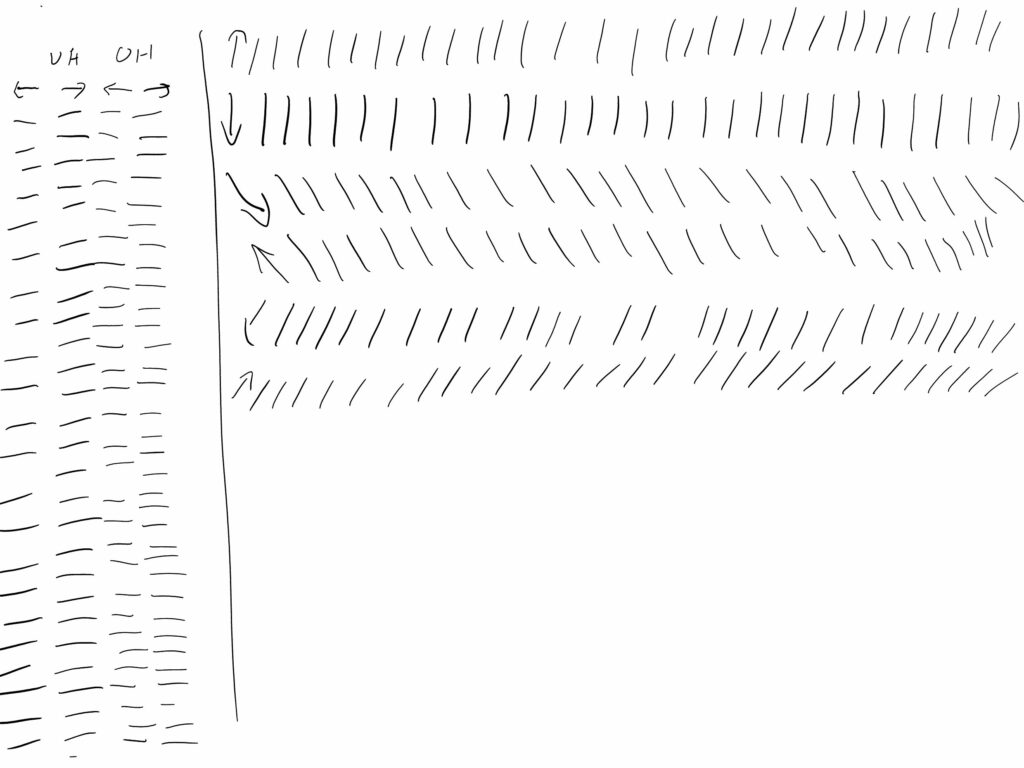
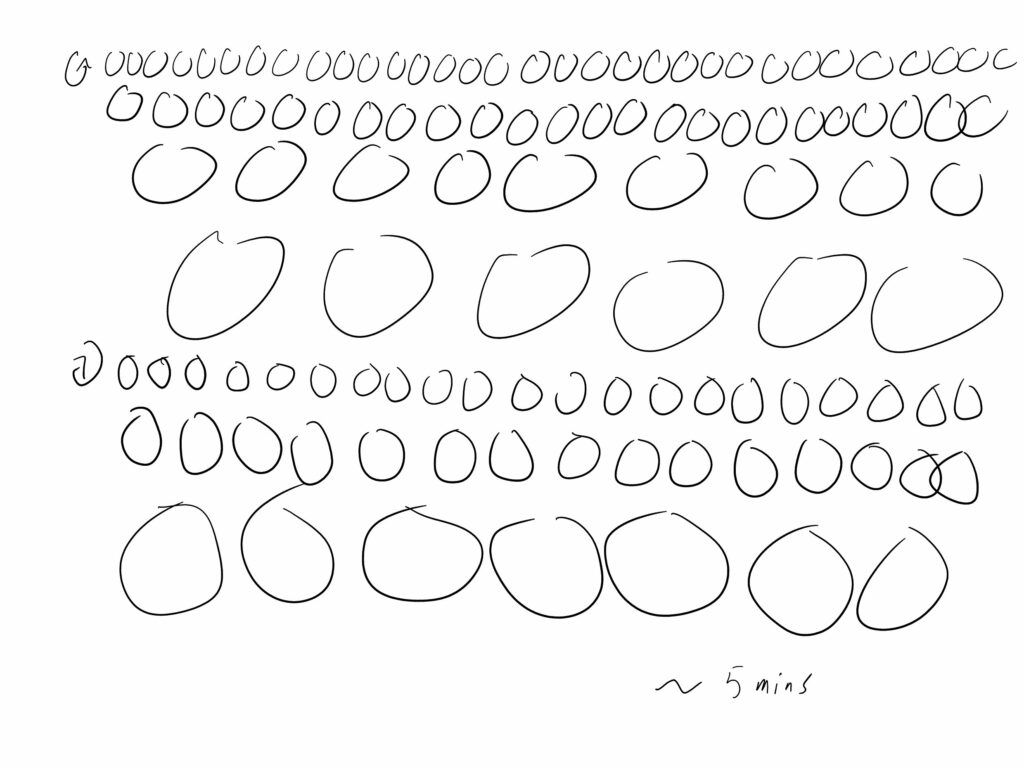
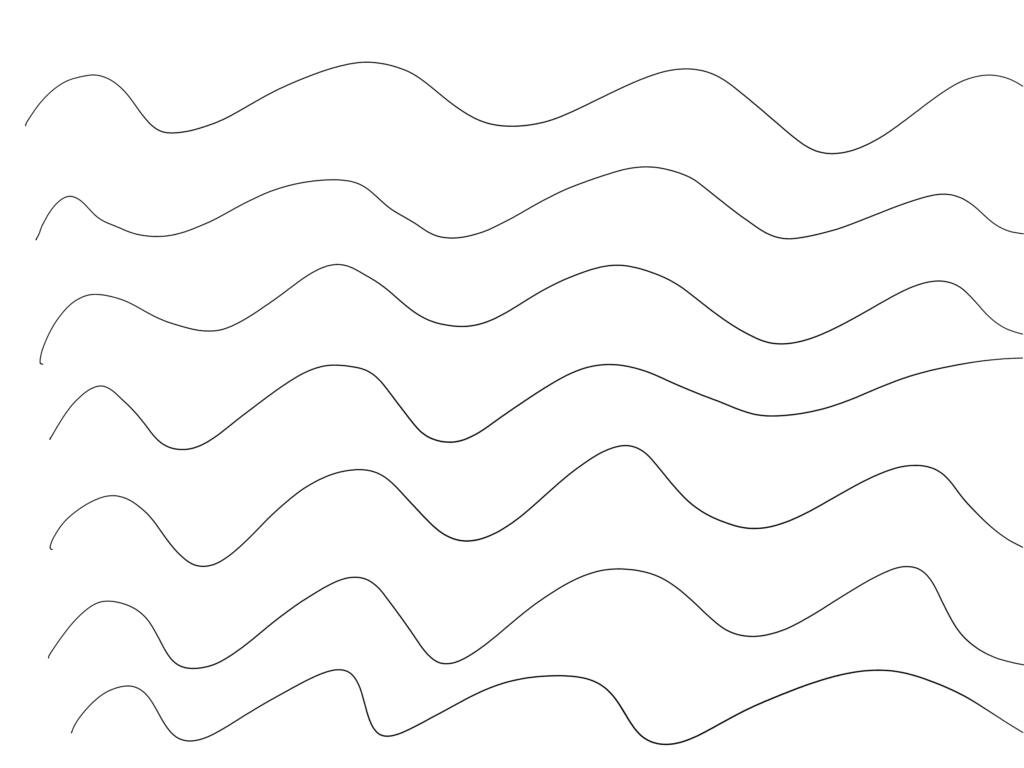
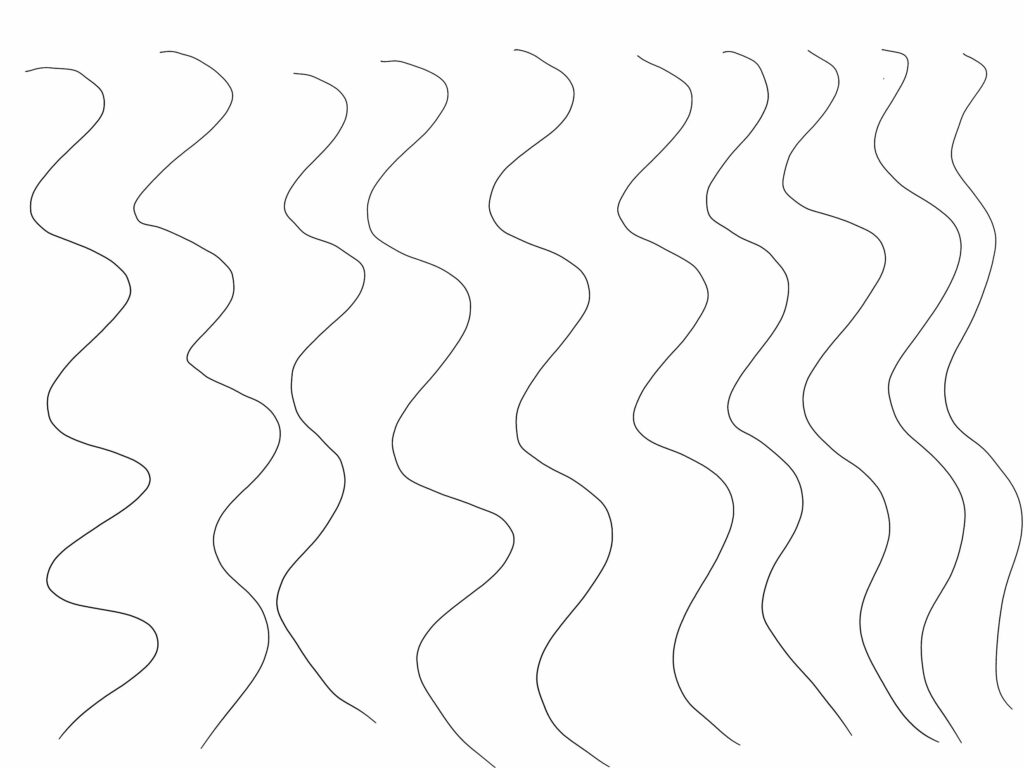
For some reason, I started my session with a landscape canvas, which changed dimensions and affected spacing. However, it’s nothing dramatic. Beyond that, wavy lines seemed to be going better today. Especially with the vertical ones, a few of the later ones looked reasonable.
Drawing
Following yesterday’s session, I opted to go for the same exercise. Thus, today’s article should be briefer than usual. Let’s dive into it.
I started with the guidelines, beginning with the top half of the head. I actually progressed all the way to the neck’s cross-section, but noticed the head was too wide (likely a subconscious consequence of using a landscape canvas), and thus opted to start from scratch. (About 3m30s into the drawing).
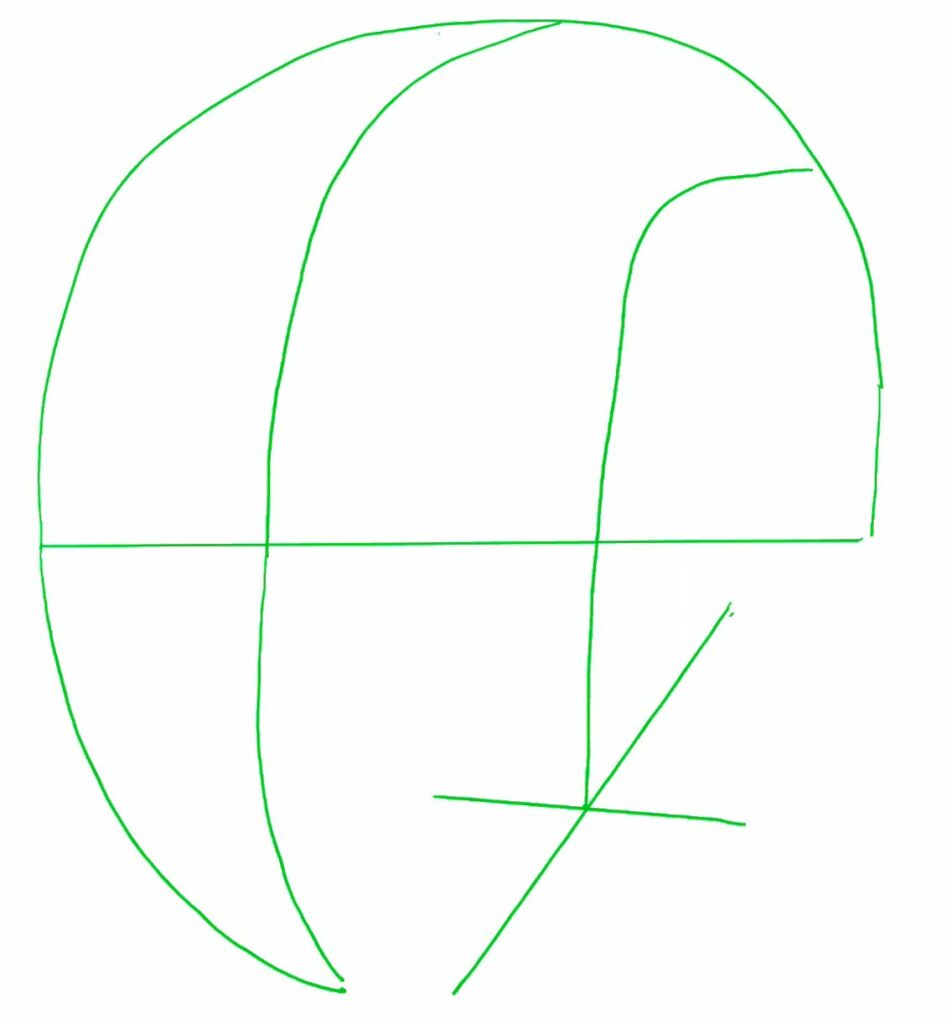
On my second attempt, I roughly used the same approach as the day before. However, this time I did make one of the cross-section’s axes more horizontal (Although not fully horizontal, since it isn’t in the book). In retrospect, I think there are issues with the neck’s cross-section, in particular its location. I think the angle is definitely better than yesterday’s, but it could be improved by “flattening” it a little by turning the longer axis clockwise. It should also be lowered a bit. All the same, I think the neck itself makes sense here, my concerned being focused on the cross-section itself.
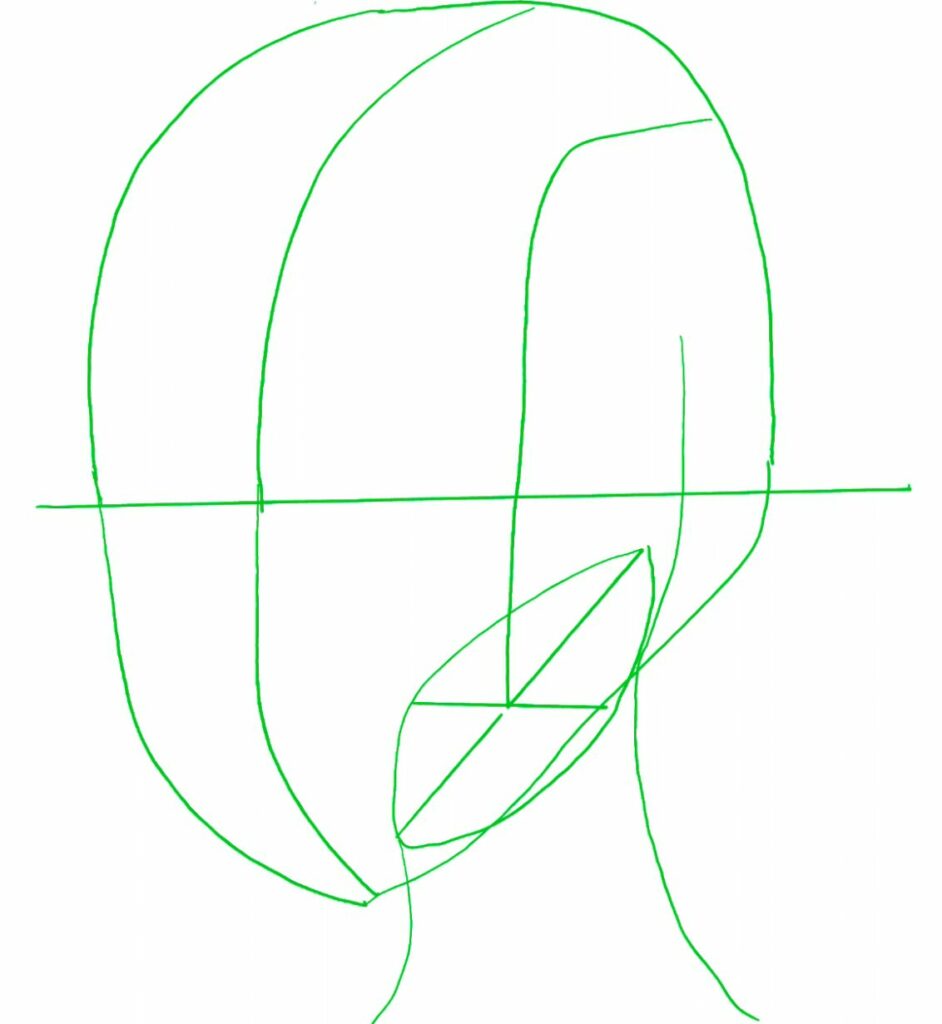
Next, I added some depth to the face’s “mid-line”. It took a few tries, but I eventually realized that it was easier when starting from the bottom. However, there is one issue: I didn’t line up the “middle” of the eye-socket with the existing horizontal line. I then a added nose, mouth and chin, though I redrew them after realizing the mouth was supposed to line up with the center of the neck’s cross-section. In retrospect, this was a mistake, since the latter was higher than it’s supposed to be. Here are both attempts, in which I also drew the head’s contour:
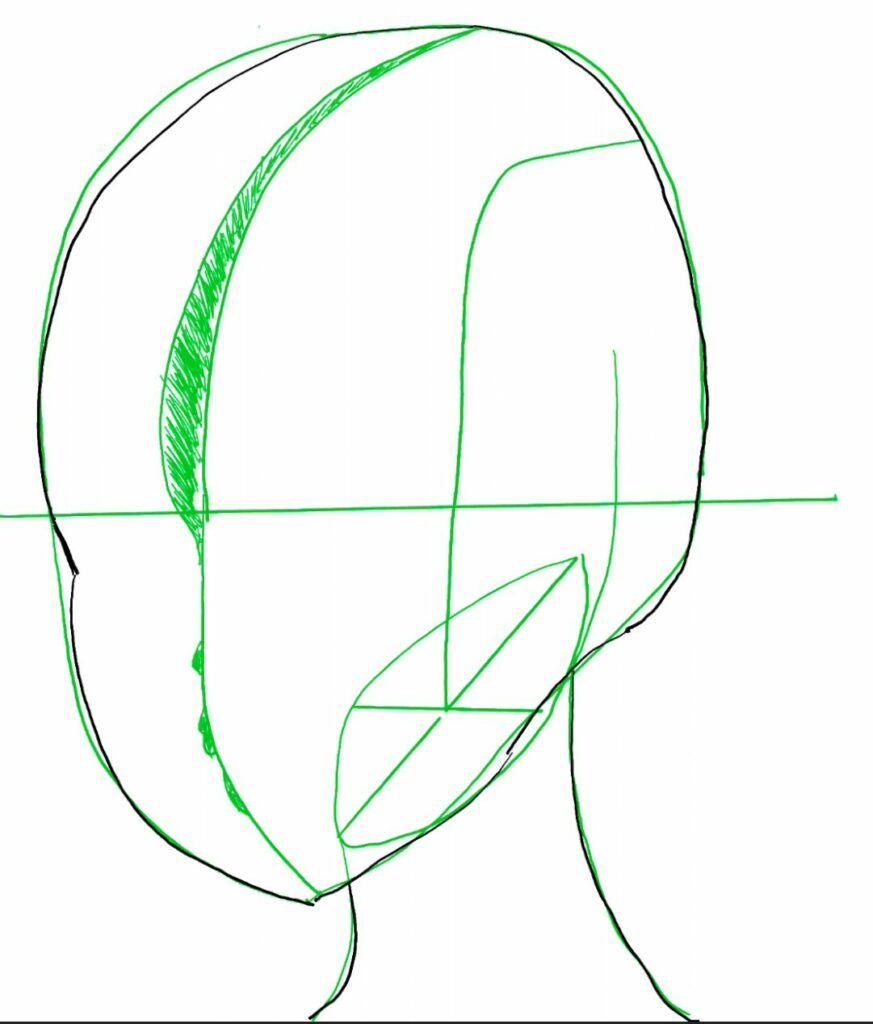
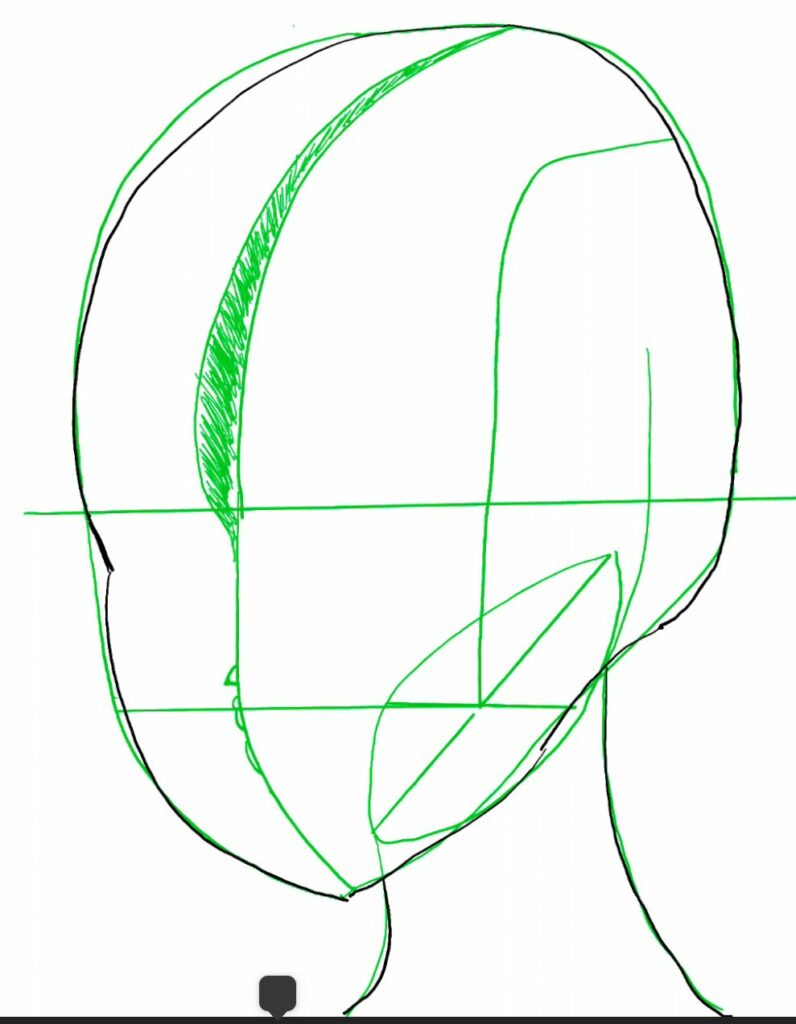
Speaking of the head’s contour, I was a little too worried about the edge being too close to the “central line”, resulting in a puffy cheek. Ultimately, the correct result should be somewhere between yesterday and today’s attempt, although probably closer to today’s.
Next up, the eyes. I added new guidelines based on the position of the eye sockets. As noted earlier though, this wasn’t properly aligned with the existing horizontal line, which means that the outer part of the eye socket isn’t properly aligned (the “dip” on the head’s contour). Regardless, it’s nothing dramatic. I followed this up with eye outlines, eyebrows, nose and smile.
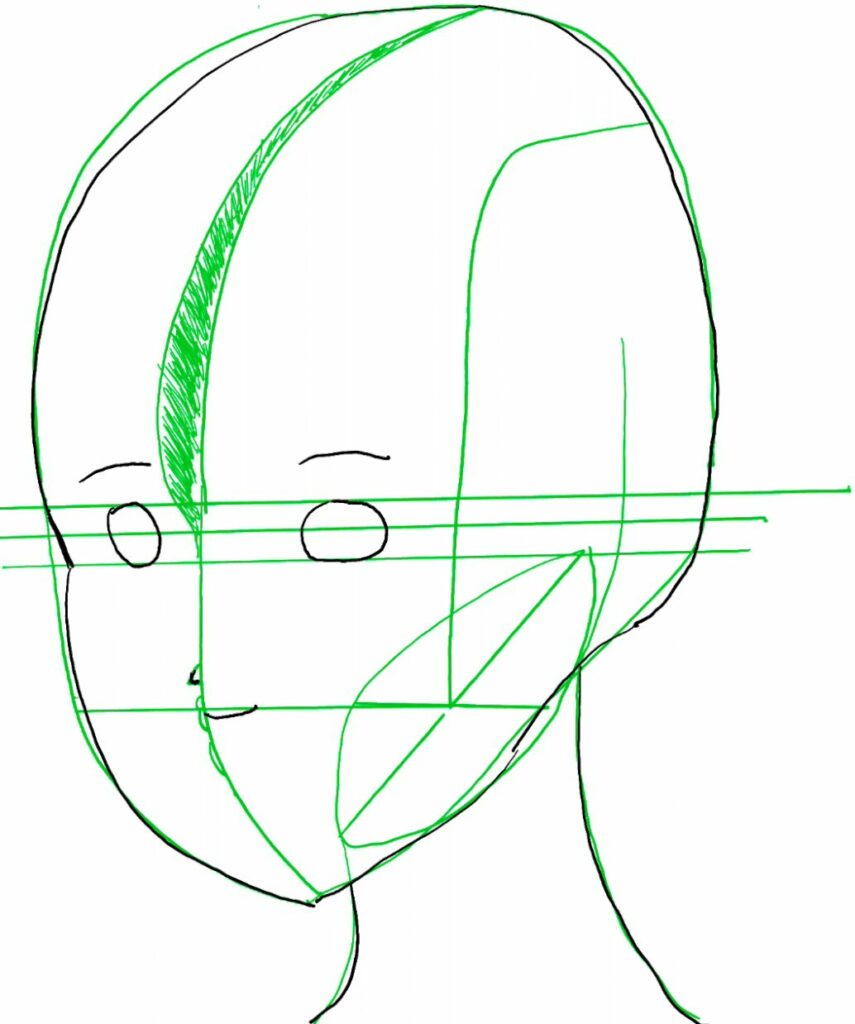
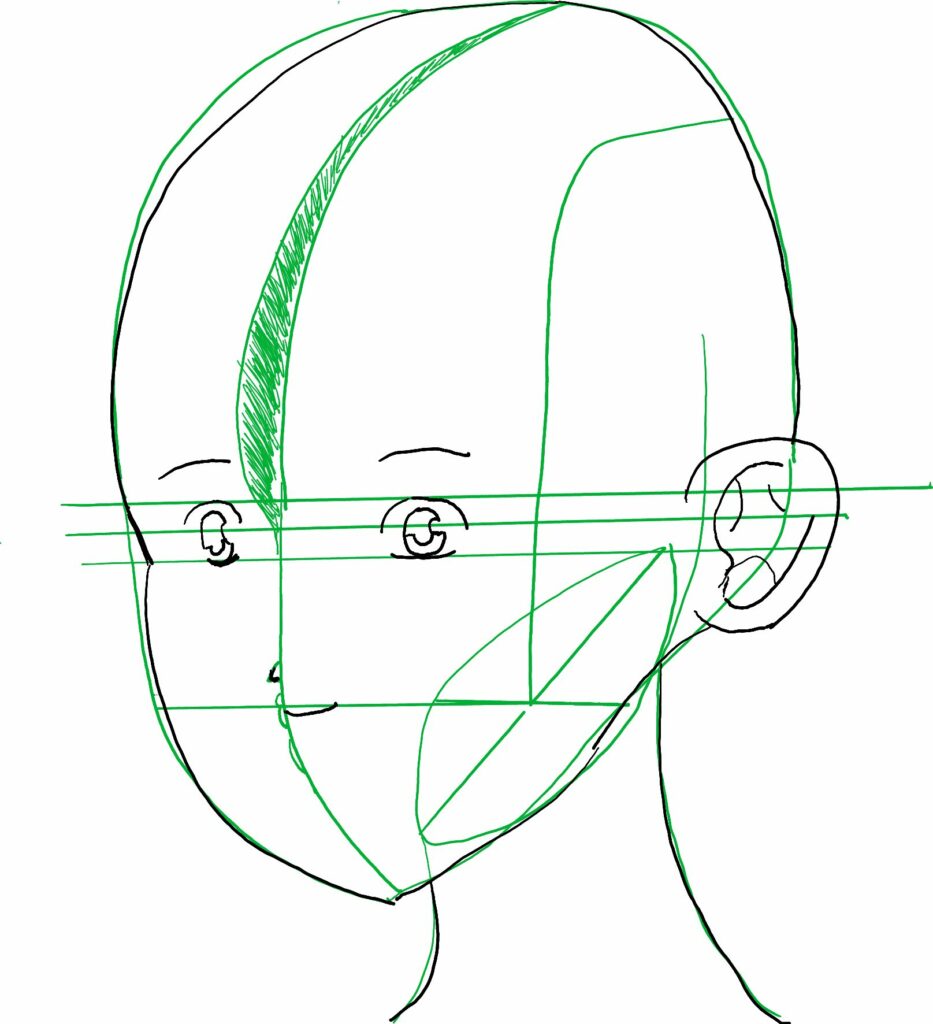
If you’ve been following my previous posts, you likely already guessed the next step: adding initial details to the eyes (the “iris/pupil”) and a rough ear.

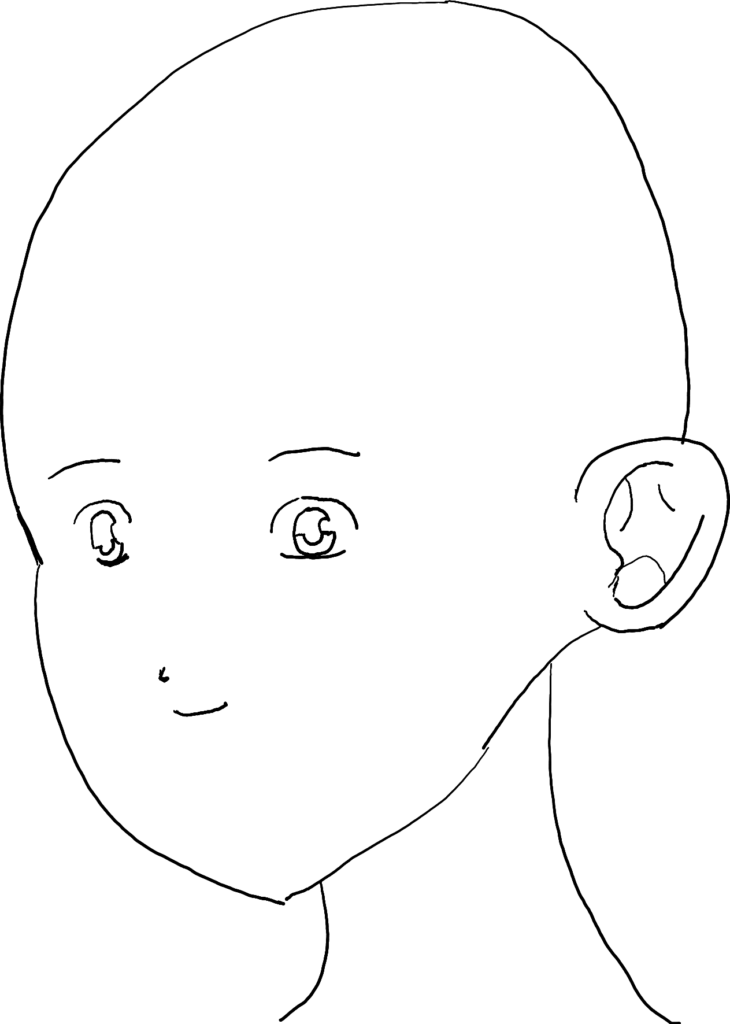
Finally, I refined the eyes, at which point the timer rang, calling the session to an end. Here’s the final result:
Conclusion
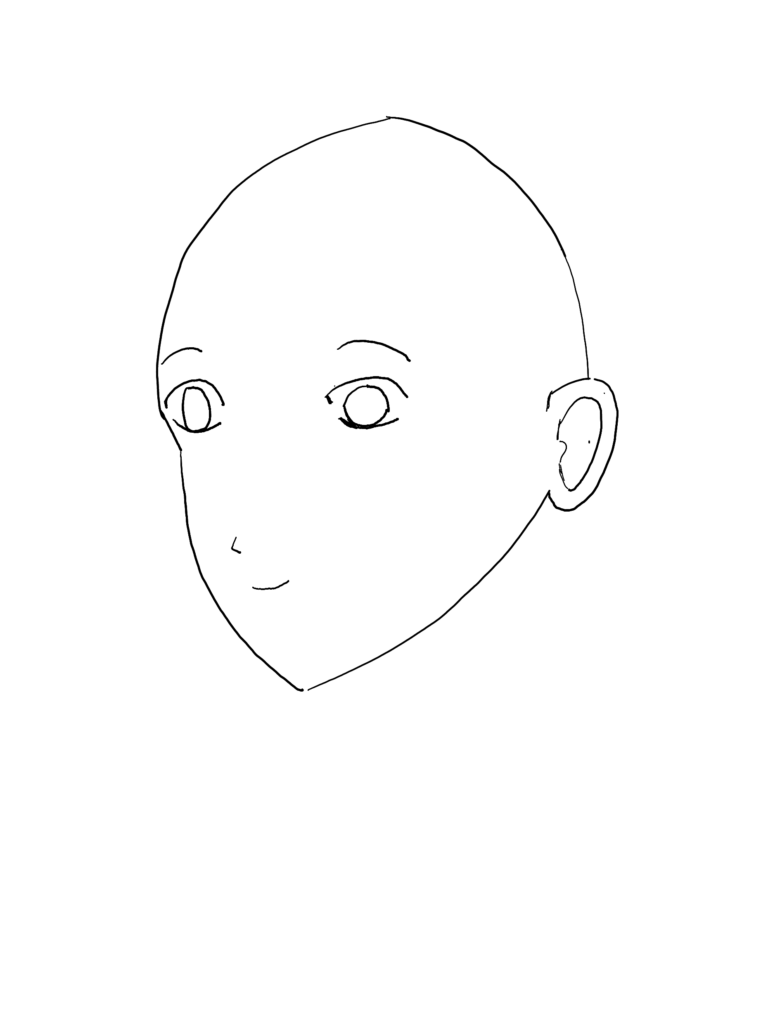
While I do see multiple issues with this drawing, and have ideas on how to improve it, I think it’s still miles ahead of yesterday’s. Which is great, especially when considering I only spent around 25mins on the drawing. Here’s yesterday’s drawing for reference:
I also have highlighted a few things I will want to focus on next time. Additionally, an area I will also need to practice is the general shape of the head. For some reasons, I’m really struggling with both the cranium and the jaw. Although it should be noted that, if I were to continue with the next steps, I would likely get into some refinements. Moreover, drawing hair would make the cranium obsolete. Yet, there are some elements which could not really be fixed without a major overhaul. And some of these faults could skew other future elements.
Now, for the statistics. Since I used a timer, drawing took exactly 30mins. Meanwhile, writing the article took about 35mins, and reviewing about 27mins, for a total of 62mins on the article, and 92mins for the entire session. This means drawing covered roughly 33% of the session, while reviewing accounted for approximately 44% of the time spent on the article itself.
In terms of improving the time spent on writing the articles, I’ve noticed one huge bottleneck I have is uploading images, which I do throughout the writing progress. It turns into idle time that disrupts the flow of the task. I will therefore want to attempt a new workflow, where I still capture the images from my recording, but label them numerically, and just leave a reference in the article. Then, I could upload them all simultaneously at the end, without interrupting my workflow. In terms of adding them to the article itself, this could be part of the reviewing phase.
As always, thank you for joining me on this adventure. Hope you’re finding this interesting, and feel free to leave feedback. Have a lovely one!
This post is followed by Learning to Draw People Challenge – Day 21 (2024/03/13)