This was drawn March 03, but written March 04, 2024 as part of the 2024 Learning to Draw People Challenge
Credits: 1
Introduction
So, first and former, as explained in Learning to Draw People Challenge – Take Two, I am now taking my weekends off, but with the option to draw as a bonus credit if I want to, which I opted to do this Sunday (Hence the note that I have 1 Credit). The posting schedule will remain the same, Monday through Friday, so this Sunday drawing is coming out on Monday. And I can spend this bonus credit if I want/need to skip a day. However, I will still try to avoid using those whenever possible (I shouldn’t use one simply out of laziness!).
Unfortunately, while I did draw on Sunday, I did not manage to write the blog post on Sunday, instead writing it on Monday. Having forgotten a cable to transfer my drawing and video to my computer, I couldn’t fully write the post. Regardless, here’s how the session went.
Exercises
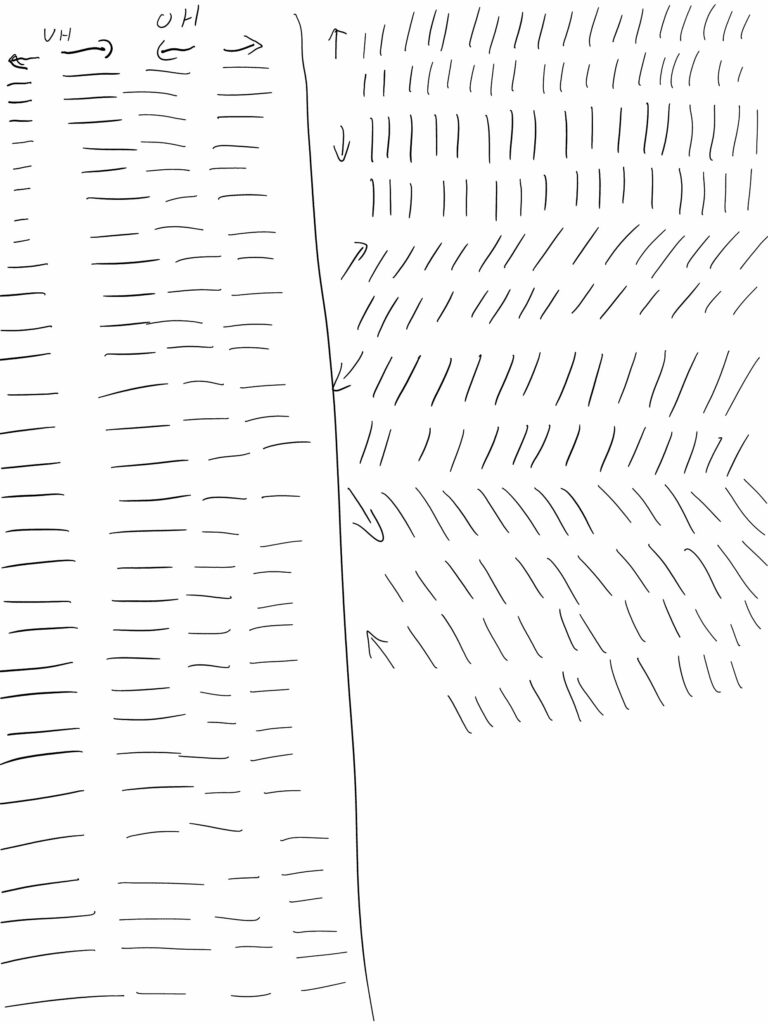
First of all, as usual, I started with the exercises. I don’t have a whole lot to say about them, but I do feel like I’ve been gaining more line confidence. It might be worth eventually seeing whether there is an appreciable difference. As for “technique”, I did start to reposition my hand between each strokes, and I think it does help with both result and hand comfort (avoiding hand cramps).
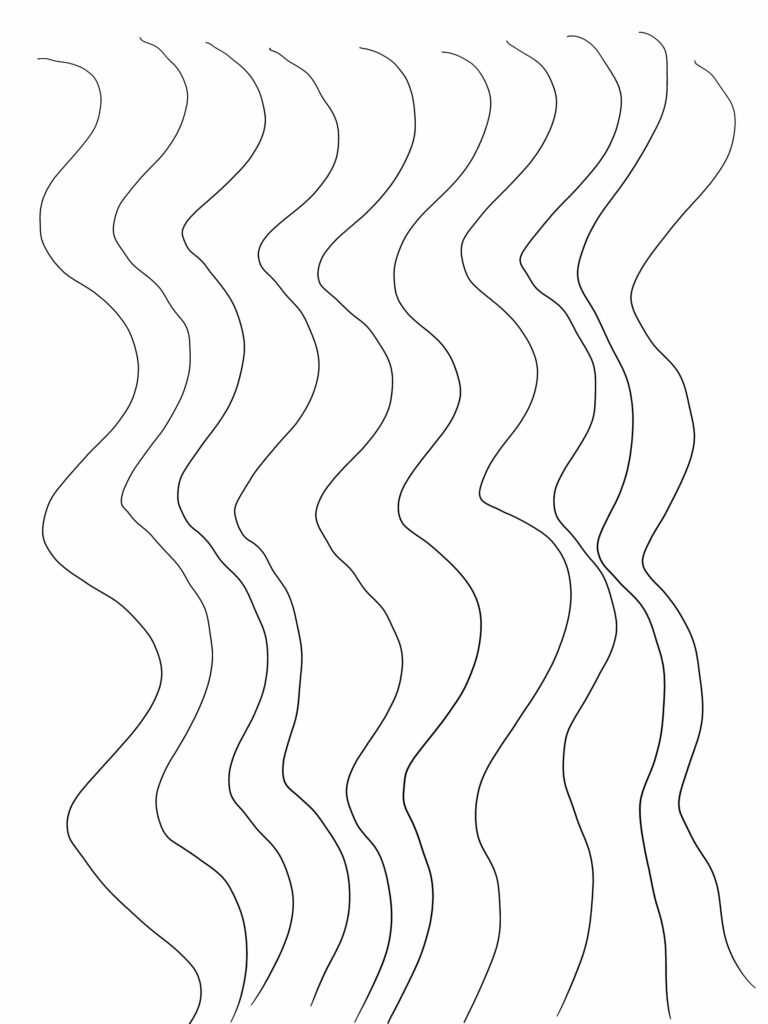
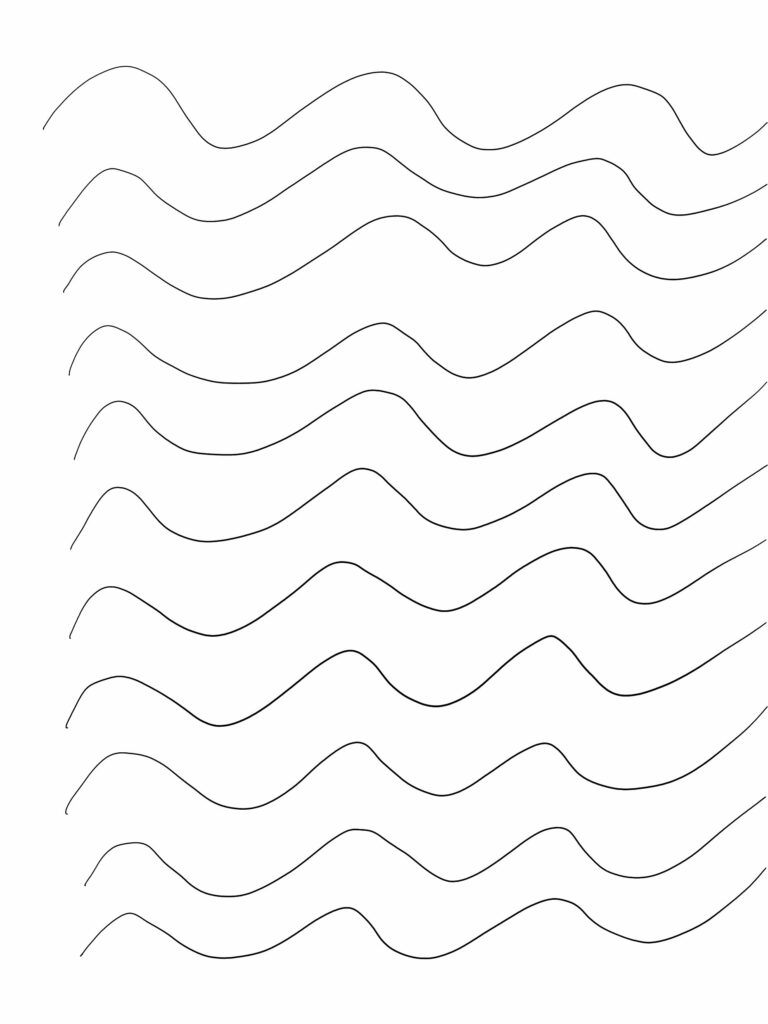
While I believe I’ve been improving with the wavy lines exercise, one major annoyance remains: the compounding effect of mistakes. They get amplified with each step, and each progressive line becomes harder to complete and more muddled. However, I think that might be a good thing in terms of practice, since it forces each line to be done more accurately in order to have a reasonable final result.
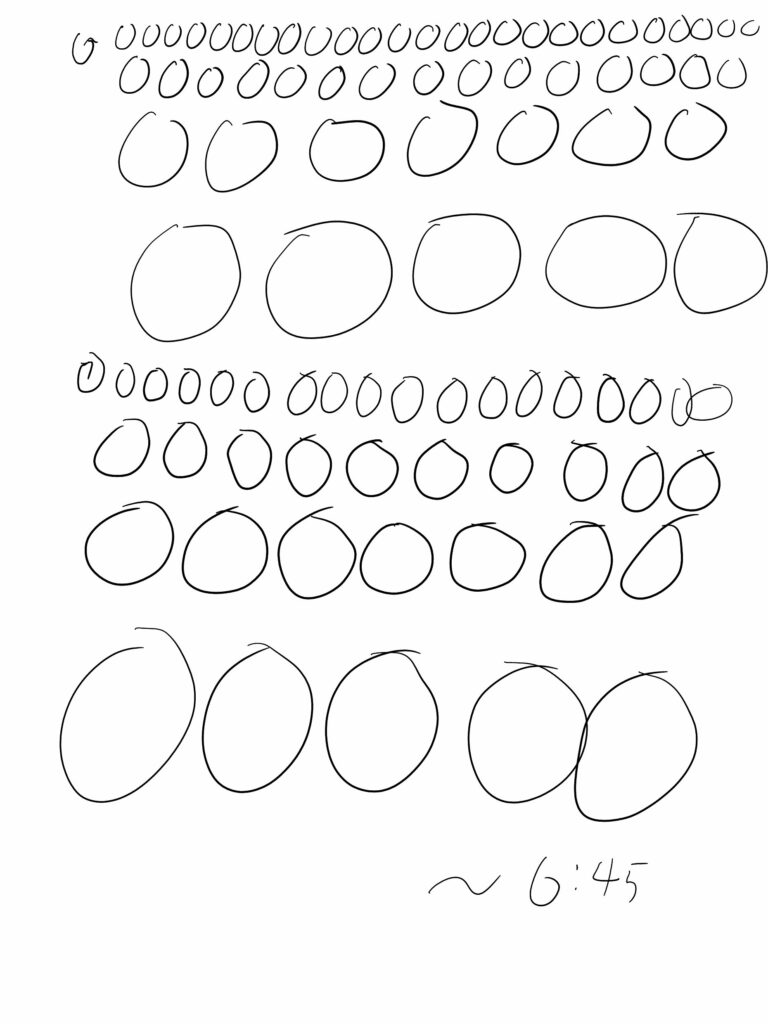
Finally, regarding the circles exercise, I feel like I’ve definitely improved when it comes to the clockwise orientation, which was basically alien to my hand at the very start. It’s by no means perfect, but it’s improving nonetheless.
Here are the results, which overall took me roughly 6m45s (They’re definitely less time consuming than they used to be):
Drawing
Let us now get to the drawing portion. While I still have a lot of room for improvement when it comes to drawing heads and faces, I opted to practice a full-body sketch to change things up a bit. Thus, I turned to the body section of my book, and started going through the steps highlighted in the first exercise.
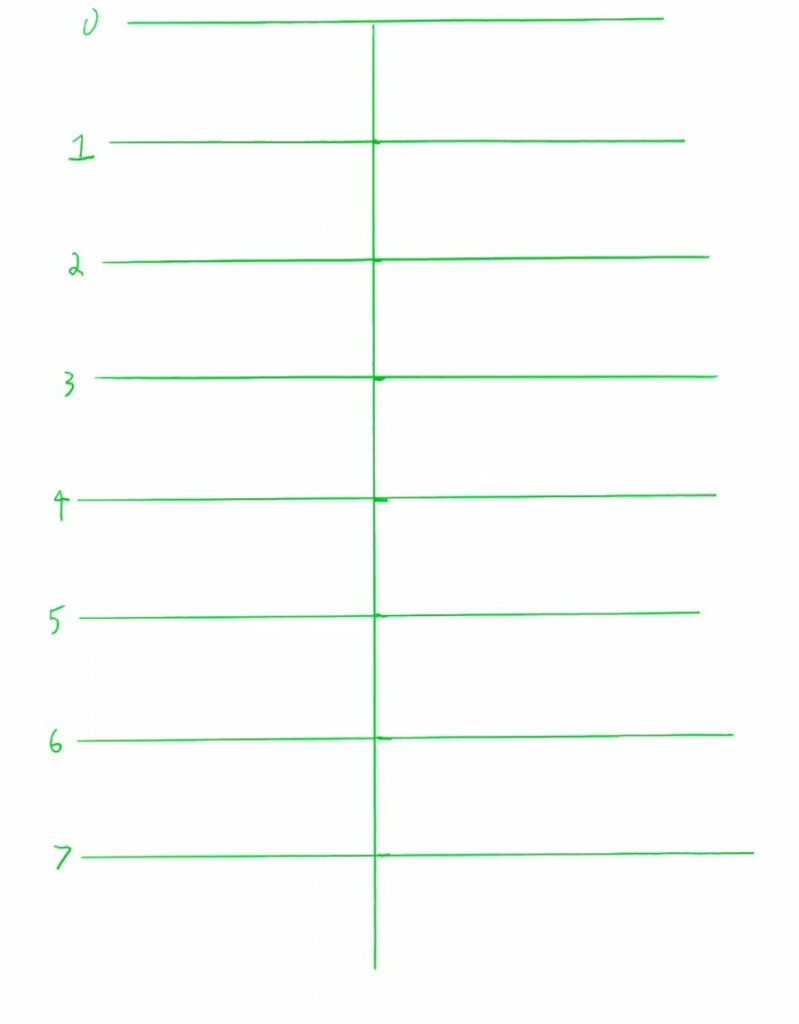
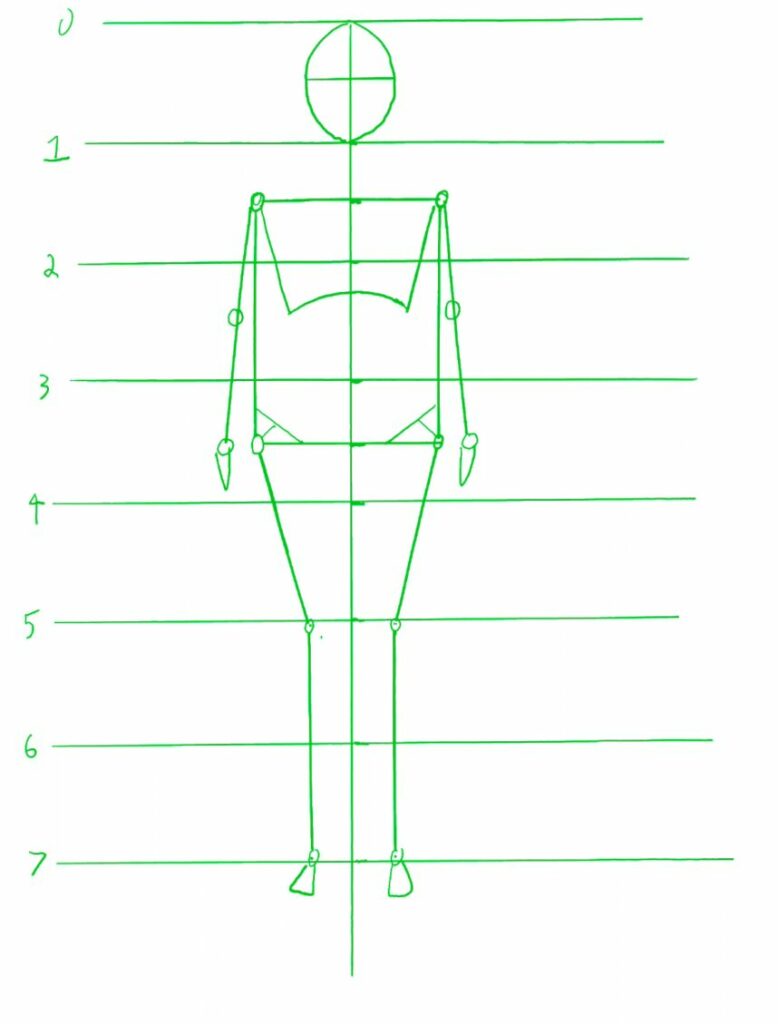
The first step was to create guidelines. 8 lines overall with equal distance between each successive one. Note that in the book, the vertical line stopped along the final horizontal line, but I figured it wasn’t necessary, since it would be discarded anyway (Which I still agree with). But I do regret not having the right implements to draw parallel lines (e.g.: two triangle protractors).
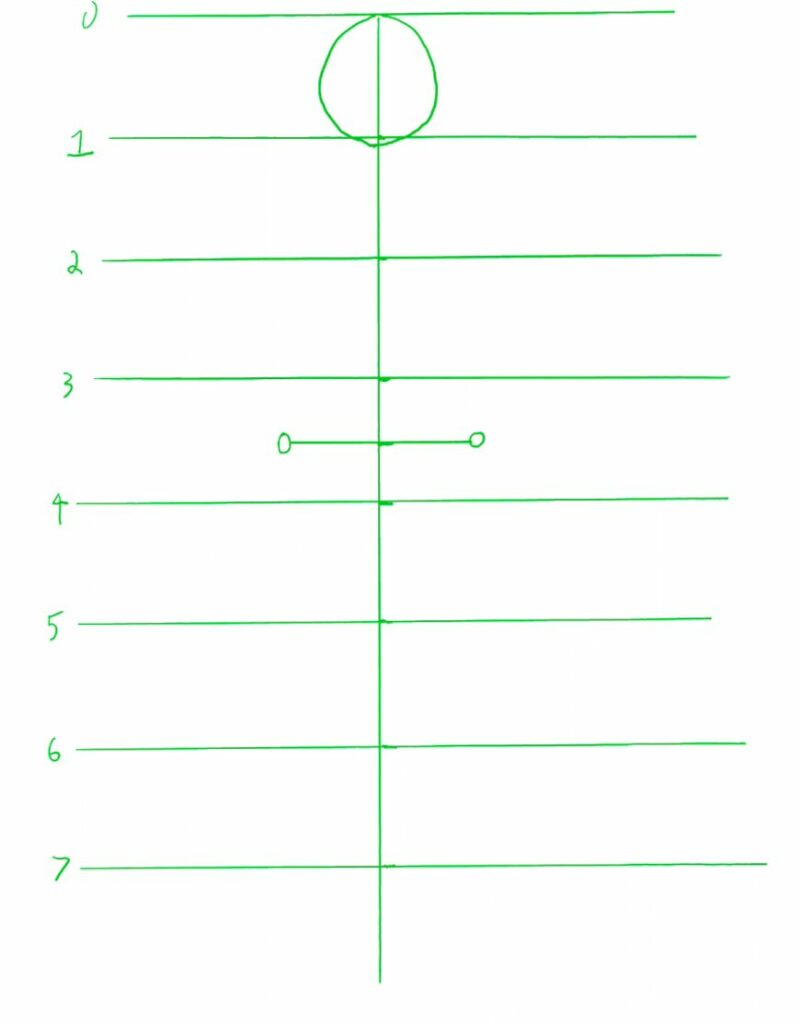
Next, I started to wire-frame the character with guidelines. Starting with an oval for the head and a horizontal line and two circles for the hips. This horizontal line goes at the very center of our reference lines, i.e.: between lines 3 and 4. I did try to eye-gauge the width of the hips, which ended up wider than on the reference model. However, I don’t consider that an issue (Although it did mean having to adapt different elements accordingly, and following the reference less faithfully). Though do keep in mind that if you’re taking measurements for each side, instead of for the entire length, any discrepancy will be doubled. so the proportions between the height and the width can change fairly quickly. (Thus, it might be preferable to attempt to get the desired length and try to adjust the center, instead of measuring from the center twice).
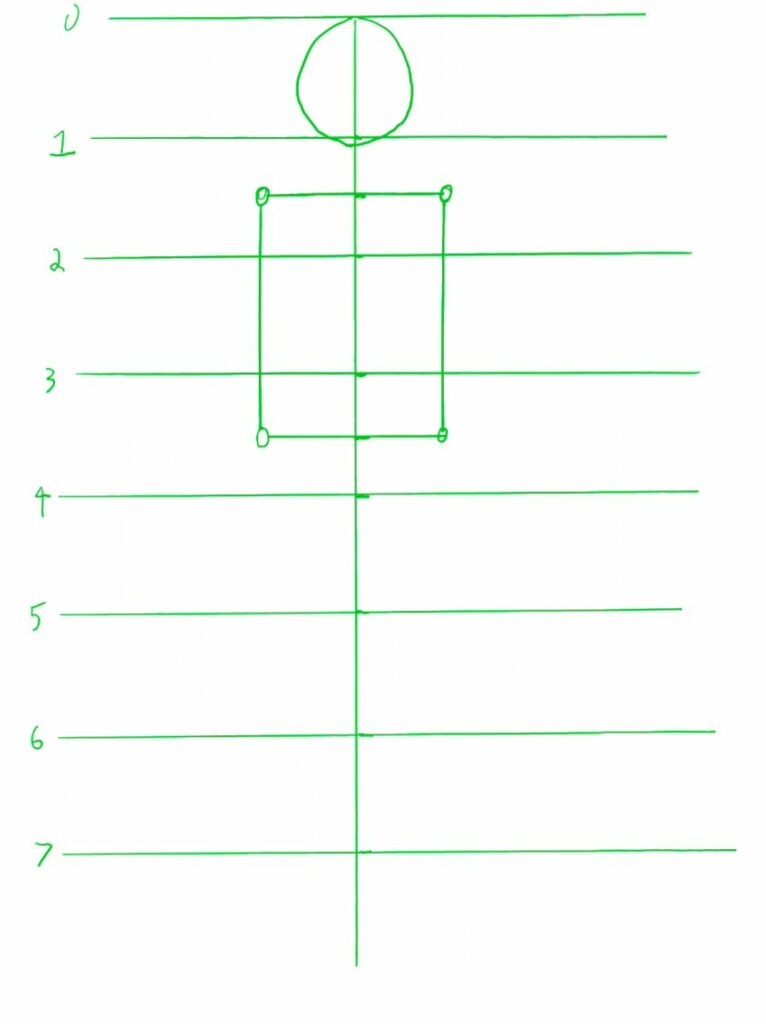
Once that was done, I finished the torso’s frame. I added an extra line at the correct height (halfway between lines 1 and 2), and made sure the circles for the shoulders lined up with the hips’, as per the reference. The female reference showed hips and shoulders aligning perfectly. (More on this on the next day, where I sketch the male model).
If you haven’t noticed yet, the circles on these drawings are meant to represent important “nodes”, to help align everything. These nodes are at the intersections of different members (e.g.: hips and thigh, upper arm and forearm, etc…), and thus joints will usually be represented.
Next up, it was time to add legs and arms. In this case, the arms are fully extended. To draw them, I aligned the wrist nodes to be slightly away from the hips, and then connected them to the shoulders. In contrast, the knees are further inwards, close to the center, with the ankles aligned directly below them. I also sketched some small feet.
It was at this stage that I truly noticed that the horizontal proportions were different from my reference model, presumably because there were enough elements present to intuit all the proportions at a glance.
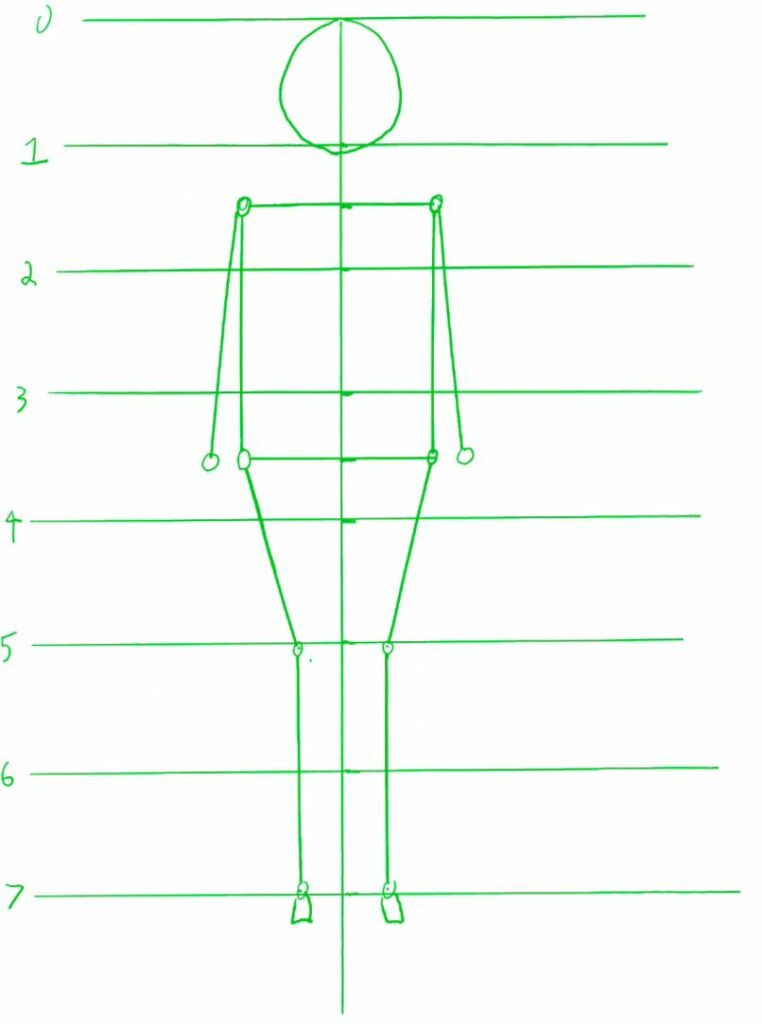
Finally, I added the last few components to the wire-frame guidelines. I added two circles for the elbows, lines for the chest proportions, and adapted the hips to better show leg alignment, and even sketched tiny hands. Also, discontented with the head’s outline, I redrew it. At this point, all proportions were gauged by eye.
I reached this step at roughly the 23mins mark (Which means after drawing for about 16 minutes). Overall, I think it’s not bad at all. (Especially when contrasted to writing this blog post, where it took me 42mins to reach this point, haha. Though admittedly, there are a lot of new elements I wanted to explain, and a few bottlenecks with my blogging process.)
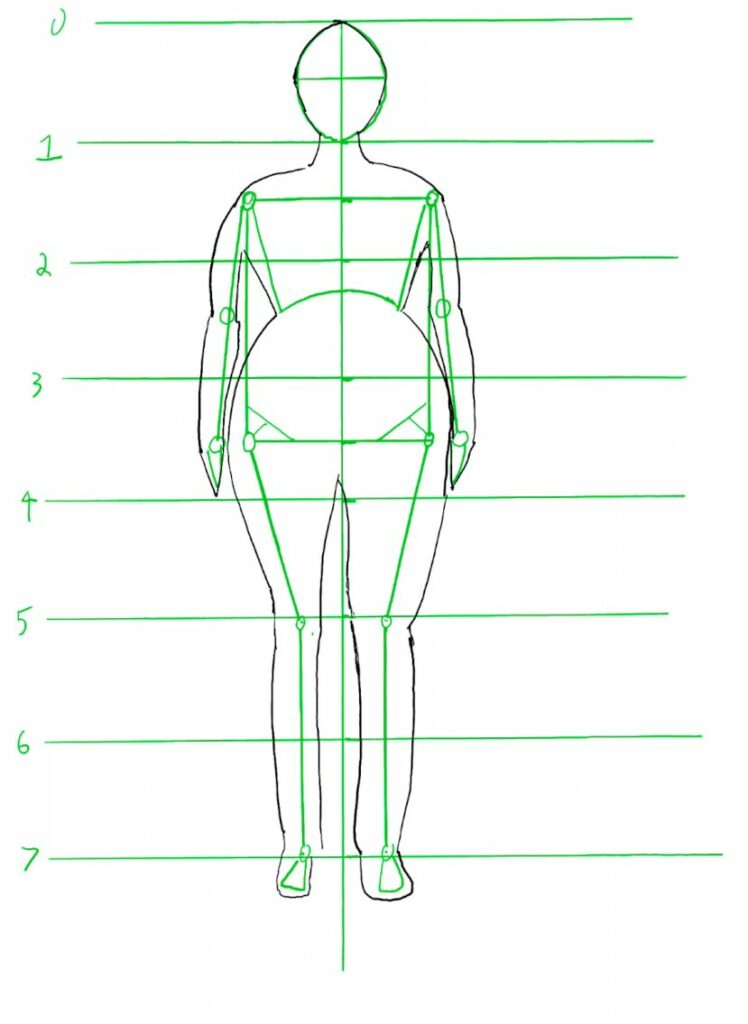
So, with the wire-frame guidelines, what’s next? To use those guidelines to sketch the profile of the person. For this purpose, I first created a new layer to my drawing and switched my pen color to black (instead of the green I use for guidelines). Unfortunately, with such involved guidelines, I noticed an issue with the colors chosen on my tablet. While the contrast between this green and black is reasonable on a computer, it wasn’t so on my e-ink tablet, and sometimes it was difficult to distinguish guidelines from drawing. But that’s simply something I’ll adjust in the future for quality of life.
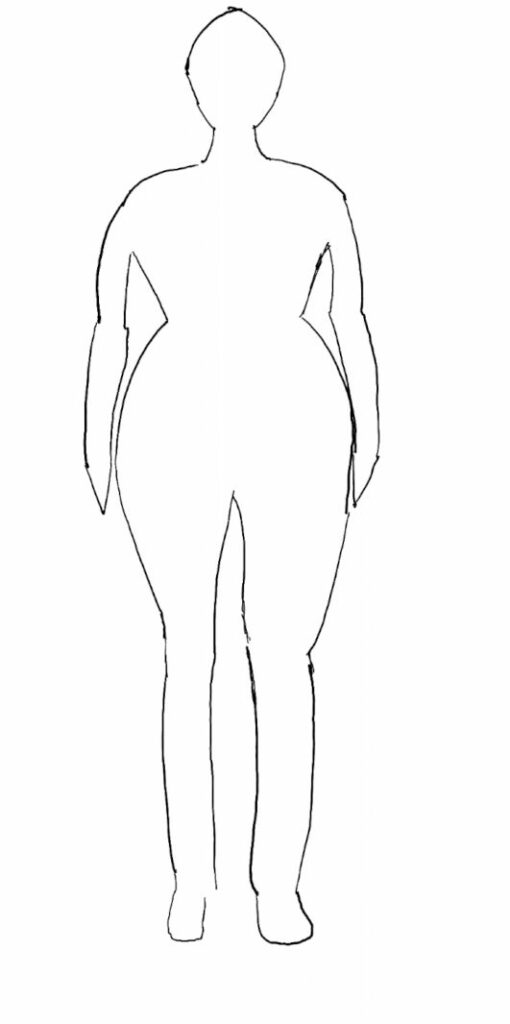
In order to draw the actual outline, I simply connected things along the nodes. For the arm, I go from shoulder to elbow, elbow to wrist, etc.. One of the complications I had here was the torso area. First, this doesn’t actually follow the nodes anymore, but other guidelines instead. Moreover, I had trouble separating arm from torso, since they are in close proximity.
The legs were also a little harder to handle, and the way I drew them gives the illusion that one is behind the other (Which I leaned into later on, or more accurately, tried to respect). For some reasons, I also struggled a bit with the head’s outline. More practice will definitely be warranted in order to gradually build my intuition. Here is the outline with and without the guidelines at this step:
Once the outline was in place, I first tried to sketch the breasts, as shown in the reference model. However, I was struggling with it, and it somehow felt a little wrong, so I opted to revisit it later. Thus, I tried to sketch some lines for joints and muscles. Conceptually, this was not that easy for me, and I’ll need to analyze this to better understand the necessary proportions and alignments.
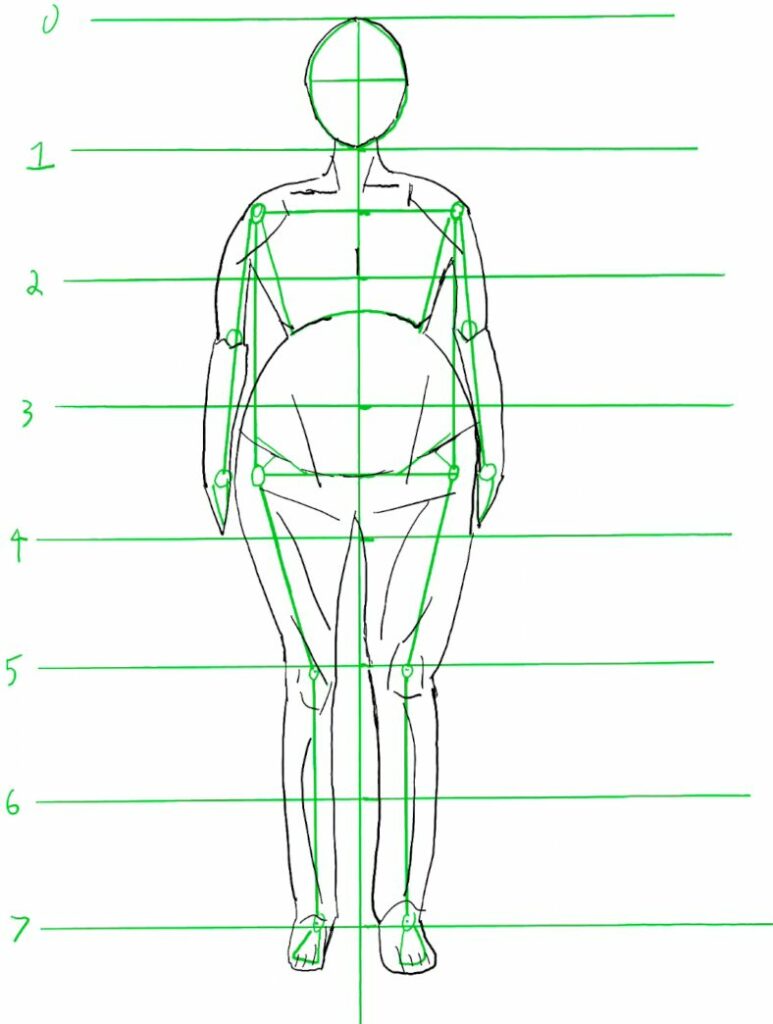
I then added some hair and initial details to the face, along with a wrist and thumb. At this stage, the character is starting to come together, but multiple elements still feel off. (My apologies, I didn’t have a version of this without guidelines).
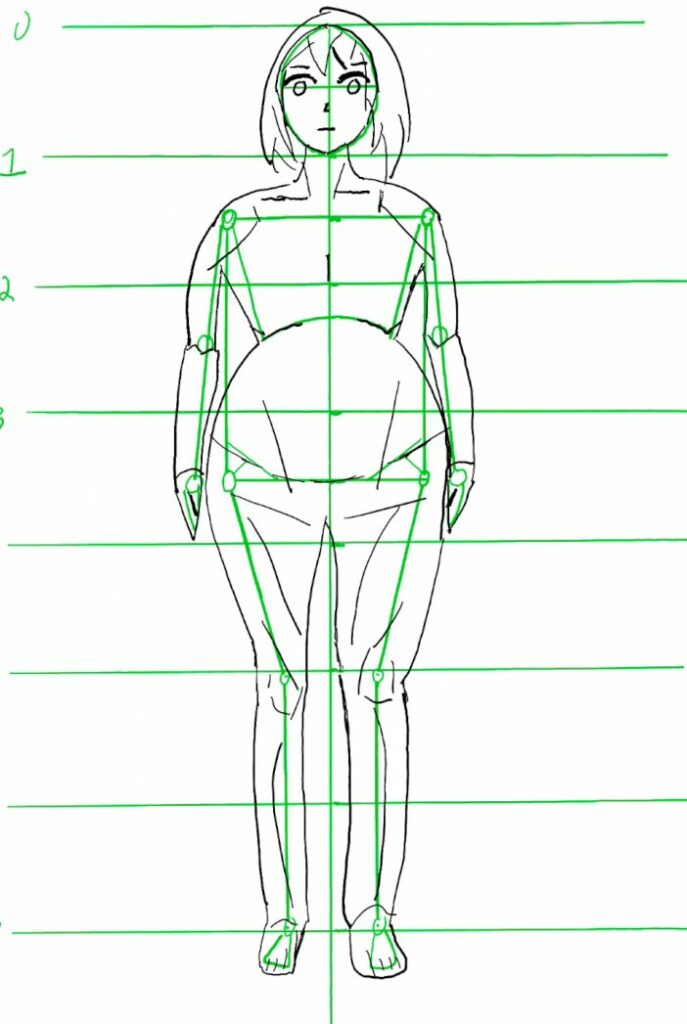
Once done, I revisited the breasts, sketching their outline. (While this is a little irrational, this made me feel really uncomfortable, especially while drawing in a Cafe). I also smoothed out the torso/hips area, and changed a few lines along the body.
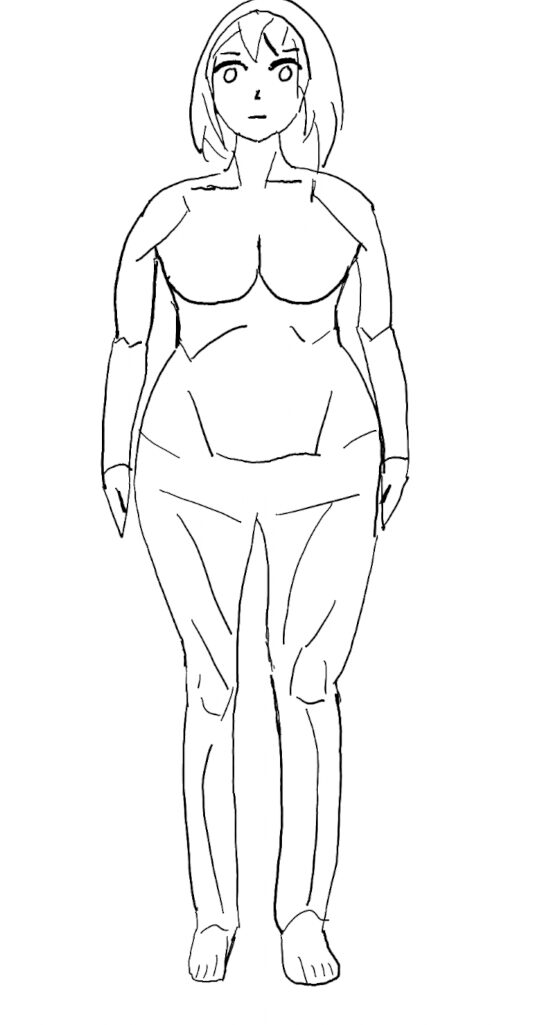
Finally, we’re reaching the final stretch. I completed the swimsuit and reworked a few elements (such as the arms, legs, and parts of the face). I also removed the muscles/joints lines, as per the reference. (I’m not sure why they were added before being removed, but will definitely need to read/translate that section to better understand. I’m guessing it’s to help understand the anatomy and the placement of different components along the outline).
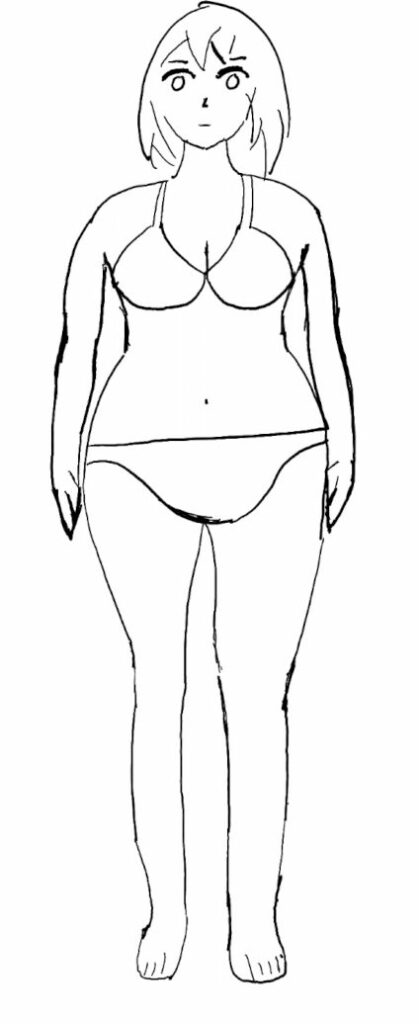
Finally, I worked on the hair and the jawline. Overall, I spent around 16 minutes on this. I was struggling with a few facetss of the hair, such as hair coming from behind other hair. But also, I still generally struggle with figuring out what the crucial lines should be, and how to add lines that aren’t a strand’s outline.
Here is the final result, with and without guidelines.

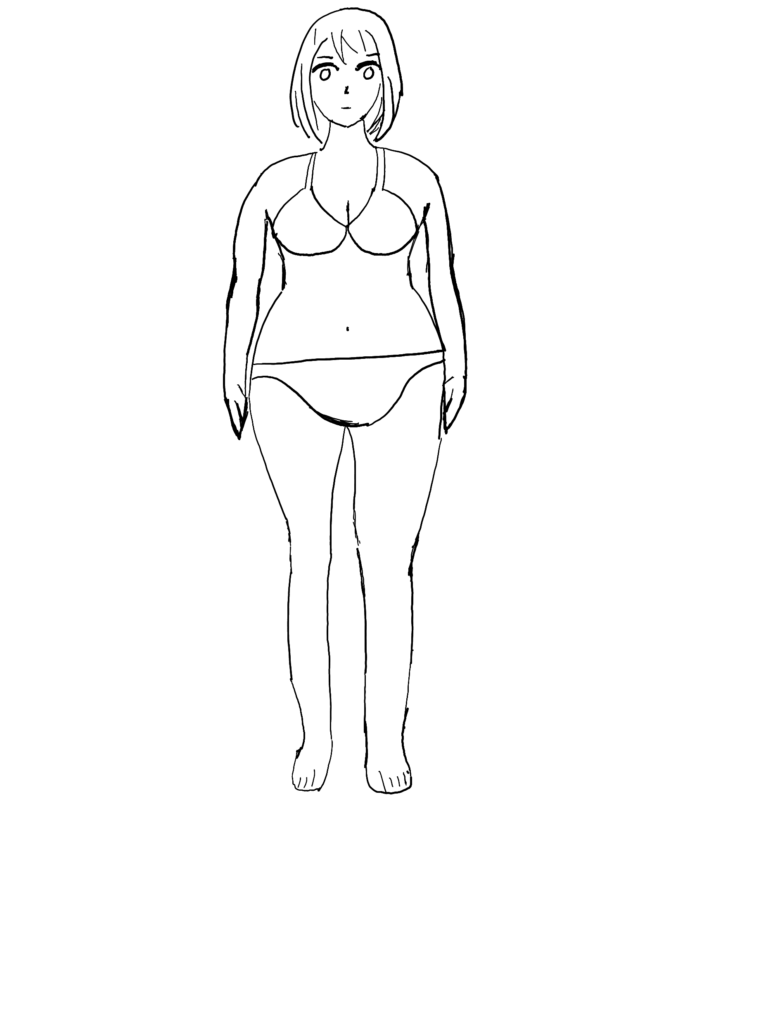
Conclusion
Overall, I know this drawing is far from perfect, but I’m generally happy with it. As a first attempt at a full-body drawing, I think it’s more than reasonable. The head isn’t fully detailed, but it’s still decent, especially considering that’s not the point of this exercise. I also think the proportions are generally fine. However, the drawing does look a little stiff. I also will need to figure out how to be more comfortable with drawing certain…aspects of it. As of the weakest component, I would say it’s the legs. There’s a long way ahead, but I think this is a good place to start.
I should note that I’m very surprised with how quickly drawing the wire-frame guidelines went. Especially with how important and involved they are. Moreover, I’m sure it’s going to get faster as I practice. Verdict: I see a lot of value in them, and think it would be unreasonable to skip them any time soon.
This whole session was definitely different from anything I’ve done before, but I think it was interesting, and refreshing. I’m looking forward to seeing where this leads me and how much I learn and improve over time. For the next day, the plan is to also go for a body sketch, but this time the male model.
Now, for the meta notes. As stated, drawing took me roughly 70 minutes. Meanwhile, writing this post took me approximately 85 minutes. The review process in turn took me about 55 minutes, for a total of around 210 minutes (3h30m). The drawing to blog writing/reviewing ratio is about 1:2, while the writing to reviewing ratio is roughly 3:2. I think one of the reasons why it took me so much time to write is because this is a new type of drawing and I had a lot of things to learn, and explain. There’s also more “individual” steps to highlight along the way. I expect that after a few sessions of exploring this topic, I’ll be able to go over these more quickly. Definitely a huge time investment here, with a lot more time spent on retrospection than actual action. With school resuming on Tuesday, I’m a little worried about how much time this might take me, but we’ll see. Let’s take it one step at a time.
Unfortunately, drawing and posting on different days was a pain, which I’ll want to avoid in the future. It’s not so much that I don’t remember what I drew and how it went, as much as having a tax to pay during the following day. However, I do think it’s good that I prioritized writing this before focusing on the next day’s drawing. This is an important step of my new process that should prevent me from getting behind like last time, while also forcing me to reflect on the previous drawing before moving on.
Regardless, this is a significant new step along this journey, which I’m happy to be taking. I hope you enjoyed this new exploration! Thanks for your time, and take care everyone!
This post is followed by Learning to Draw People Challenge – Day 14 (2024/03/04)