This was written March 05, 2024 as part of the 2024 Learning to Draw People Challenge
Credits: 1
Introduction
Hello everyone, and welcome. As stated on the previous day, considering how busy I am, I need to get back on track. Thus, I decided to go for a shorter session: I limited myself to 30 minutes (Ending a bit early at 29m15s). Also, I did jot down that I started at 8:50pm, and evaluated my tiredness to be a 7/10 (An arbitrary measure that might evolve over time). Will I ever use these stats? Who knows!
Exercises
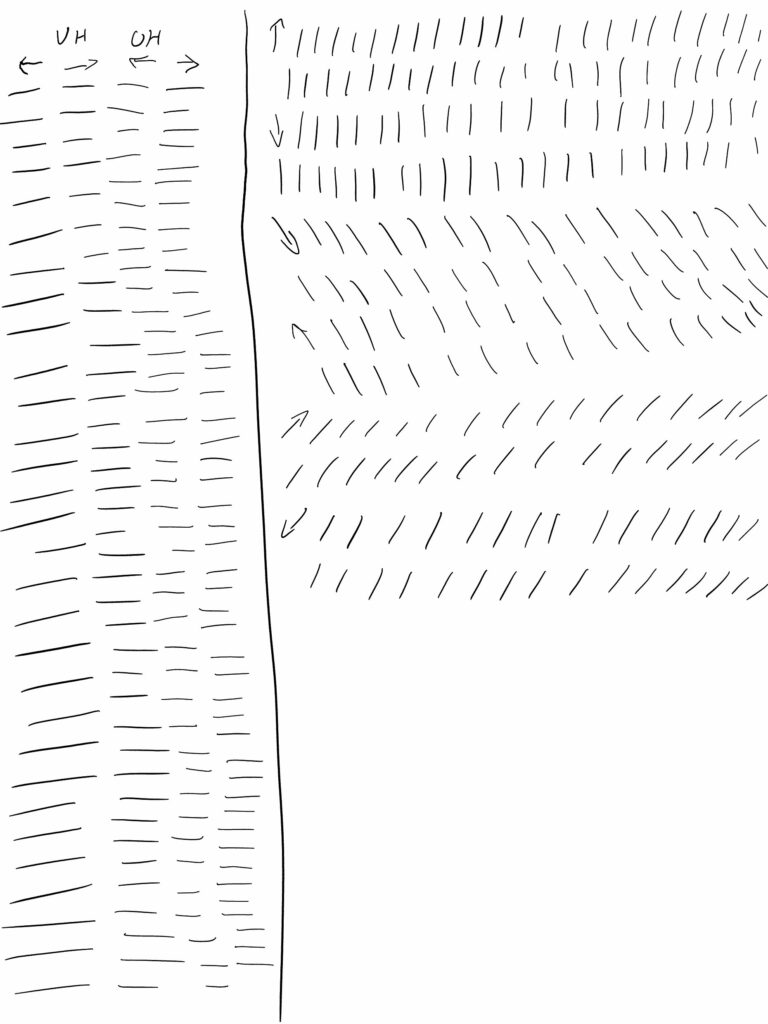
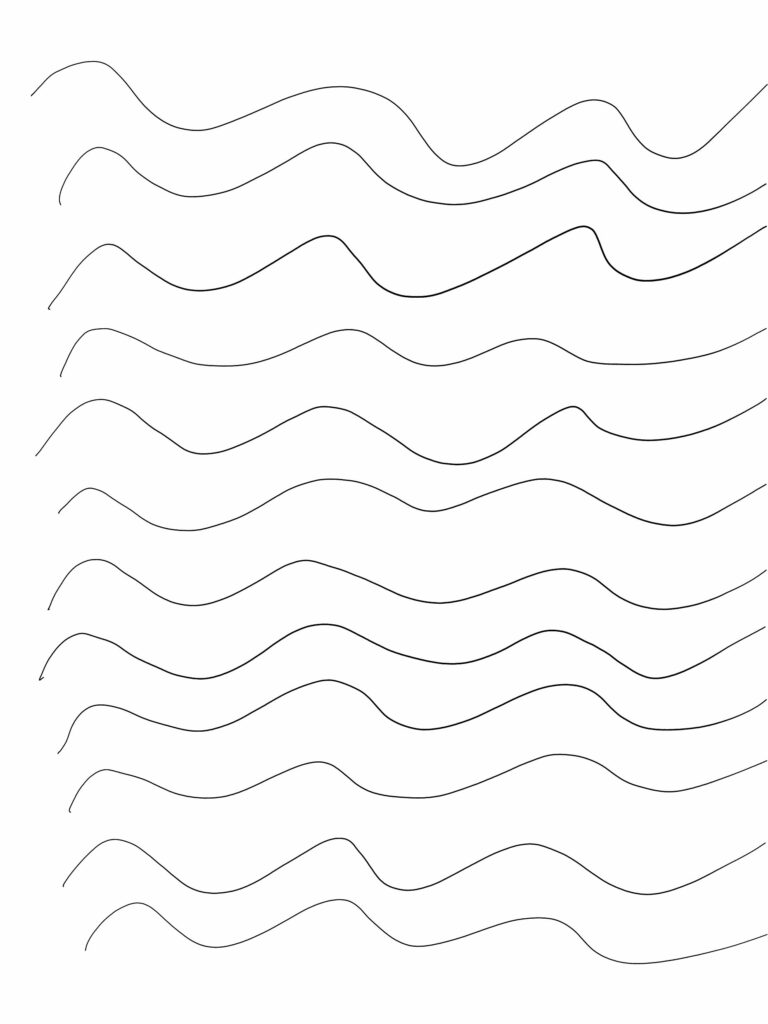
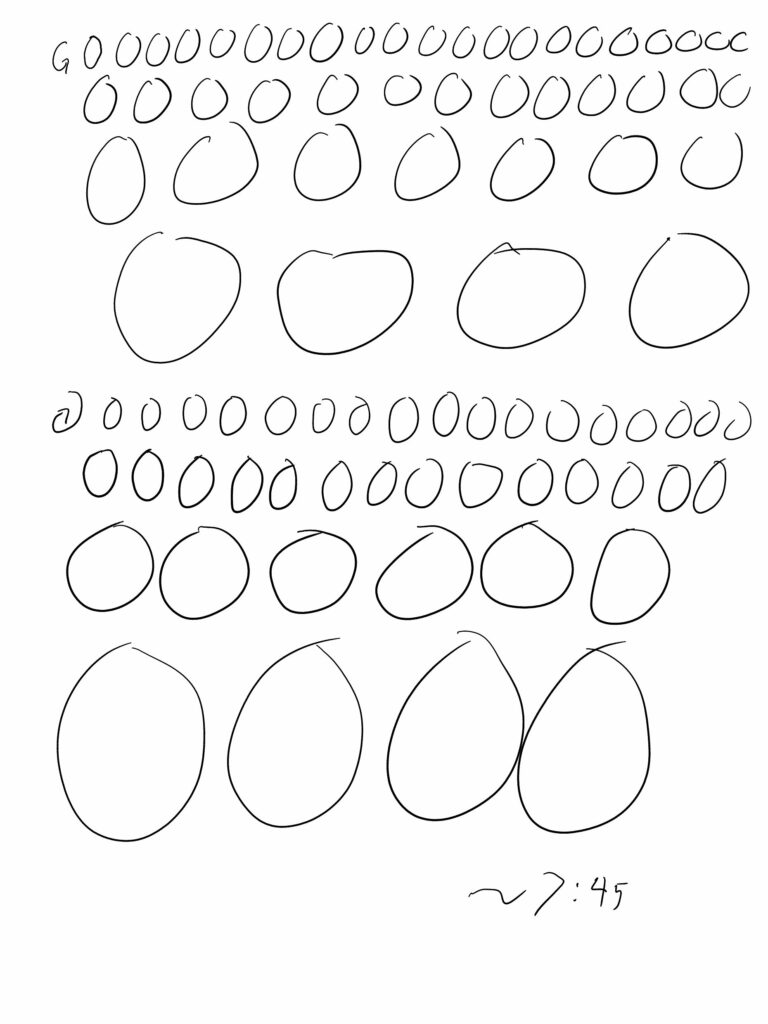
To kick things off: the exercises. Once again, I suffered from the “slanted effect”, but it’s manageable. In spite of that, my horizontal lines took less space than usual. Meanwhile, the wavy lines were a complete disaster. Admittedly, I dealt with some friction issues, with my forearms and desk sticking to each other, resulting in unpleasantness and annoyance. Overall, the exercises took about 7m45s…although I did use some of that time to evaluate my tiredness.

Drawing
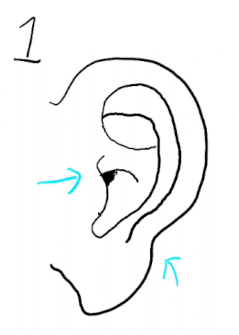
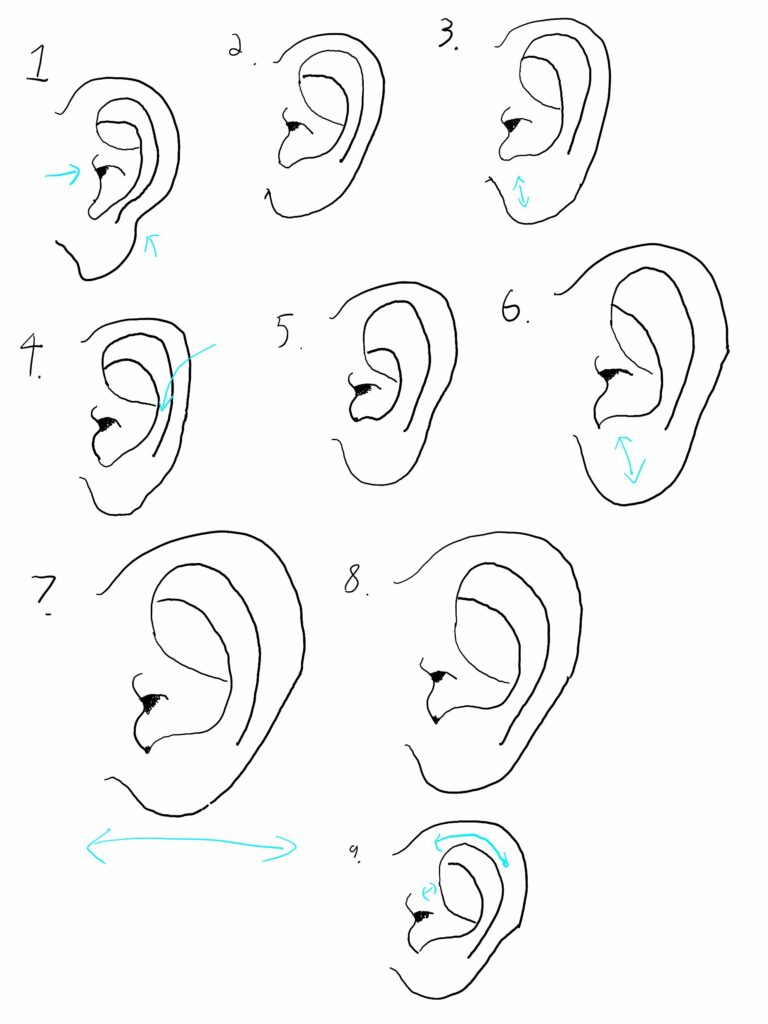
But with such a limited time-constraint, what did I decide to draw? I opted to to revisit ears. I ended up getting some good practice in: 9 ears overall. I also learned a few things. Here’s the first ear I drew, with two arrows for annotations. I was displeased with two things: the placement of the ear canal’s area, and the top of the lobe.
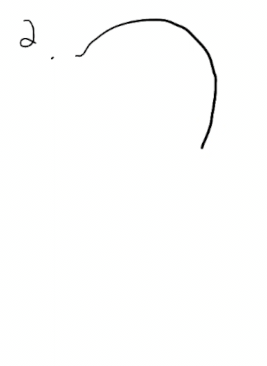
Now is probably a good time to take a step back and explain the steps involved in these drawing. Let’s demonstrate it with the second ear. First of all, I drew the ear’s outer outline. I eventually realized that I get better results if I split this in two parts. First the top half, from top left to center right. Next, the bottom right, from bottom left to center right (this is my personal stroke preference, it might differ for others).
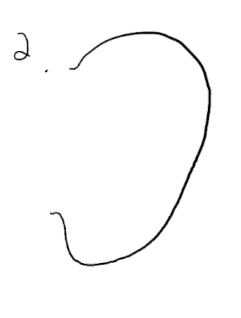
I then add the ear canal and associated lines.
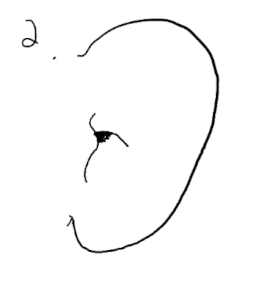
Next, I add the inner outline.
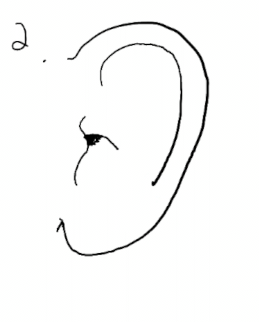
I follow this up by connecting the ear canal area to the inner outline:
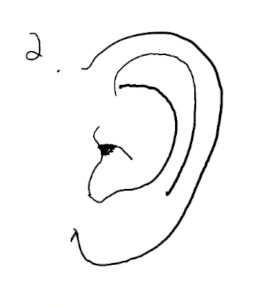
Finally, the inner outline loops around to connect back to the previous line:
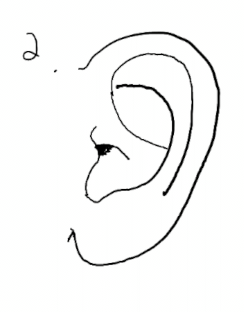
Before getting into the remaining attempts, a few things I’ve realized through this repeated exercise:
- As stated before, splitting the outer outline into two parts helps me get a better overall shape.
- The ear lobe doesn’t need to immediately drop down, nor drop that much.
- While drawing the inner outline, I got better results keeping the top-right corner further away from the outer outline.
- For the ear-canal area, aligning the top to be roughly in the center of the section connecting the ear to the head helps with positioning. The canal should also remain close to the head, and not towards the center of the ear.
- It’s ok to make adjustments later on.
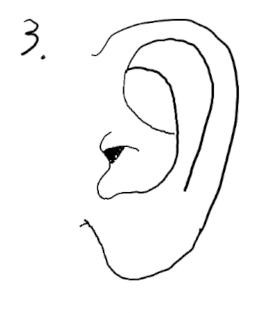
Let’s now look at the remaining ears and comment on them. Here’s the third ear. I have two complaints. First, the part below the ear canal is too curved and goes out too much. Second, the lobe drops too much while also getting too close to the ear canal.
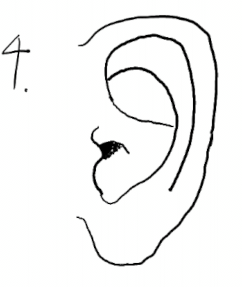
The fourth ear had a similar concern with the section below the ear canal. I also feel like the outer outline and both inner outlines all get too close.
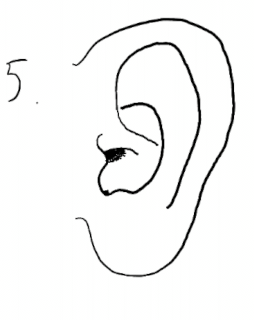
For the fifth ear, I think the ear canal area is a little too cramped, but otherwise, it’s not too bad.
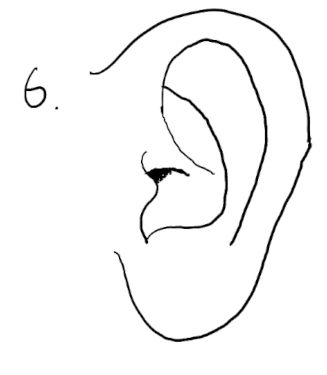
For the sixth ear, I have small reservations about the distance between the lobe and the ear canal, but overall, I think it’s fairly good.
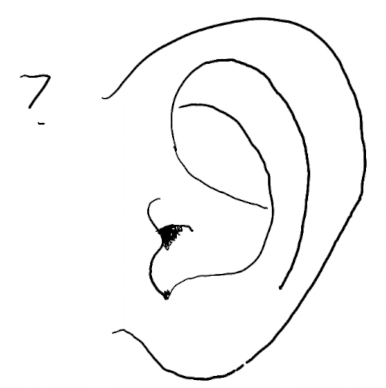
Meanwhile, I think I made the seventh ear a little wide.
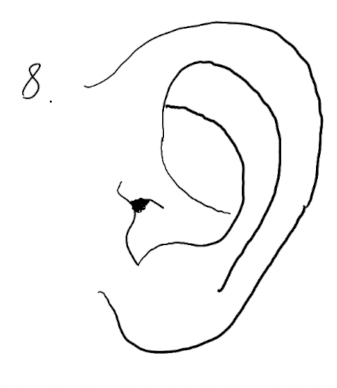
I don’t have much to say about the eighth ear, I think it might be my favorite of the bunch.
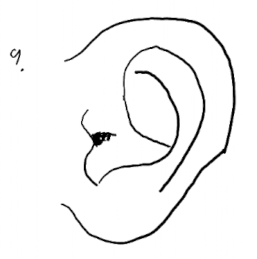
And finally, the ninth ear. This one I had some orientation and positional issues.
Before moving on, keep in mind that my complaints are in reference to the reference model I used. Overall, I think a lot of those ears are fine.
Now, a quick look at the whole sheet with all 9 ears (and little annotation arrows on them).
Finally, before calling it a day, some stats I’ve been curious about. Here is, in order, how long each ear took me to sketch: 1m15s, 1m50s, 1m50s, 1m25s, 2mins, 1m25s, 2m55s, 1m05s, 50s. Overall, this is a rather quick process, so it’s possible to get a lot of practice in!
Conclusion
So, what is the outcome of today’s practice? Well, I think I can now approach ear drawings a little differently and understand them a little better. I also now realize that some of these things can be practiced fairly quickly. Although it must be said this is unobscured ears, from a specific angle, with a specific level of details.
A silly note, but if I revisit this, I will definitely want to take a look at ear anatomy, if for nothing else than using better nomenclature. Continuously describing areas using vague terms definitely feels off.
As for the time spent, I spent 29m15s on drawing, while spending 53mins on writing the blog (In part from having to capture so many images and upload them), and 28 mins on reviewing it. This means a total of 81mins on the blog post, and about 110mins overall. Meanwhile, the drawing to blog post ration is close to 1:3, and a writing to reviewing ration of roughly 1:1.9.
On that note, I’m glad to have finally caught up, and think the rest of the week should feel a little less stressful. Thanks for joining and have a lovely one everyone!
This post is followed by Learning to Draw People Challenge – Day 16 (2024/03/06)