This was written March 09, 2024 as part of the 2024 Learning to Draw People Challenge
This was posted on Saturday, March 09 as a tribute to Akira Toriyama, and thus there won’t be any post on Monday, March 11.
Credits: 1
Introduction
Hello everyone, Unfortunately, this session marks a sad event. I learned that Akira Toriyama, beloved and influential Mangaka, best known for his series Dragon Balls, along with character design for multiple video game series such as Chrono Trigger and Dragon Quest, passed away earlier this month. For this reason, I decided to go off script and try something different: drawing one of his characters instead of following a lesson in a book.
I technically started on the next day, at 12:30am. However, I still count this as being done on March 8th (It’s my rules anyway). The session clocked at 1h50m (just shy of 2 hours) and my tiredness was estimated at a 7/10.
Exercises
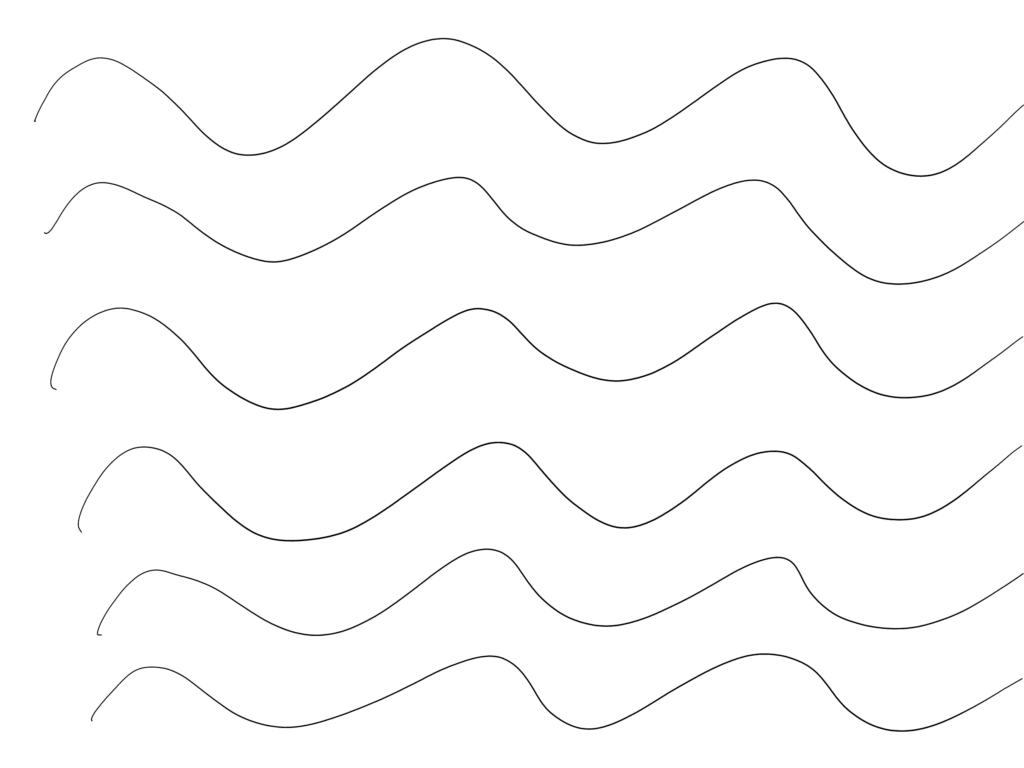
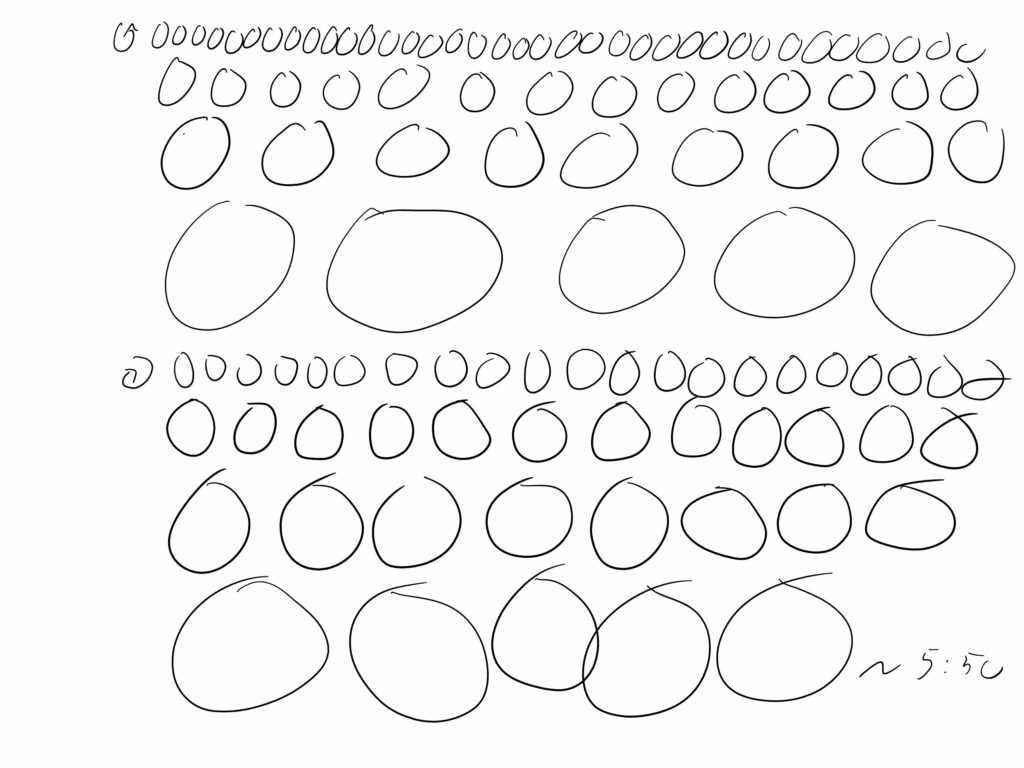
For this session, considering I wanted to have a horizontal canvas, the exercises definitely felt different. However, for this one time, let’s quickly skip over the exercses and just state that I considered them a good warm-up. Here they are:


Drawing
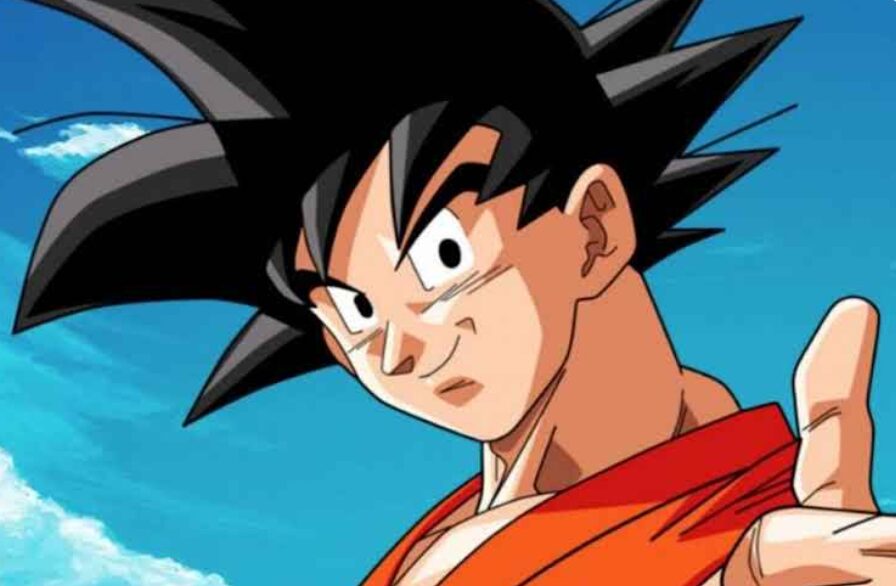
For the drawing, I chose to draw one of Akira Toriyama’s most iconic characters, Goku. Thus, I searched for a picture of Goku, and landed on the following picture of adult Goku, which I would use as a template. I put this on my laptop for reference, took out my tablet and stylus, and got to work. Definitely don’t expect anything as good as this reference for my final result, haha.
After some consideration, the first thing I did was to draw angled lines as references for the face. These ended up being my only guidelines for this drawing.
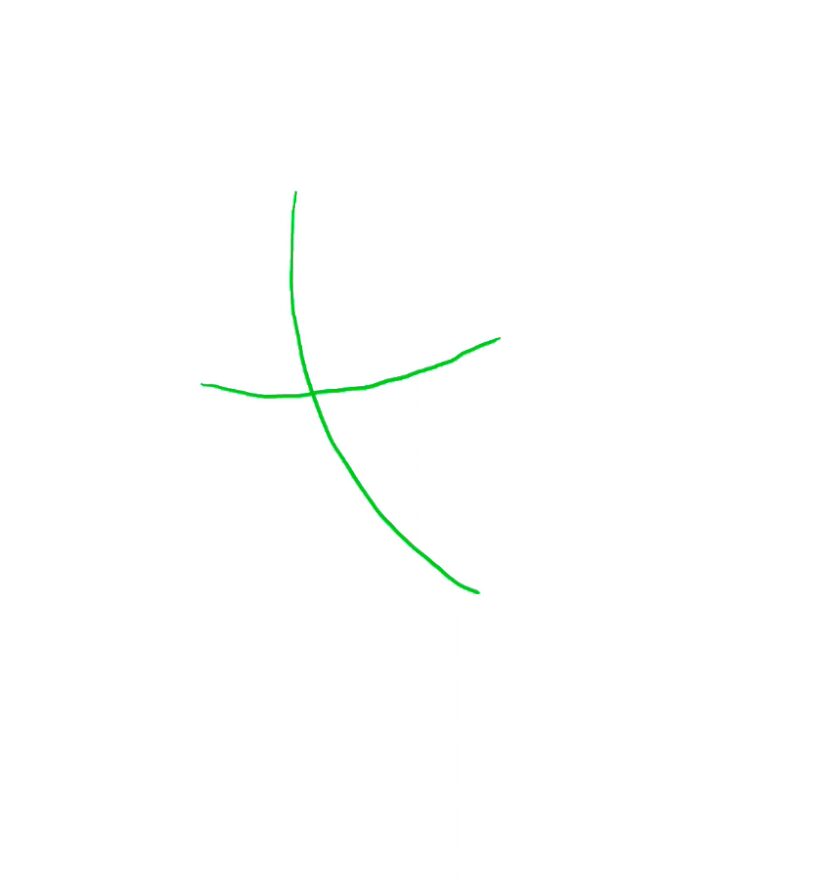
Next, I tried to add the head’s outline, starting with the jaw. However, since I was really struggling, I instead added a nose and a mouth.
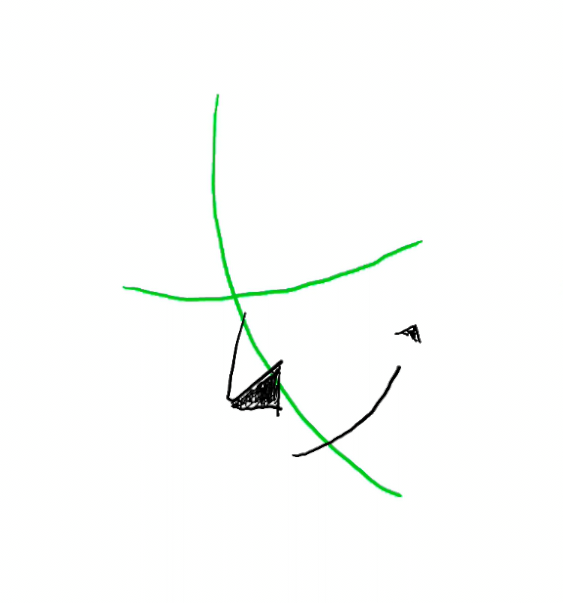
With these in place, it felt easier to gauge the head’s outline. Although once I started to sketch it, I realized that I might have started my drawing too high, and tried to move the sketch down with a moving tool. Unfortunately, I realized this only affected one layer at a time, and chose to fully commit to this. And while at first I tried to draw the ear popping out on the left side (as on the reference model), I ended up postponing this step, since I was struggling with dimensions.
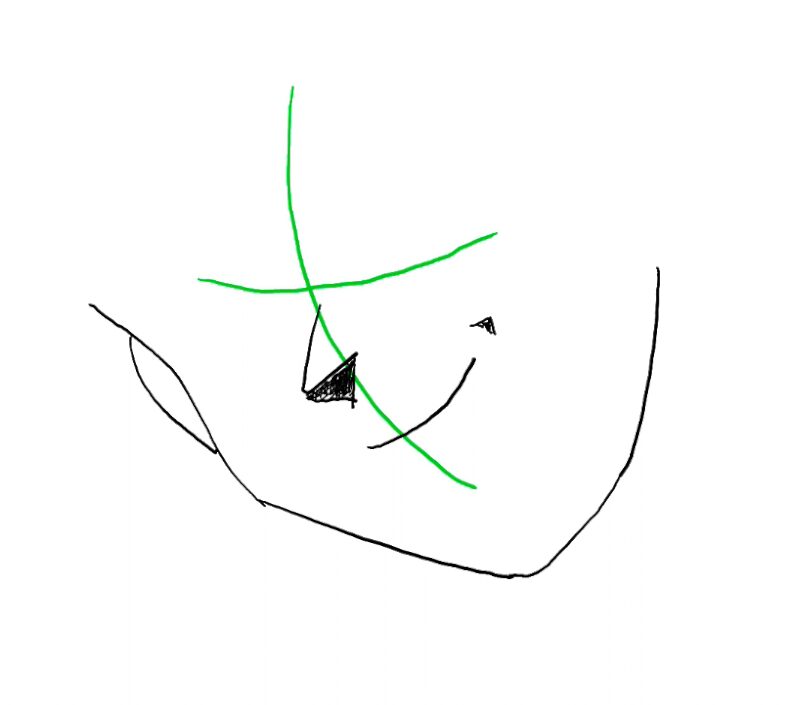
I thus fully sketched the head’s outline. This was actually pretty rough, requiring plenty of rework. I struggled with each part: the jaw, the top of the head, the left side, the ear and it’s proportions. Even here, the ear looks pretty big. But looking at the reference model, I figured it was meant as a perspective trick, and would look better with details. Also, spoiler alert, but I eventually reworked chunks of this outline.
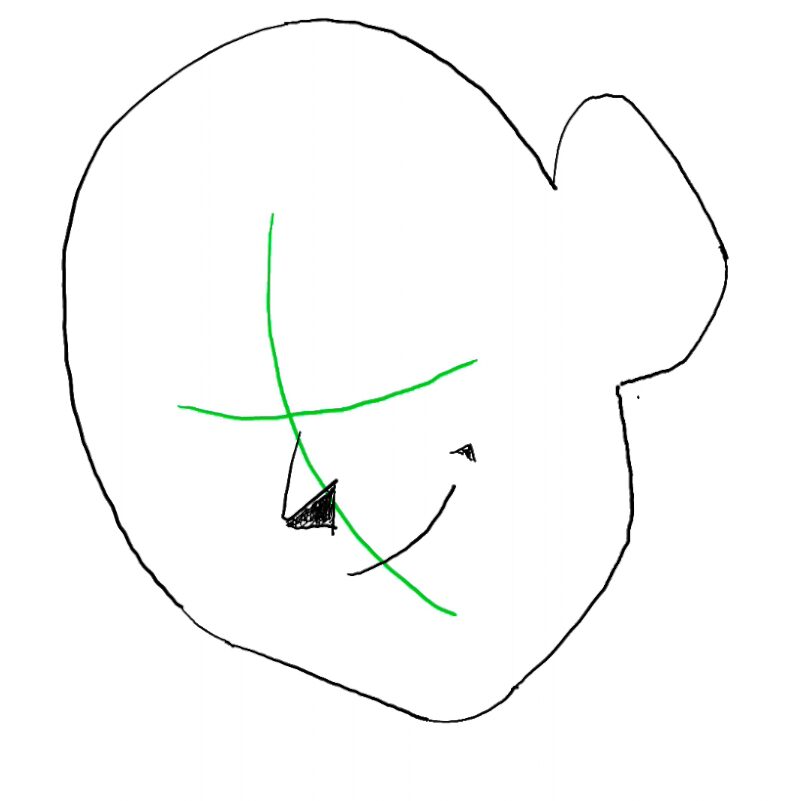
Since I was unconvinced about its size, I decided to next add details to the ear and see how it looked like. My biggest regret here is that the shading and the ear line don’t appear that distinct. Ideally, I should have either used a different type of “pen” for each, making the lines thicker and more distinctive, or even used a different color for the shading (like I’ll do with the hair). Still, I think the result isn’t too bad for a first attempt.
Next up, the eyes. This is another part that I reworked quite a few times, having trouble adjusting their positions, dimensions, and other quirks. Here are a few of the things I had to consider and redraw:
- The direction each eye is looking into (directed by the black ellipses)
- The “orientation” of the eye (the orientation of the black ellipse representing the iris and pupil)
- The eyebrows’ placement, shape and orientation
- The eye outline’s placement, alignment and dimensions (Controlling the position and size of each eye, accounting for depth and perspective)
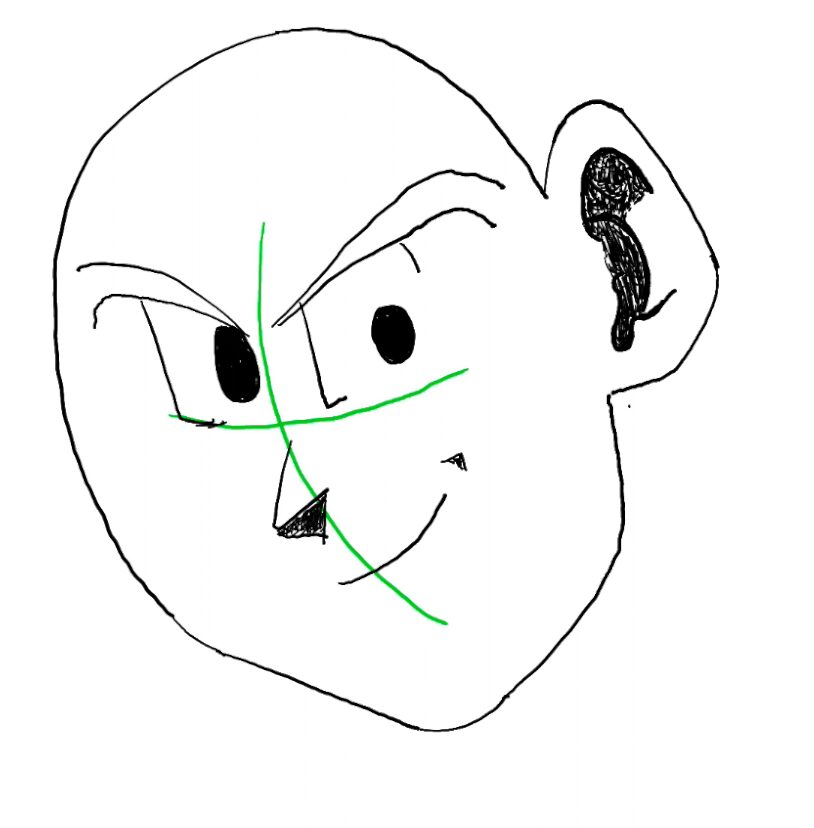
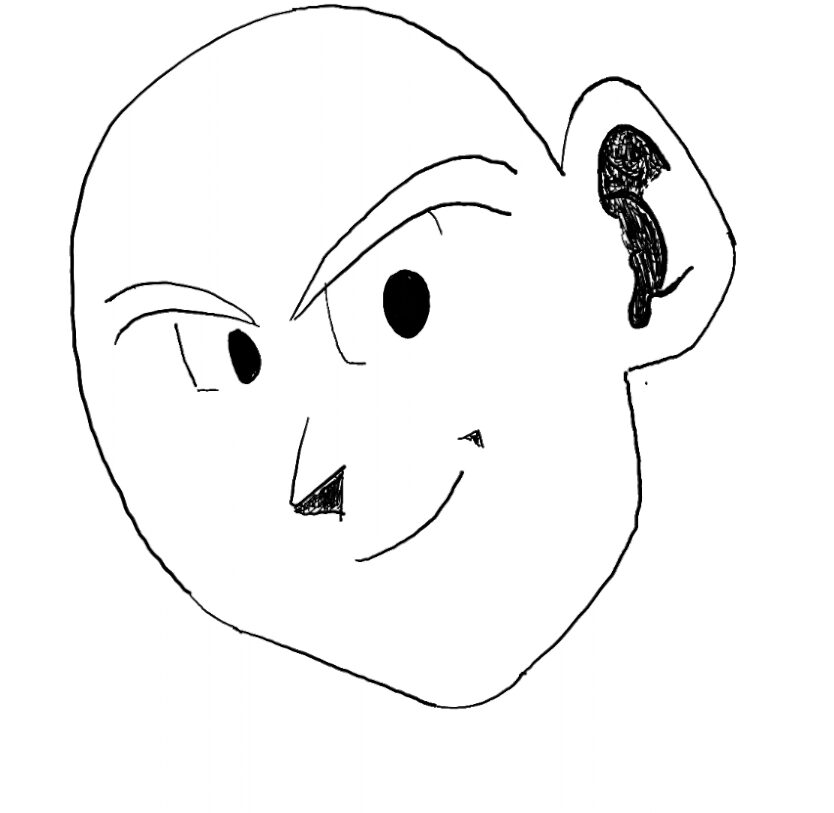
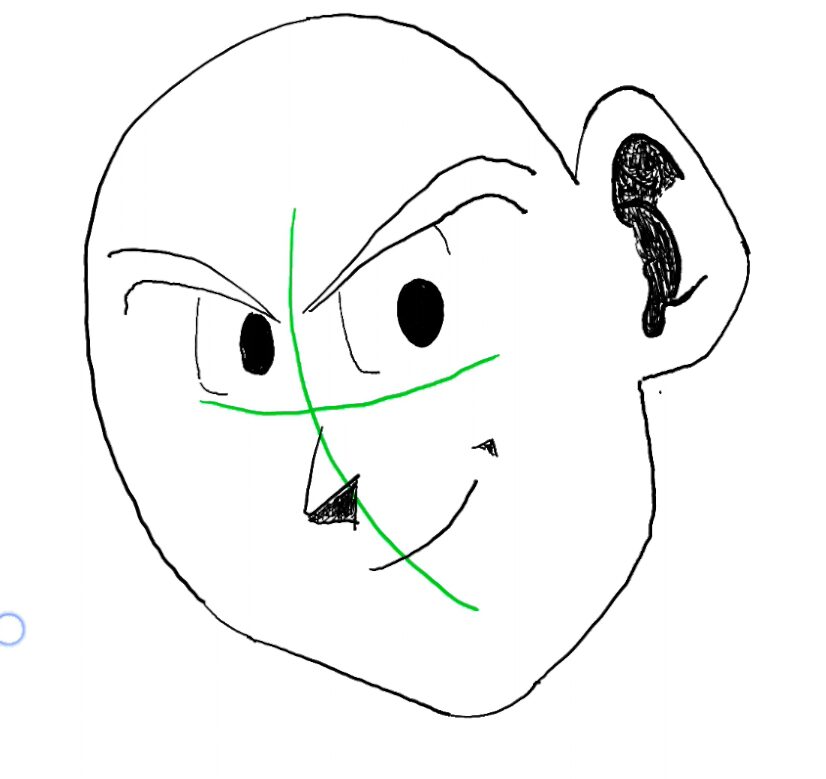
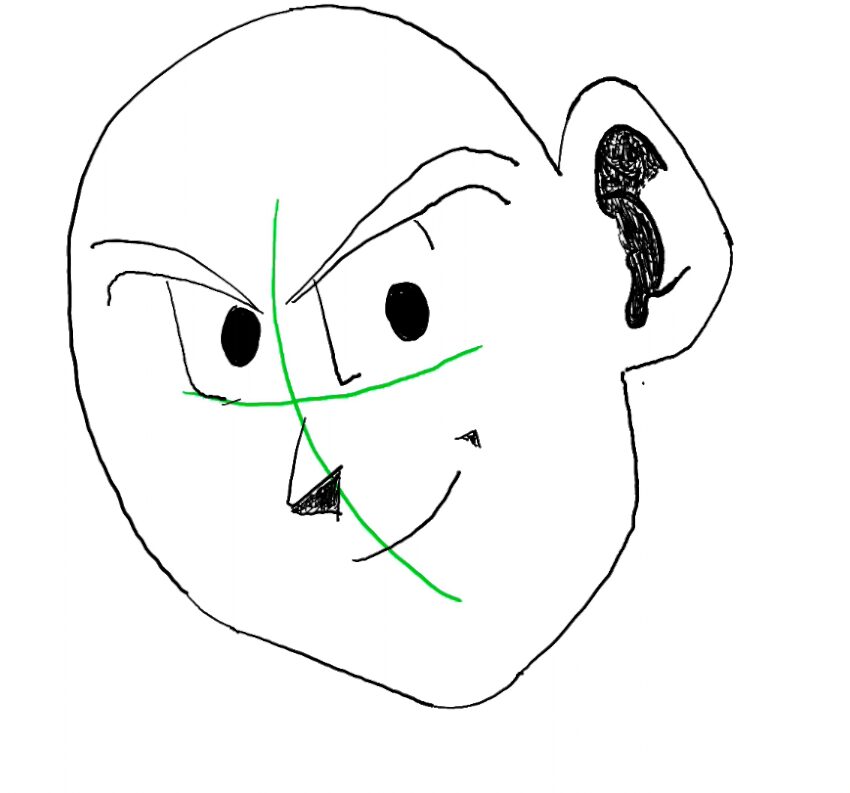
Once satisfied with the eyes, I added the ear on the left (and adjusted the face’s outline) and drew the outline of the hair, along with a neck (which I wasn’t impressed with). Here’s the result, which I think isn’t that bad to be honest.
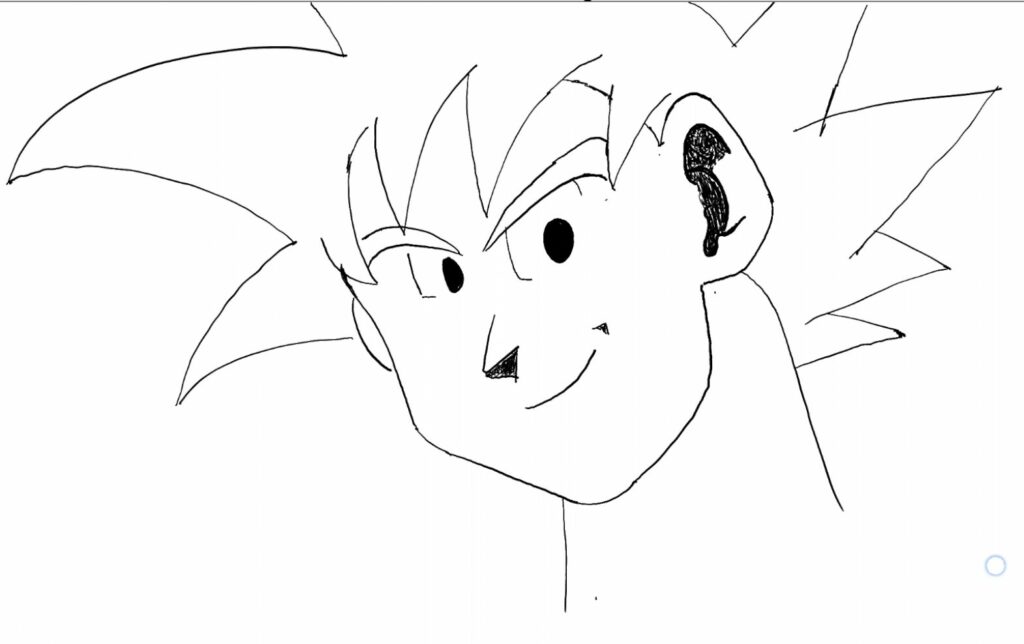
At this point, I thought the nose looked too heavy and messy, so I trimmed it down a bit.
Finally, I started inking (coloring shades). I started with the eyebrows, making them pitch black. One note: while it can be useful for fixing a line’s shape, making it more “continuous”, it can also be easy to go over the line and have to redo previous steps. For this reason, there are two “tricks” I use:
- I try to break this down into multiple strokes (Number of times I lift the stylus from the tablet). This way, if I have to undo a stroke, I don’t lose too much progress.
- I often start close to the edges with more care, and then fill in the centers more quickly, since I don’t have to worry about going over.
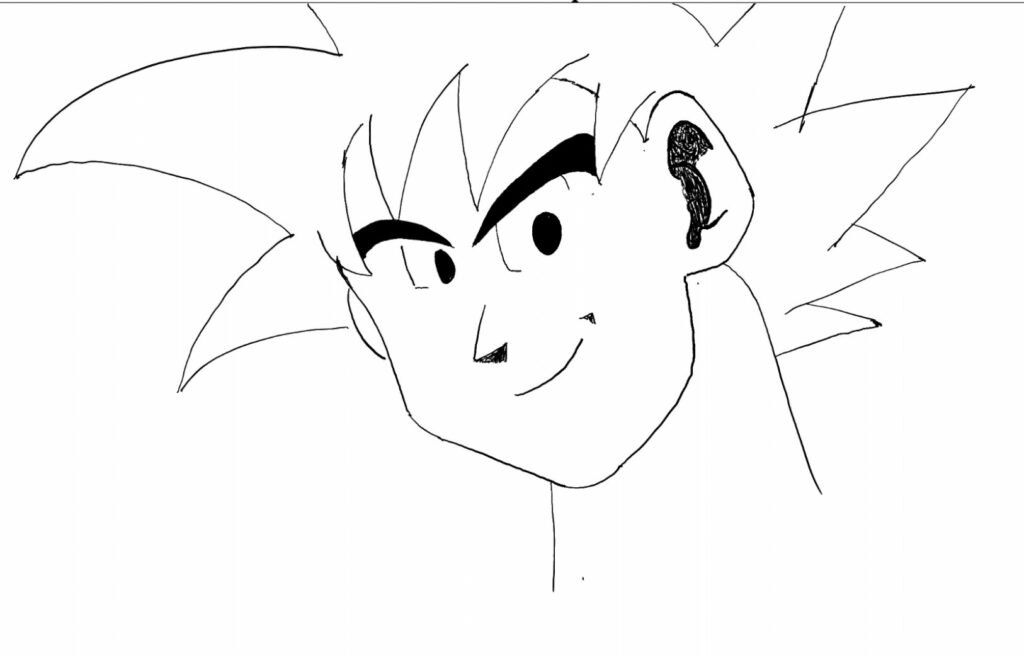
With the eyebrows inked, I took another look at the overall face, and was a little unhappy with the overall shape of the face. In retrospect, I think it’s a consequence of modifying the nose. Consequently, I changed the smile and jawline a bit. Looking back at it, I think I preferred how the initial jaw was a little more square, but overall, I’m still satisfied with this result.
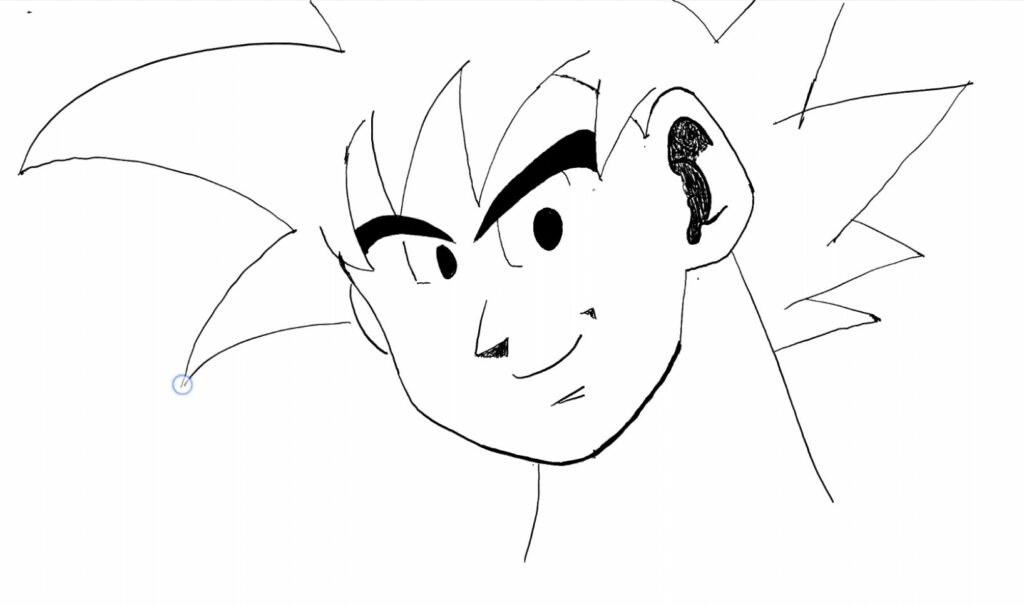
Once this was done, I started shading the hair, doing multiple passes for the different shades. I first started with pure black. (I also ended up readjusting the jaw, since I thought it looked slightly too wide on the left side, going against the perspective). Overall, this phase of the shading went fairly well. I first drew contours and then added in the color, I just had to take my time. Here’s an intermediate stage with some contours for the inking, along with its completion. (Yes, I did change the hair a bit as I went along).
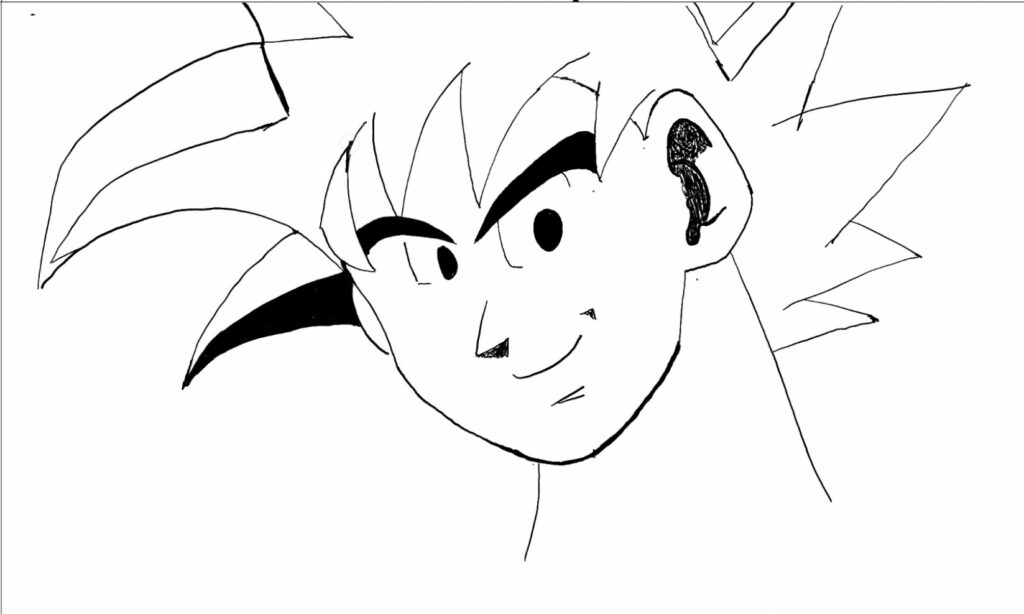
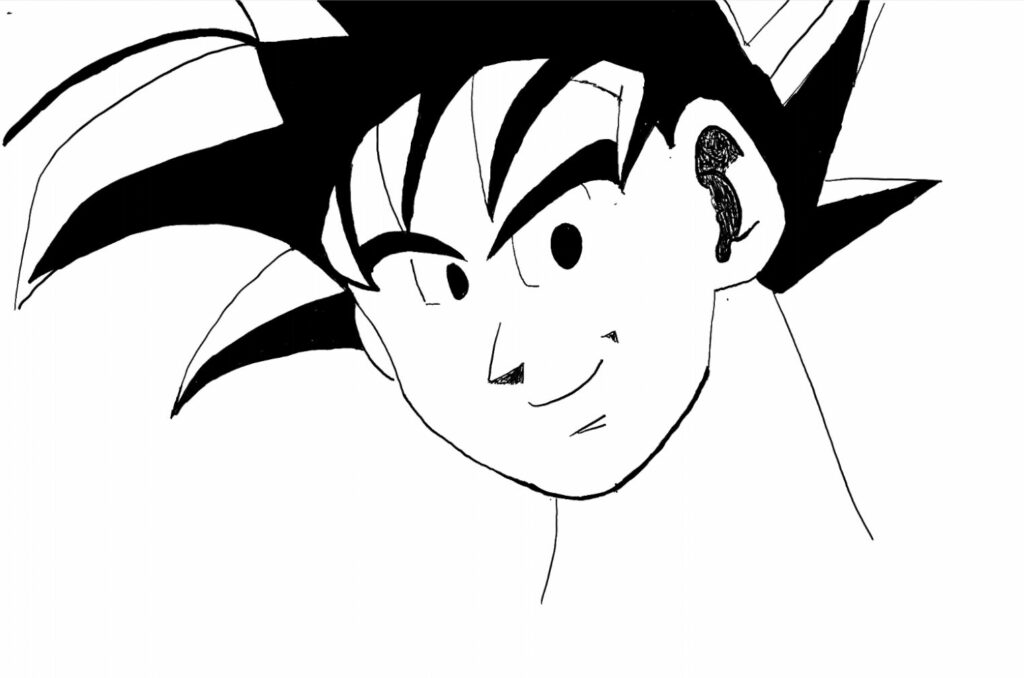
So, one obvious question is: Could I simply have used a bucket tool to fill, instead of manually inking? Obviously, yes, I could have. However, there are a few things to consider:
- As mentioned earlier, I do take this as an opportunity to refine the contour lines, which a simple fill wouldn’t do (Similarly, there could be “leaks” to deal with). However, I could in theory just fill in after reinforcing the contour.
- If part of my contour has small blanks in them, the bucket wouldn’t actually deal with it, so I might need to do another pass regardless.
- I actually find this process a little relaxing.
- The software I’m using is not that great, and definitely wasn’t designed for drawing (For example, I accidentally quit the app, and reopening the drawing took longer than expected, presumably because it’s not optimized for something like this). And when I last tried to use the bucket tool, it had some issues.
For my next shade, I wanted to try the same approach I’d used for the ear. Here’s an attempt of it (you can see it center top, towards the right). I was rather unhappy with this result, so I scratched it. Quick note: Doing a lot of small strokes is really annoying to undo, especially if you don’t want to spoil nearby elements. I couldn’t easily use the eraser tool here, which means I had to undo each of those scratch lines, one at a time due to the interface. This was quite a slow process.
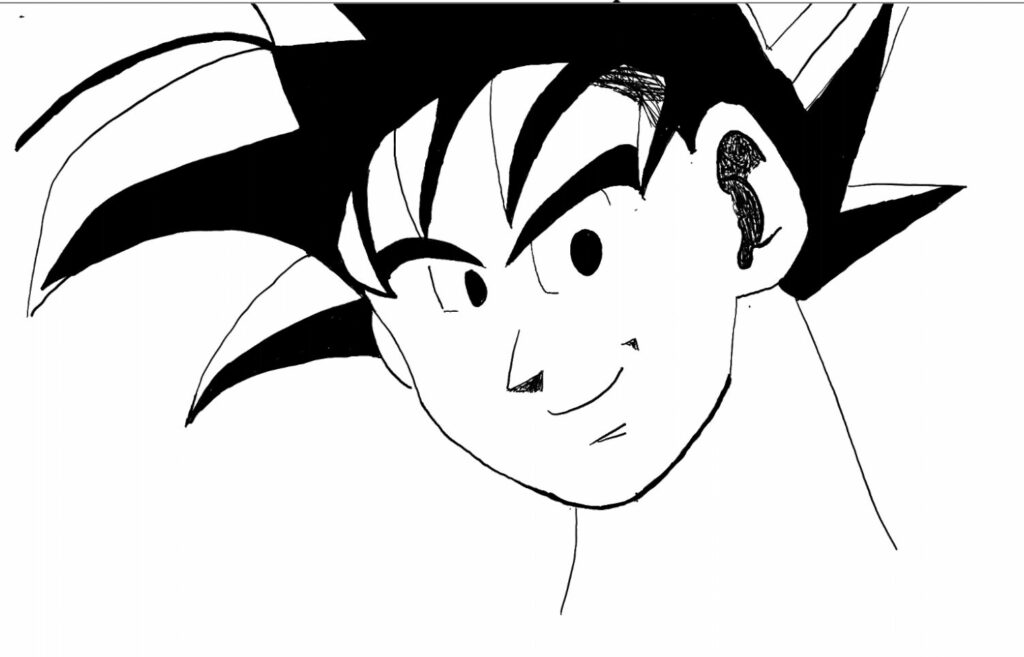
So, what did I opt for? I switched to a shade of gray. I tried some variations of gray before landing on the one seen here. Overall, this step wasn’t too hard, especially since I figured I could adjust lines from either side in a cleanup phase. I also took this opportunity to update some of the darker shading.
Finally, I added one more shade to the hair, a lighter gray. Once again, this was straightforward.
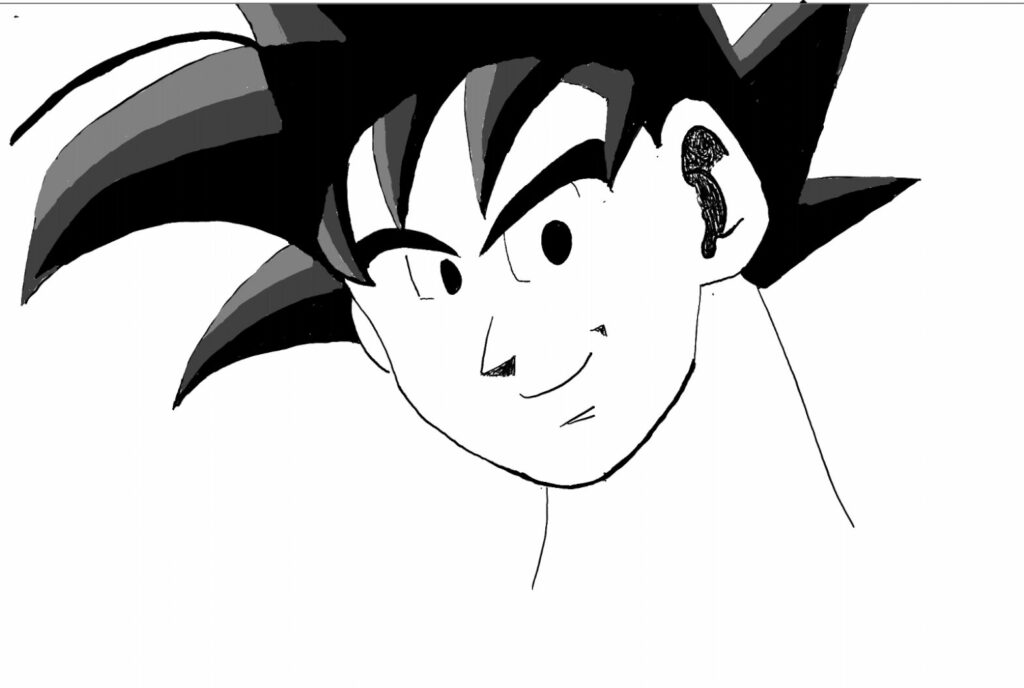
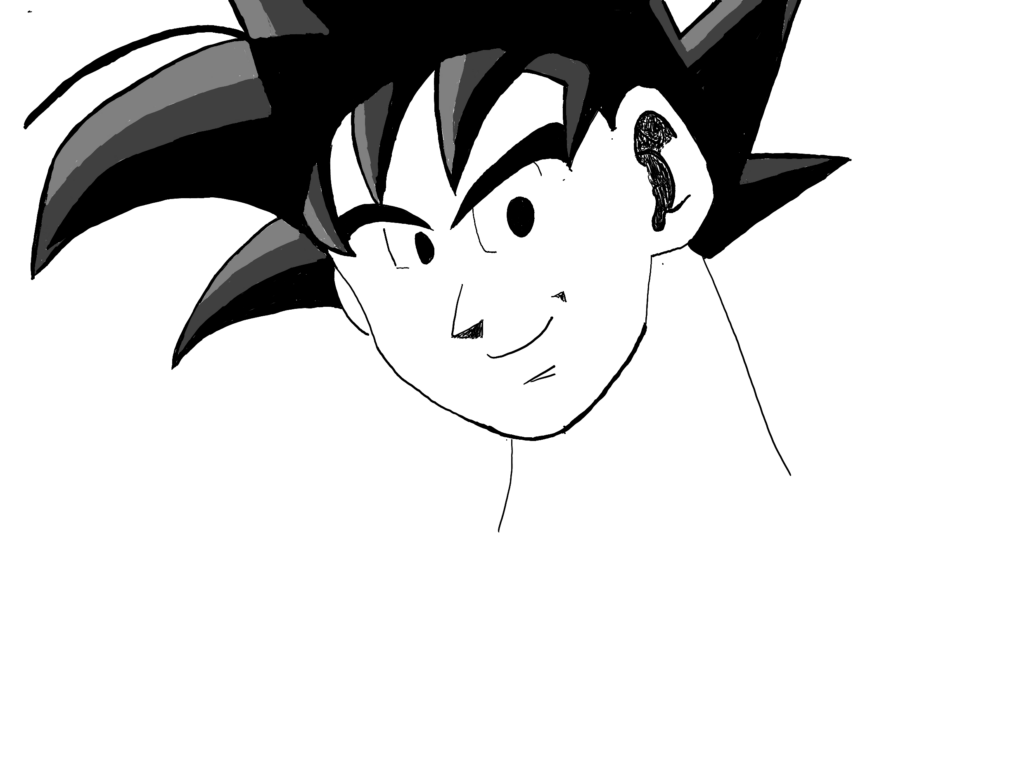
The shading being done, I realized that part of the outline had been messed up. And looking at the template, I chose to keep the outline. Stylistically, it helps things “pop”. Thus, I reinforced the outline, and fixed some issues at the borders of the shades. The drawing could have benefited from more clean up, but I called it a day, since it was particularly late. Here is the final result:
Conclusion
Overall, I’m fairly happy with this experience. I went for something different and new, not working with a step-by-step guide, but instead going from a single reference image. Moreover, I worked with a side-angle, instead of either pure frontal or profile, which I have less practice with, and is more difficult (obviously, I’ll want to go back to the book and practice this some more in the future). What’s more, I also experimented with some basic coloring/shading, which I think adds a lot to the drawing! Obviously, I was working from a template, instead of having to figure out and understand the shading myself, but still, it gets me excited!
As for the result, I’m also happy with it. It’s by no means perfect, and nothing next to the reference model, but I think it’s fairly good all the same. Last year, I would never have expected to be able to make something of this caliber this early (It’s only day 18 after all). So you can count me happy.
Overall, the drawing session lasted around 1h50m, or 110mins. Meanwhile, writing the blog post took two session of 45m30s and 38m30s respectively, for a total of 84 minutes, with reviewing taking 50 minutes, for a total of 134mins spent on the blog post, and a full session of 244mins, or about 4h. As for ratios, drawing was about 45% of the session, writing 34.5% and reviewing 20.5%. And reviewing was about 37% of the time spent on the post.
Also, a quick reminder that since this is released this during the weekend, there won’t be a regular post on Monday. This is released “out of schedule” due to being a tribute.
As closing words, I would like to first remind you that everyone’s time on this planet is fleeting, and you should take a moment to reach out to and spend time with your loved ones and the ones you care about. I would also like to use this opportunity to remind you it’s not too late to pursue a passion. As an influential Mangaka, Akira Toriyama inspired countless other Mangaka, Writers, Animators, and even Youtubers. And inspiration is an important asset. Take a moment to think about what you would really, really want to learn or do, and take the first step required to pursue it.
Rest in Peace Akira Toriyama.
This post is followed by Learning to Draw People Challenge – Day 19 (2024/03/11)