This was written March 11, 2024 as part of the 2024 Learning to Draw People Challenge
Credits: 1
Introduction
Hello everyone, I hope you all had a wonderful weekend. Following my last drawing, I figured it might be worth revisiting different angles for the head. Thus, I decided to go once again for the angled profile, since I believe I have a lot to learn from this one, and it seems fairly common. But don’t worry, I’ll eventually explore other angles.
Before starting, my session began around midnight (technically on the next day), and I evaluated my “tiredness” at a 7/10, although by the end it was much closer to an 8/10.
Exercises
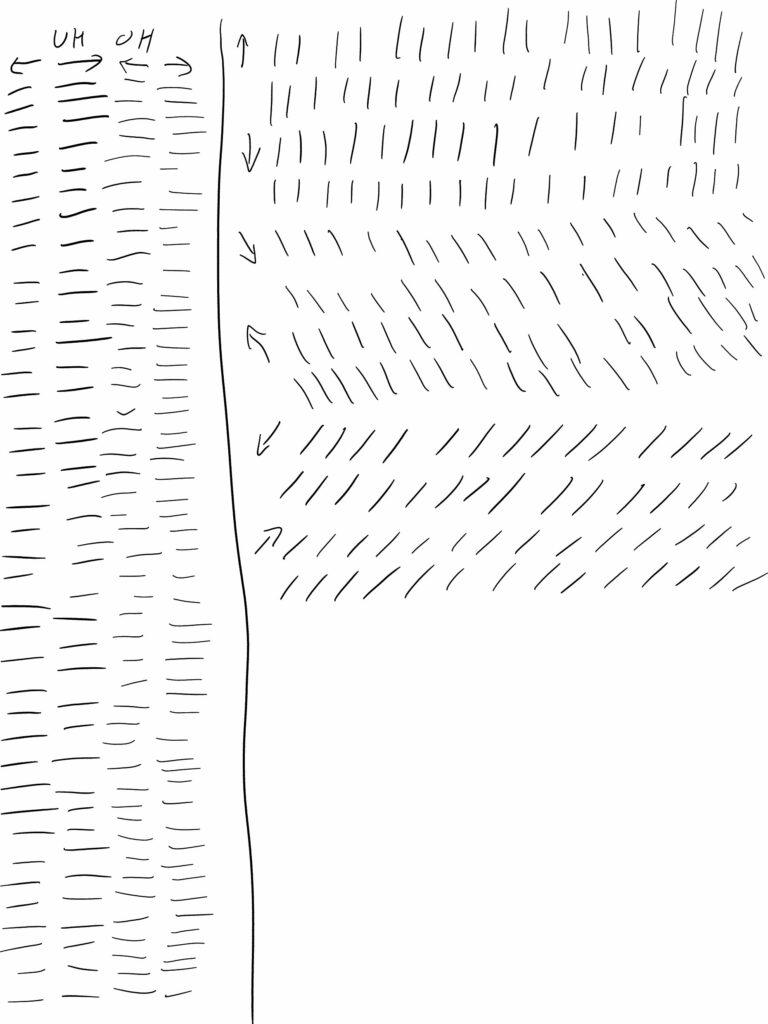
The more I do these exercises, the more they feel habitual. For this reason, it feels like the line exercise, at this point, is just a mechanical motion to which I don’t pay much attention anymore. Nor do I really try to evaluate it either. And that’s probably because it’s been relegated to the status of practice. All the same, I did notice how odd the wrist angles can get for horizontal lines (whether overhand or underhand). I do worry they might not be great for the hand, all while be commonly used.
Another thing I noticed during my line exercises, which I’ve also noticed while practicing Chinese characters: if I’m playing music, I tend to write strokes to the beat of the music. This probably means I’m going slightly slower than I could, but I wouldn’t consider it a significant issue. Especially if the music helps with the motivation and headspace. Regardless, this felt like an interesting side-note.
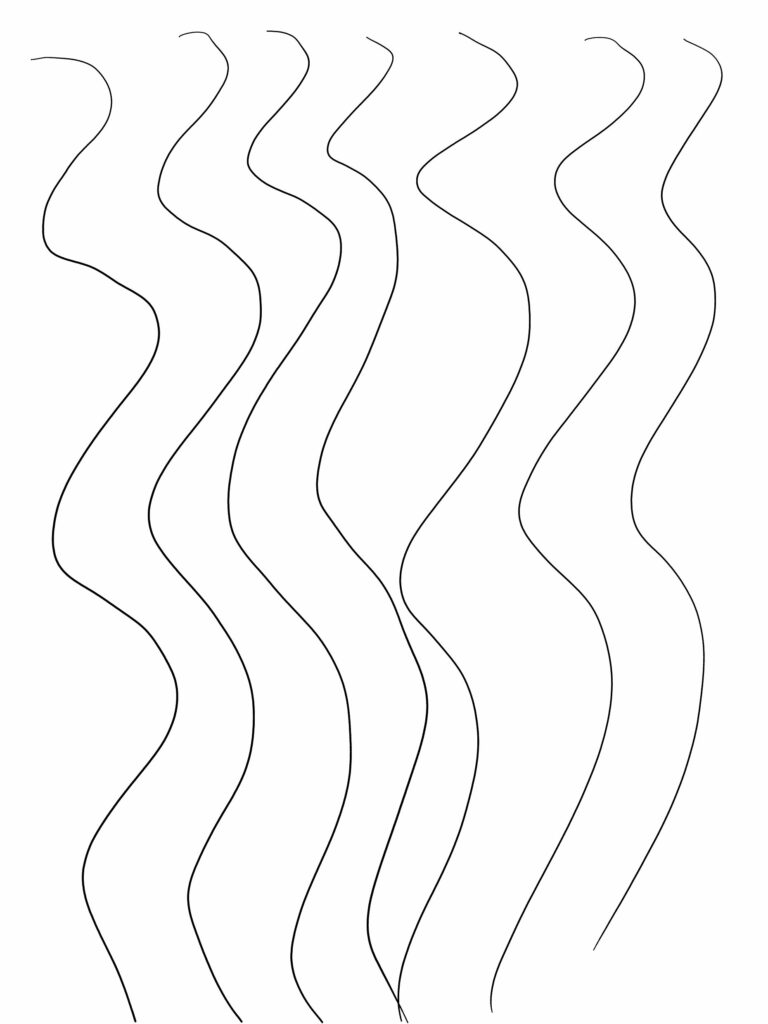
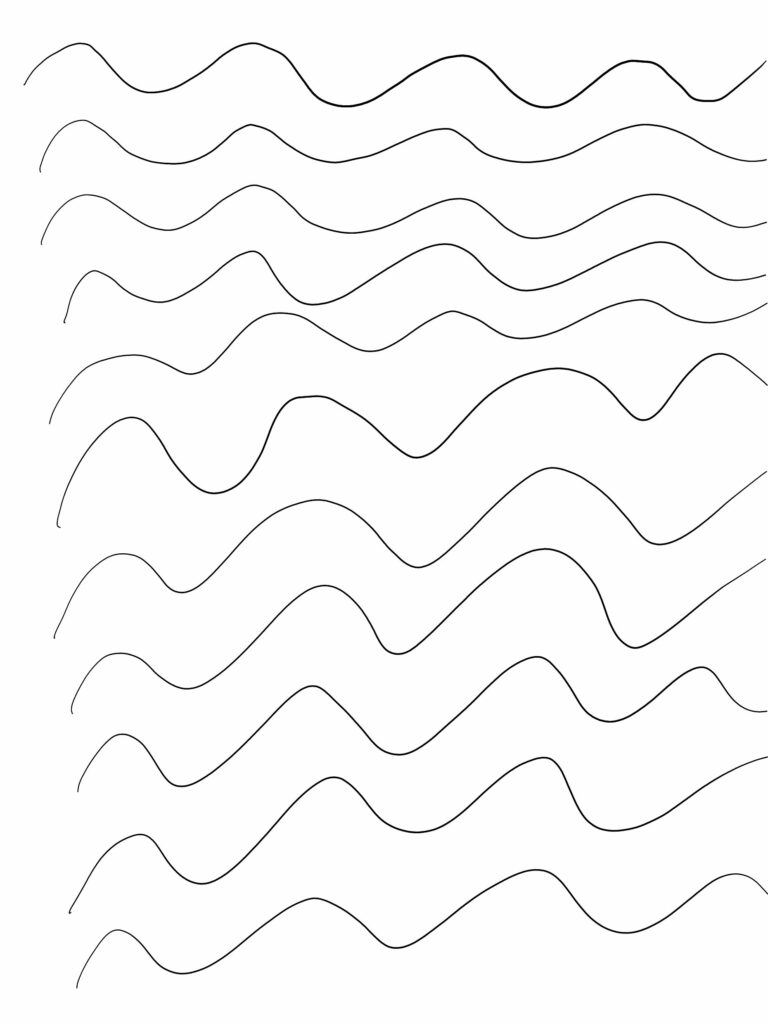
Finally, I’m still evaluating my approach to the wavy lines, since I’m still struggling with them. With the horizontal ones, I realized I was paying too much attention to the peaks and they alignment, in such a way that I dismissed the smoothness of the curve and the peaks would get too narrow. This should be useful information for my next attempts. I also tried to pay attention to the first line, instead of the previous one, which I think this may have helped, although not mainly for the horizontal ones.
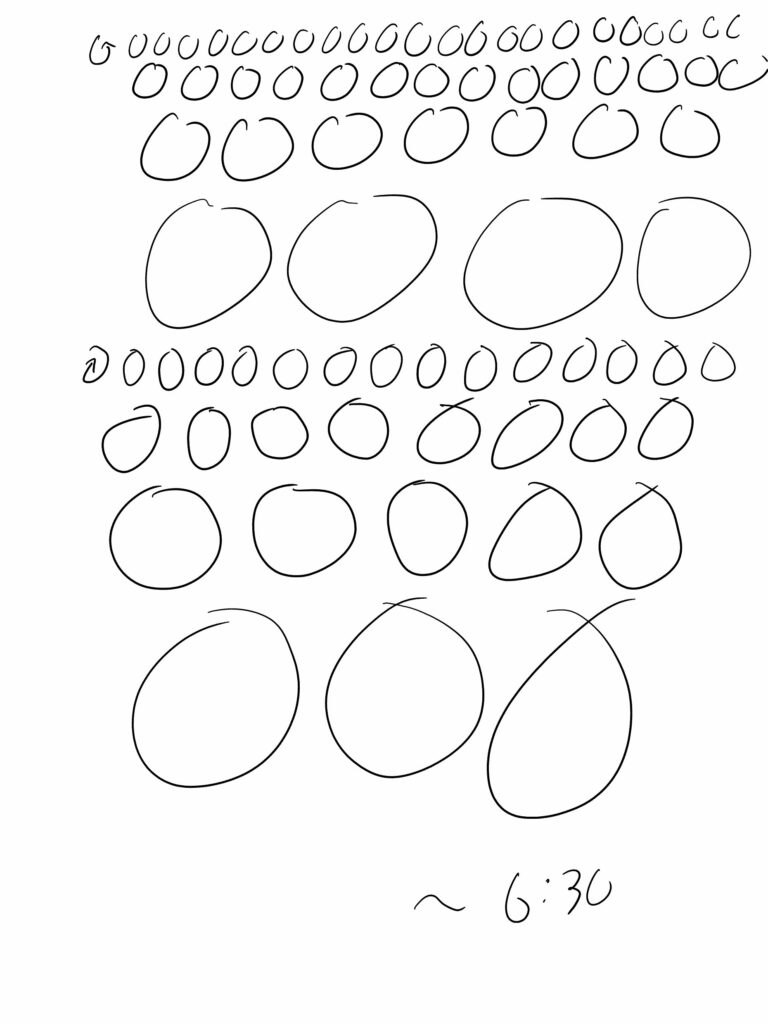
Overall, the exercises took me roughly 6m30s from start to finish, including writing down a few notes.
Drawing
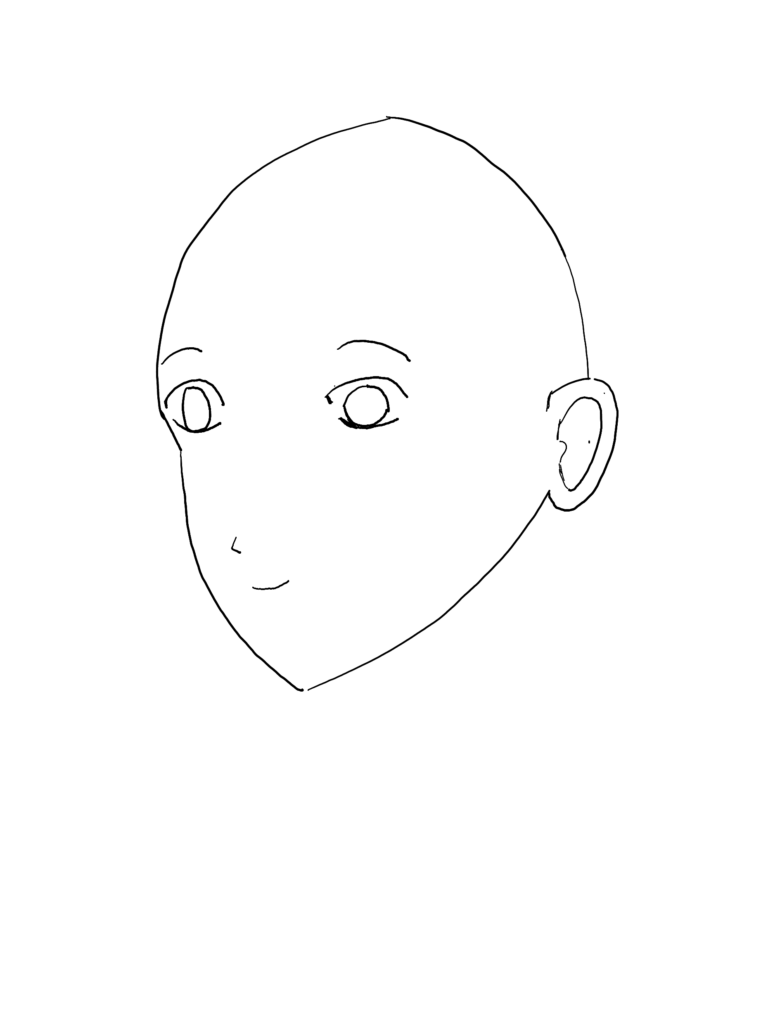
Realizing I needed further practice with different head angles, I opted to practice the angled head profile. The actual drawing was a disaster, but I did learn a lot from this exercise, which I’ll need to consider during my next attempts. I also…will have to work towards reading/translating these two pages to get as much information and context as possible. Without further ado, let’s dive head-first.
First up: guidelines. I started with the head’s contour, although this time only with the top. I really struggle with these big circular strokes: properly proportioning them, getting the correct angles, and having the right “3-dimensional symmetry” (Making both sides consistent). But once the top was done, I prepared other guidelines. I figured these additional guidelines could help with positioning the contour. Thus, for the bottom part, I started with the line representing the center of the face, before drawing half the jawline. I then added the neck line, and got ready to draw the neck’s sectional intersection. Here are a few of those leading steps.
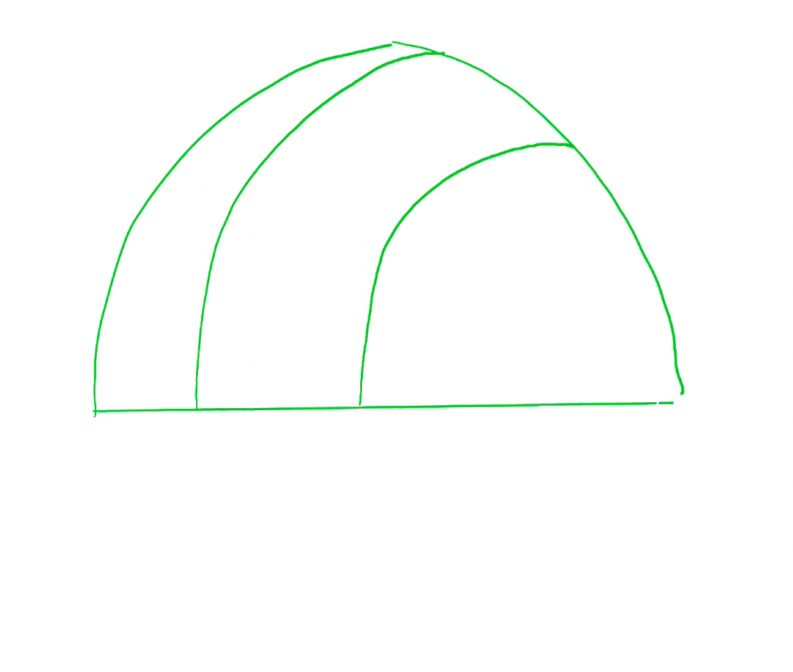
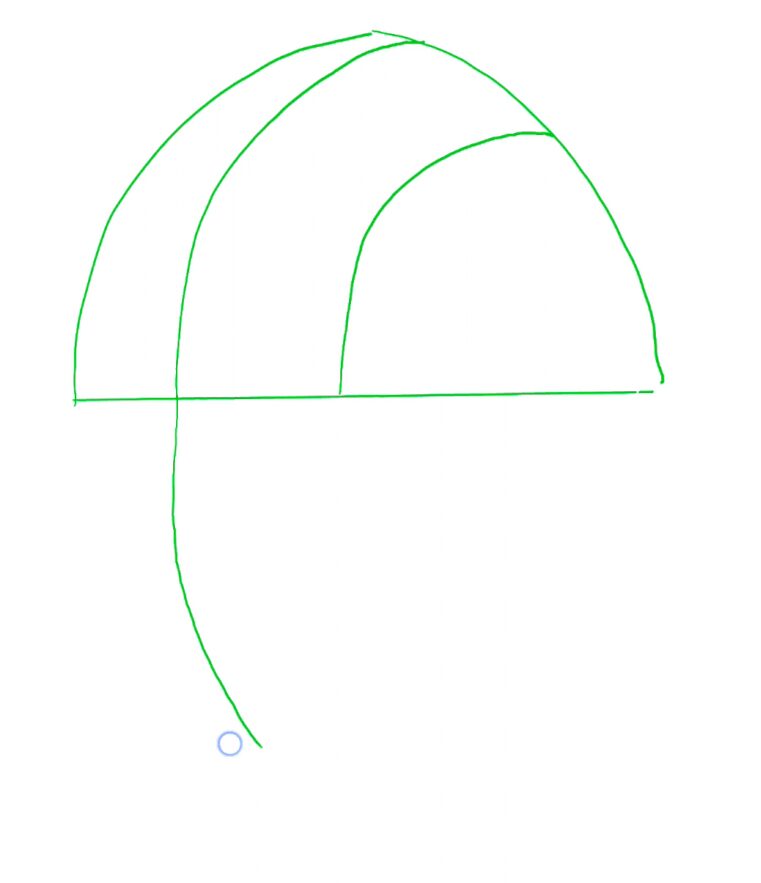
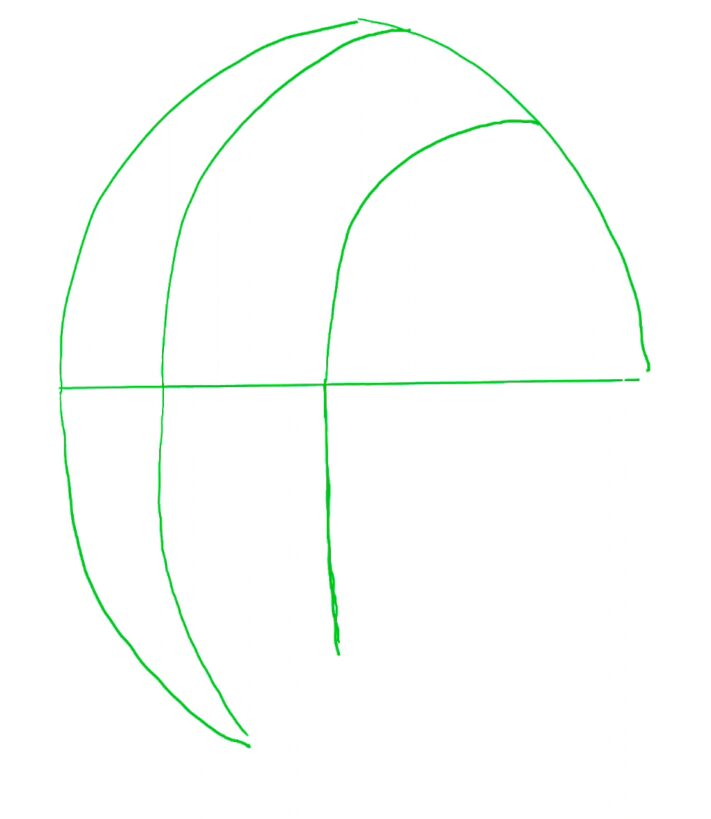
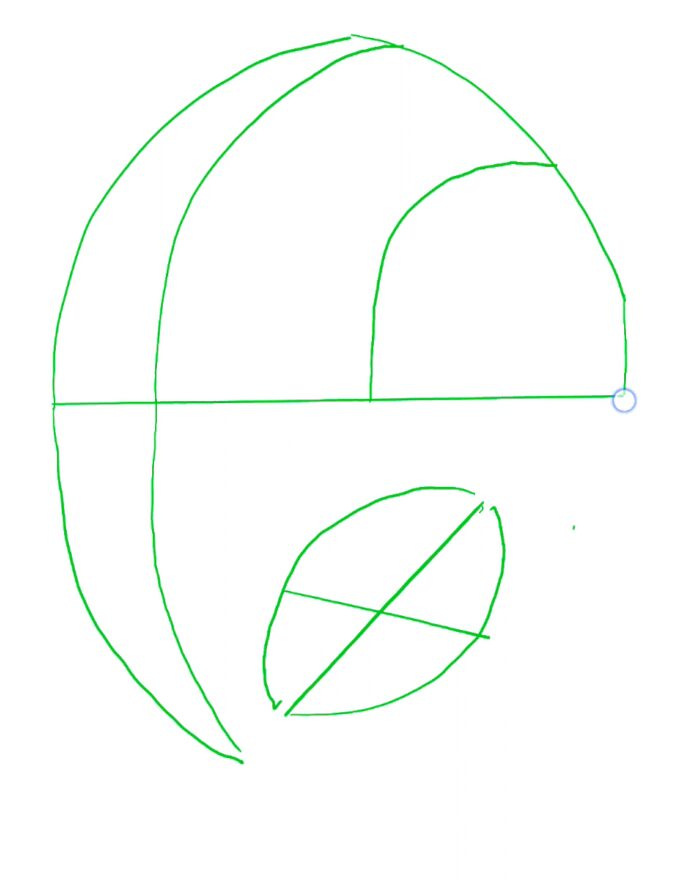
Ah, the neck’s cross-section. Always such a challenge. This time, I decided to draw it before connecting the rest of the outline, to help gauge the latter. However, I struggled with a few aspects:
- Getting the correct size. I tended to make it too small.
- Properly positioning it. Positioning the horizontal midpoint is fine,since there’s a guideline for it. However, knowing the vertical position felt more challenging. (Especially when coupled with size issues).
- Getting the correct angle.
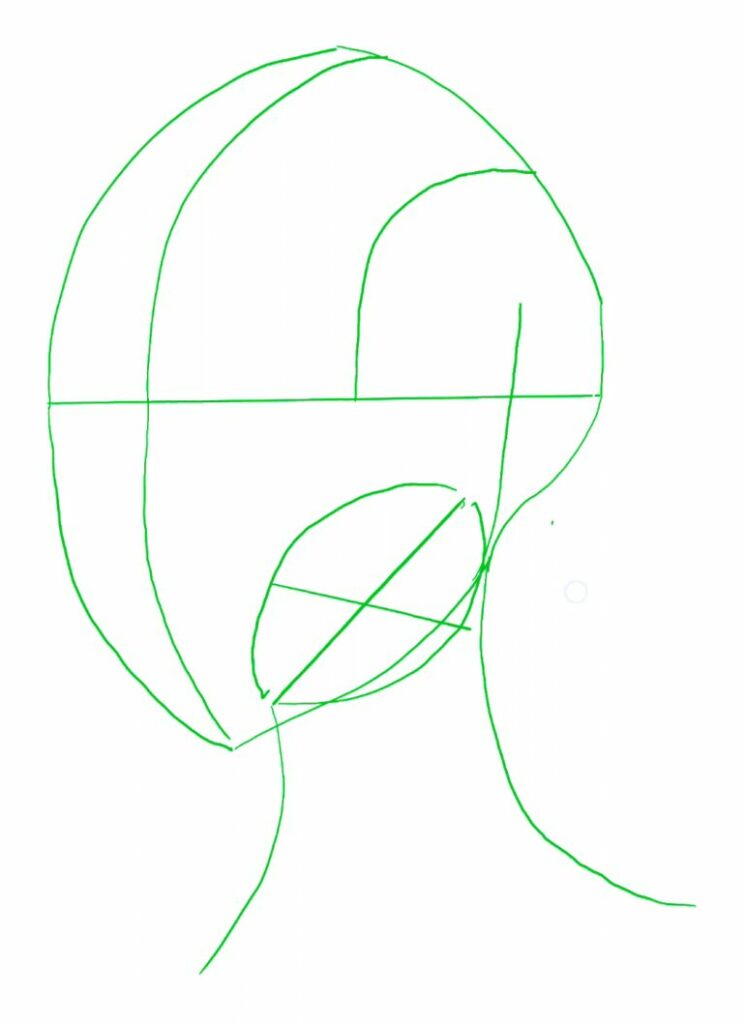
So, with one major error already under my belt, what’s up next? I prepared the next layer and re-drew the head’s outline. This one was meant to have a slight “dip” for where the eye would align. However, the curve below this “dip” isn’t steep enough, thus shrinking the distance between the central line and the face’s contour too much. Take note, this will come back to haunt us.
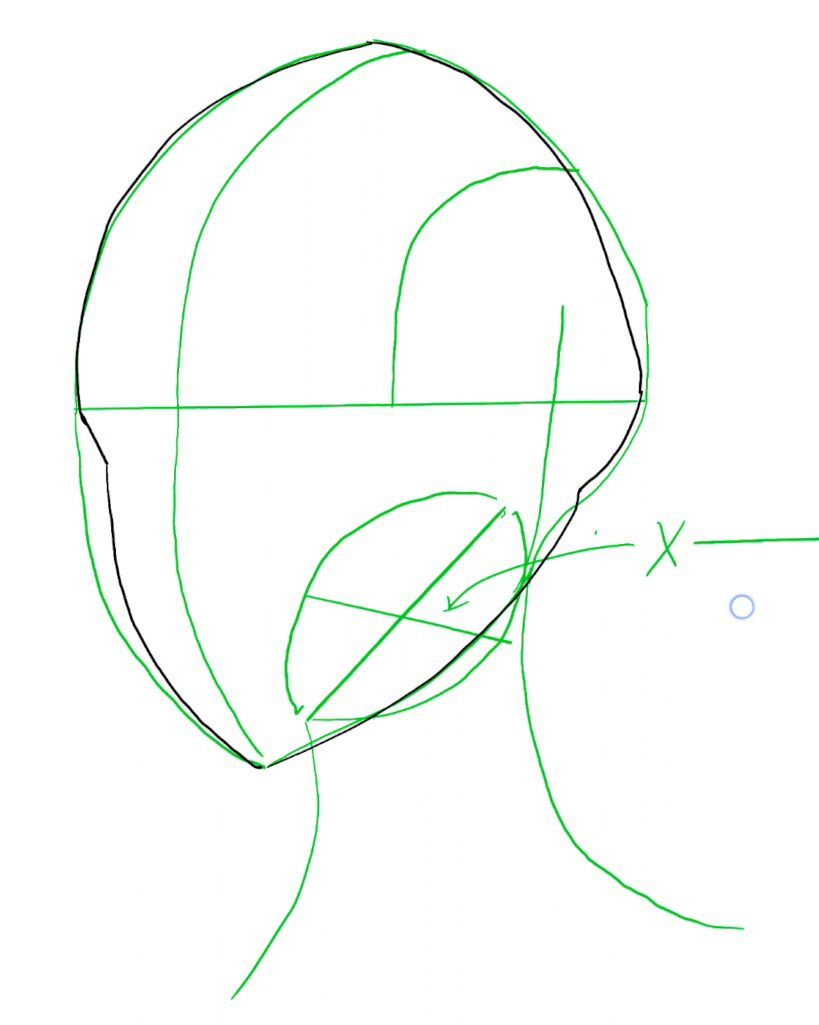
Next up, time to add some extra guidelines. You might remember those from an earlier session where I couldn’t figure out what they were for. I believe I now understand the extended central line’s purpose. I think the goal is to represent the width of the nose bridge. Thus, it’s supposed to guide the eye-socket. The top before it “shrinks” represents the top of the eye socket. The position where the shrinkage ends represents the bottom of the eye socket. Also, the curve is supposed to align the eye angle and position. Unfortunately, I didn’t realize that on time, and thus didn’t add the proper eye guidelines. Speaking of, one thing I did notice on this one, but didn’t apply to the Goku drawing: the eye line is purely horizontal, no curve here. Other “guidelines” added were lips and a nose (Which I initially mistook as parts of the actual drawing).
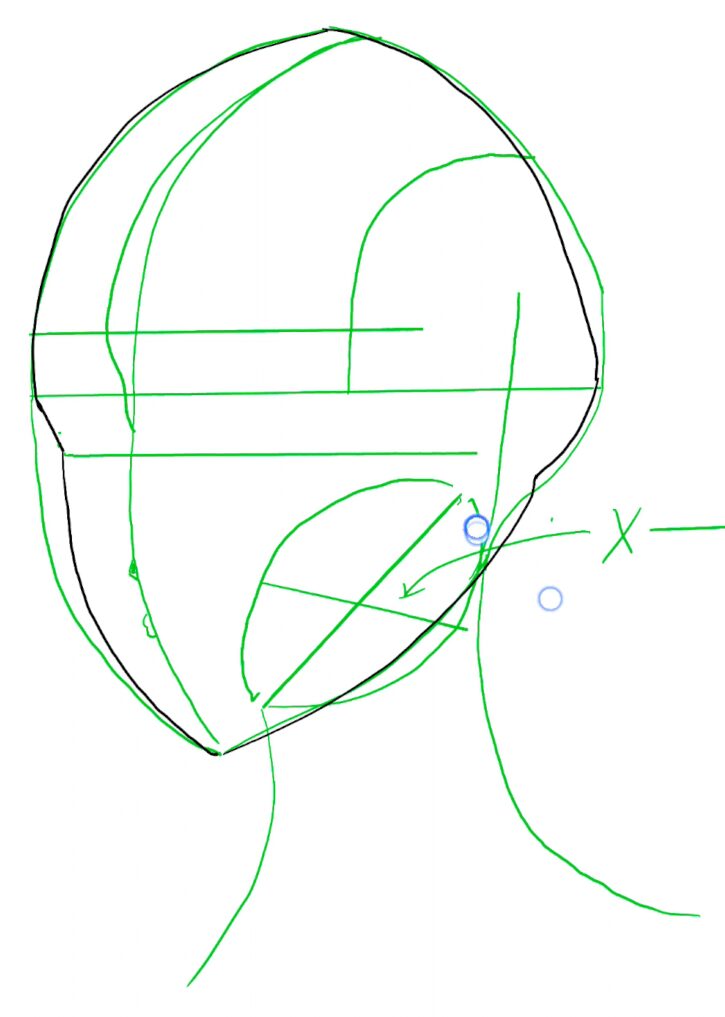
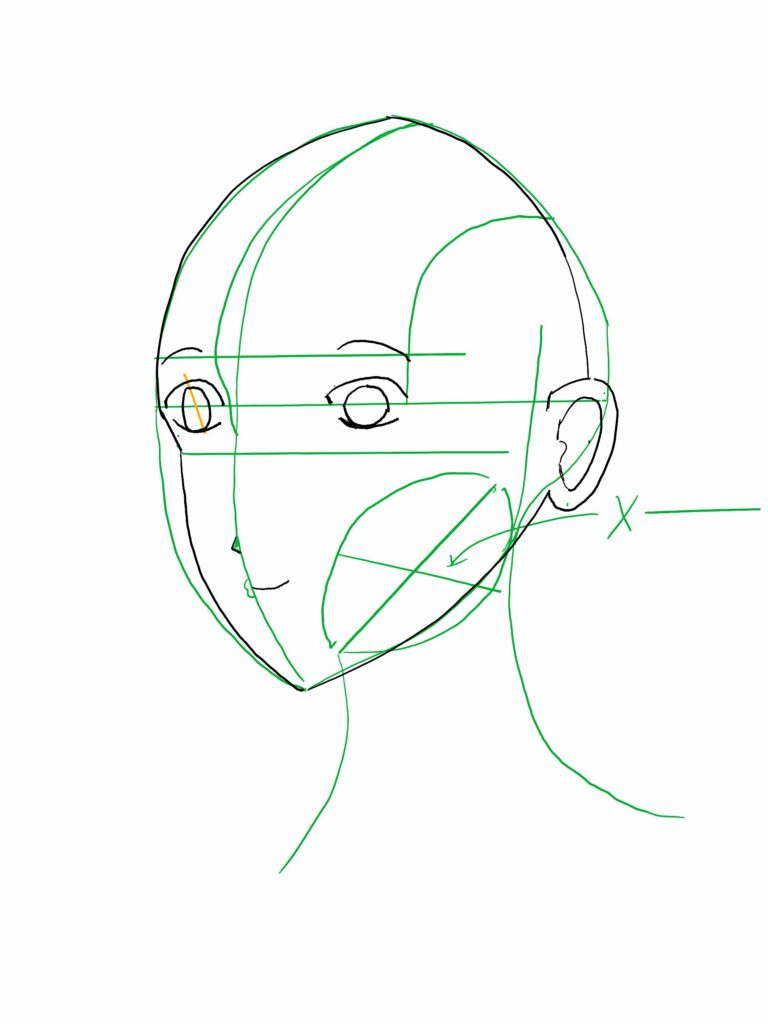
With the guidelines now complete, time to move to the actual drawing. I added a smile, the initial rough circles for the eyes, and some eyebrows (with which I struggled). One thing to note is the angle of the right eye (to the left of the drawing). I added a guideline to show how it’s meant to be angled. (The general direction is the highlight, not the actual angle).

Finally, I did an initial refinement for the eyes and added an ear, before calling it a day. One side-note here, I did realize at this point that a “confident line” does not require a quick stroke. Indeed, it’s possible to have a confident line while still taking your time to get the general movement and angles.
Looking at the final drawing, a few things become clearer:
- As noted earlier, the face’s contour is too close to the central line, which means that the nose and smile are too close to the edge (The mouth and nose are also slightly misaligned)
- The right eye (on the left) is way too close to the edge.
- Both eyes are inconsistent in size. The right eye (on the left) is bigger vertically than the left eye, which shouldn’t be the case.
- The general shape of the cranium is off.
Conclusion
Overall, what are my thoughts? Well, it goes without saying that I’m disappointed with the actual drawing. Regardless, I don’t think the session itself was a disappointment. Indeed, I’ve learned a lot of things here, which I look forward to implementing next time. Although I’ll also want to try to read what’s actually written in the book to better guide this. As always, more practice will be key.
Although, thinking over this session and the previous one, I think there’s a new exercise I would like to eventually try (although I don’t know that I have the right setup for it). It might be worthwhile to take drawings from artists I admire and want to learn from as study material. First, observing the drawing and sketching reference guidelines, mapping the 3d-space and angles as necessary. With these guidelines in place, I could start drawing on top of the guideline, using the image as a reference on a different screen. Note that I wouldn’t want to trace anything beyond initial guidelines, since my objective would be to gain a better understanding of the drawing itself.
As for statistics, the drawing session took roughly 43 minutes, with 6m30s for the exercises, so 36m30s for the drawing. Meanwhile, writing took about 60mins, with the review process taking approximately 42mins, for a total of 102mins for the article, and 145 minutes for the session overall. This means the drawing sessions was roughly 30% of the session, and reviewing was about 41% of the time spent on the article.
Closing words: I do think that setbacks and disappointment are generally unavoidable. The most important thing is to not let them get to you and to try to learn from them. And if any of you were impressed and intimidated by any of my previous sessions, you can definitely see that I’m far from perfect and still have a lot to learn too. It’s just a long and interesting journey with plenty of ups and downs, but hopefully the general trend will be upward. If you’re facing disappointment from anything you’re trying to learn, just remember that we have a tendency to focus on the negative, but that it shouldn’t eclipse the progress we actually make.
And on that note, have a nice one everyone! Keep shining!
This post is followed by Learning to Draw People Challenge – Day 20 (2024/03/12)
Congrats on Day 19!!