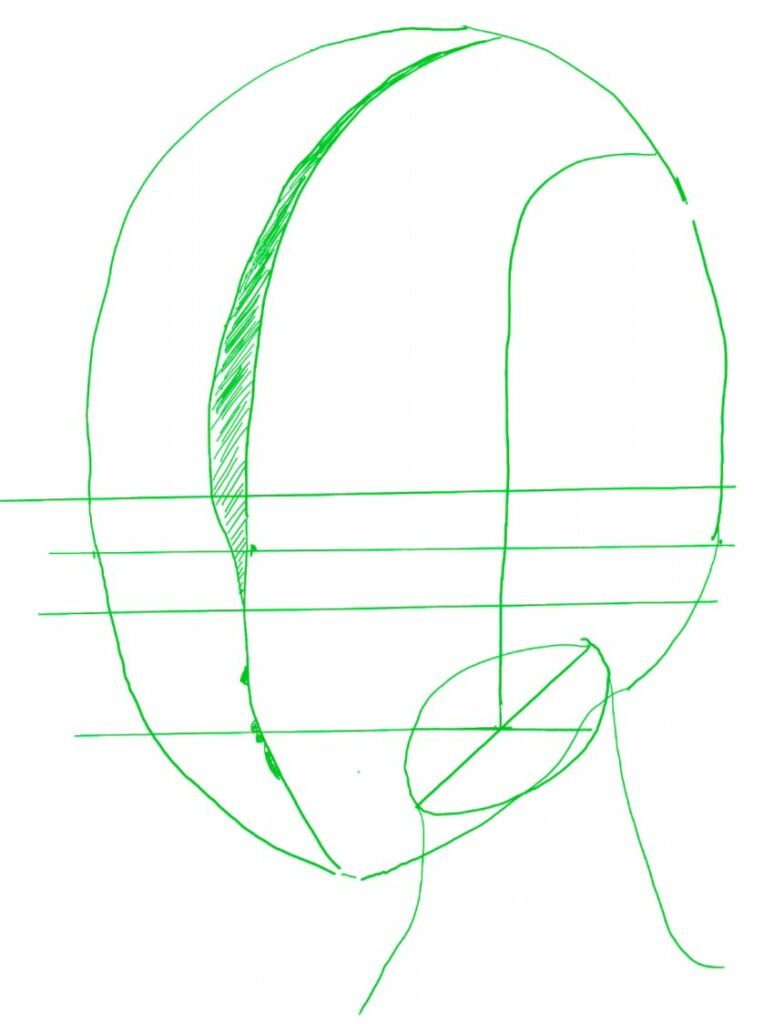
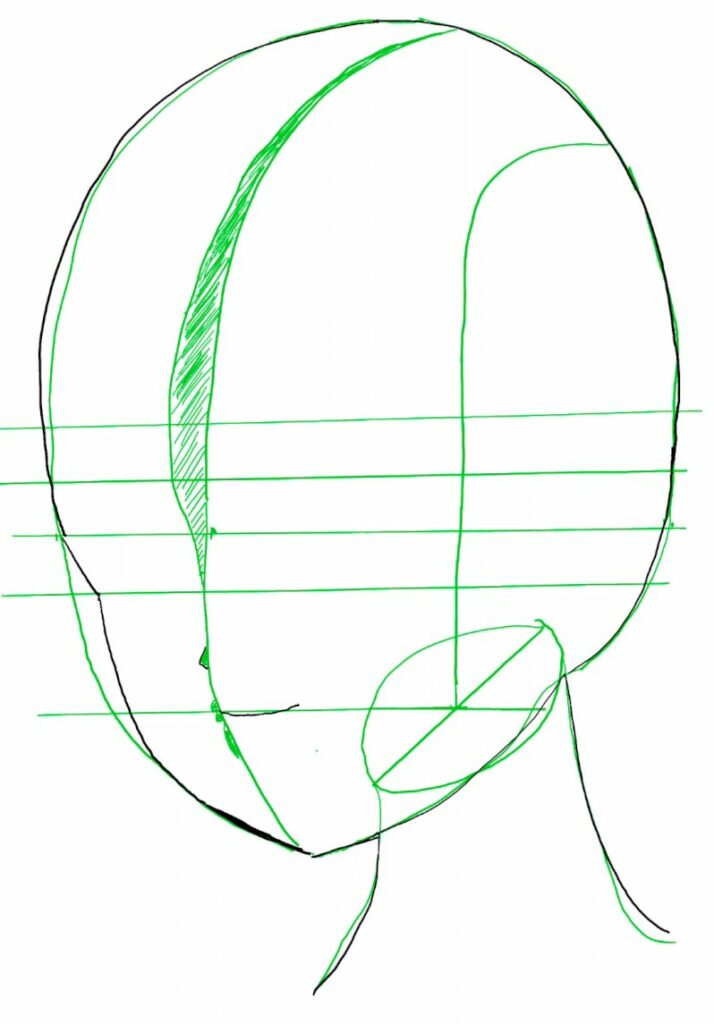
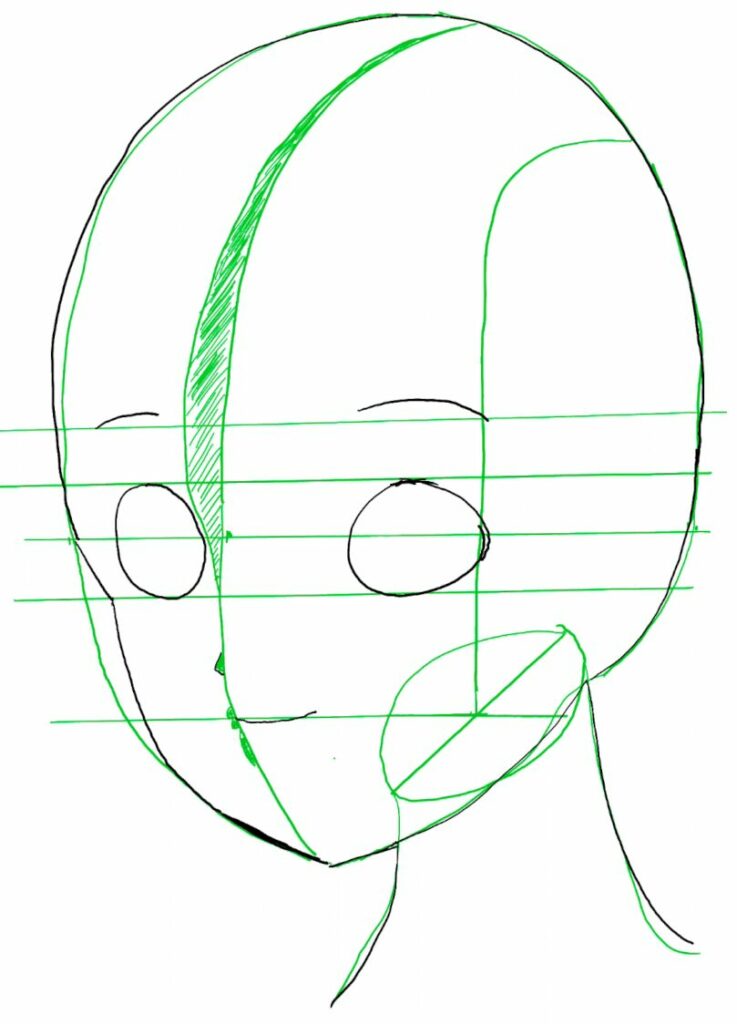
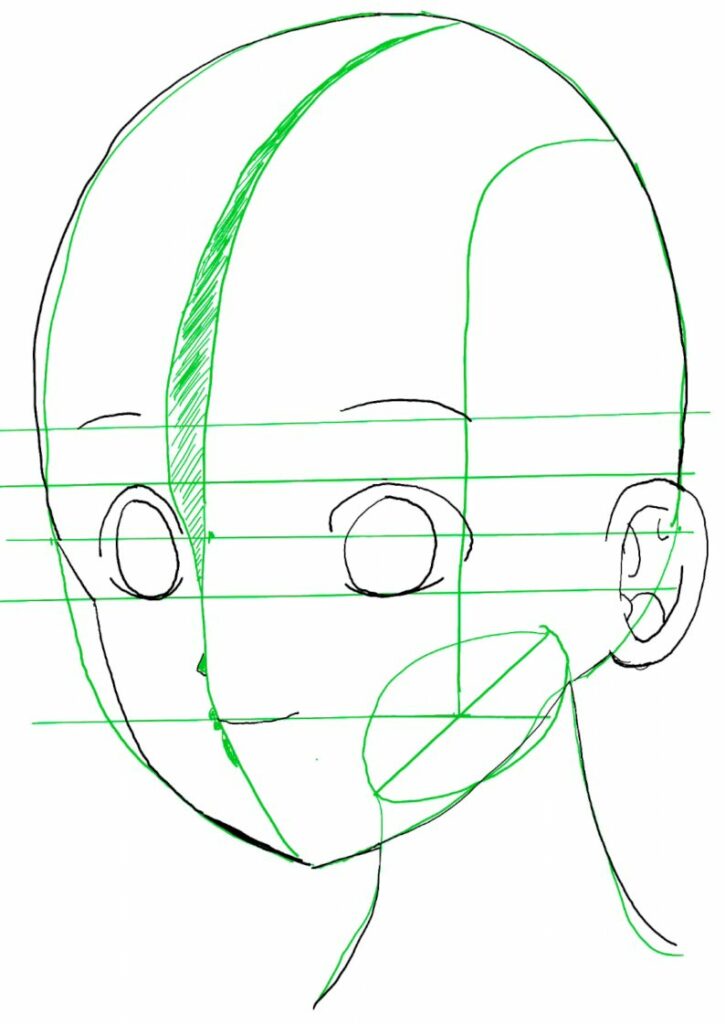
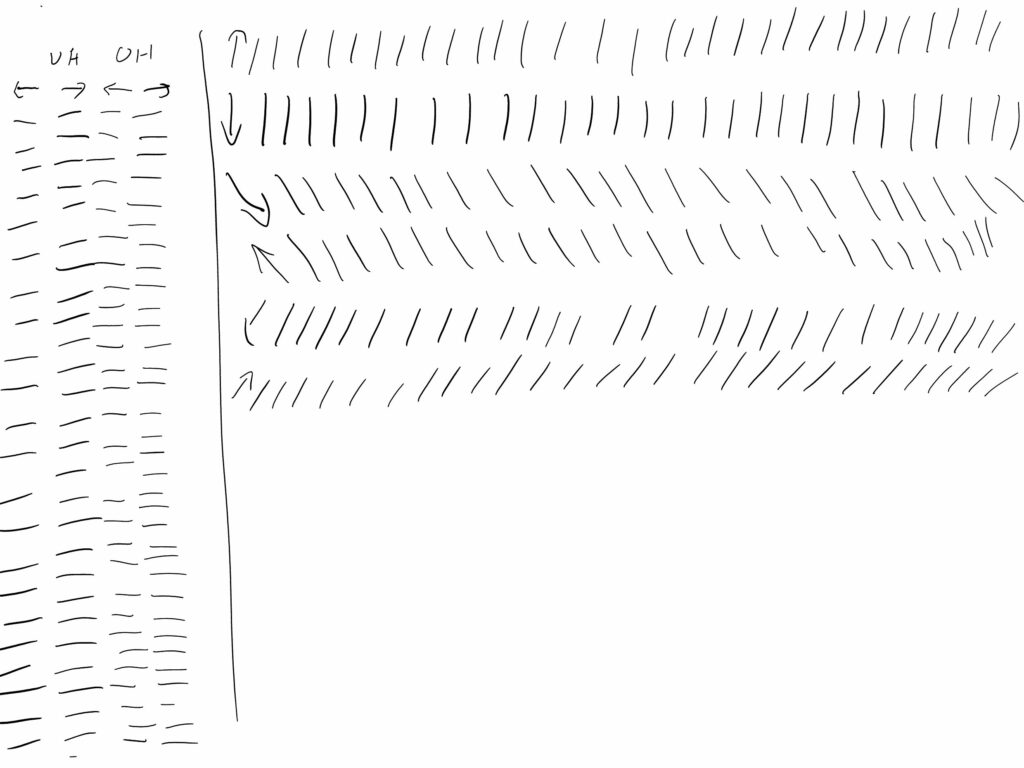
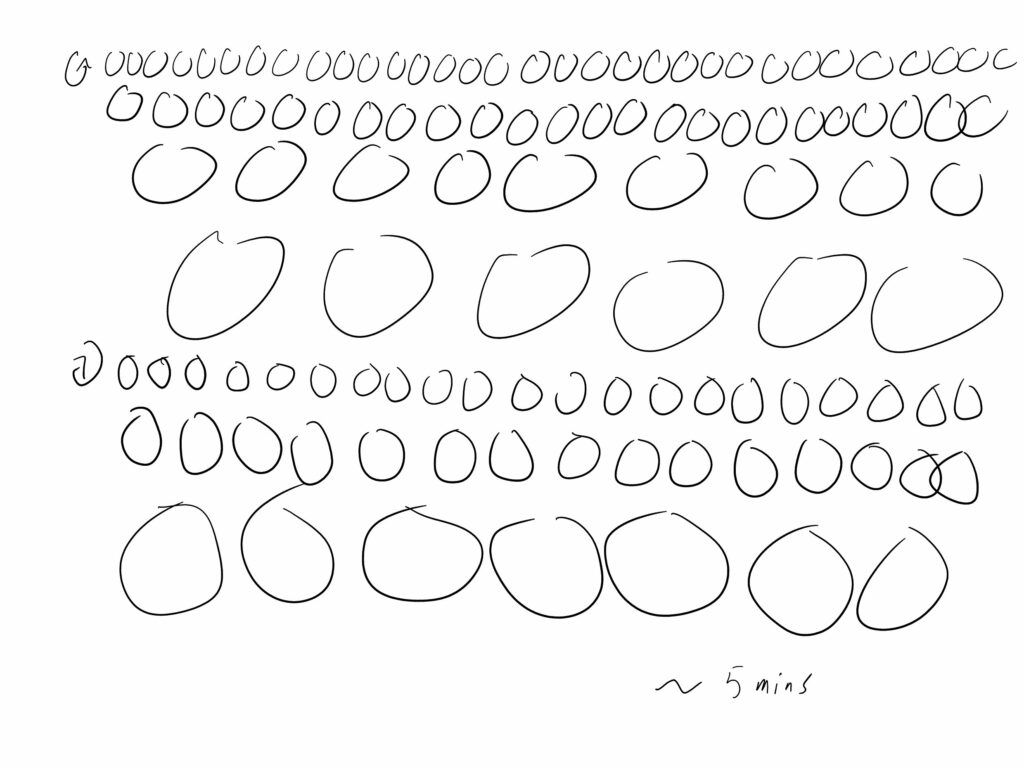
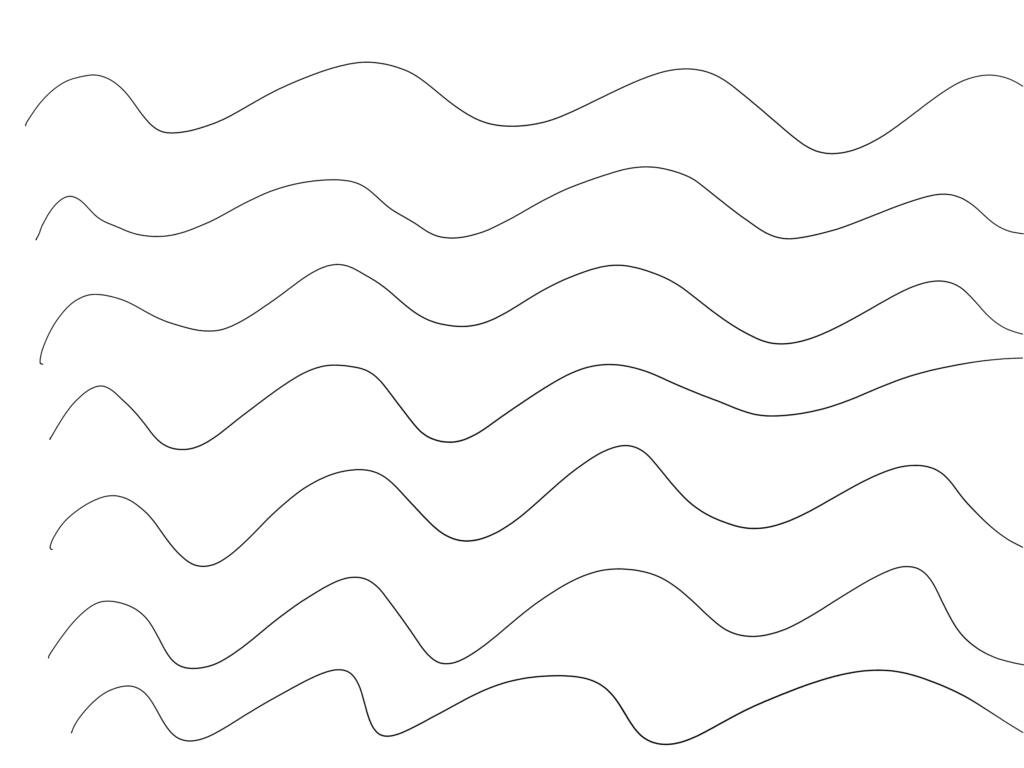
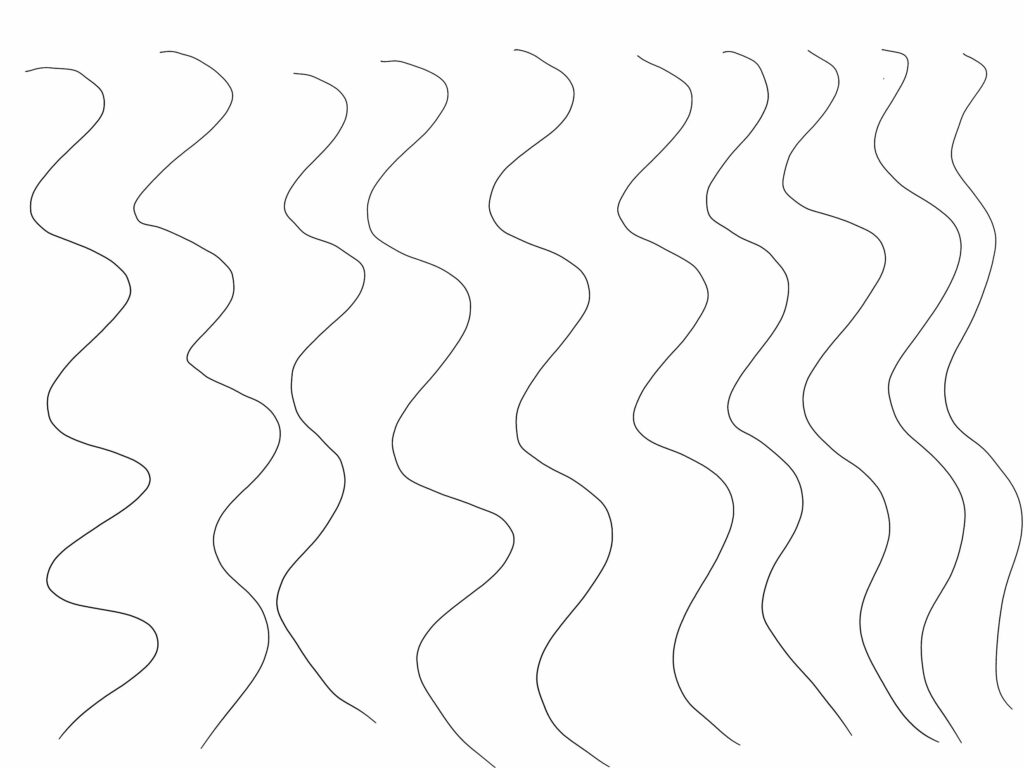
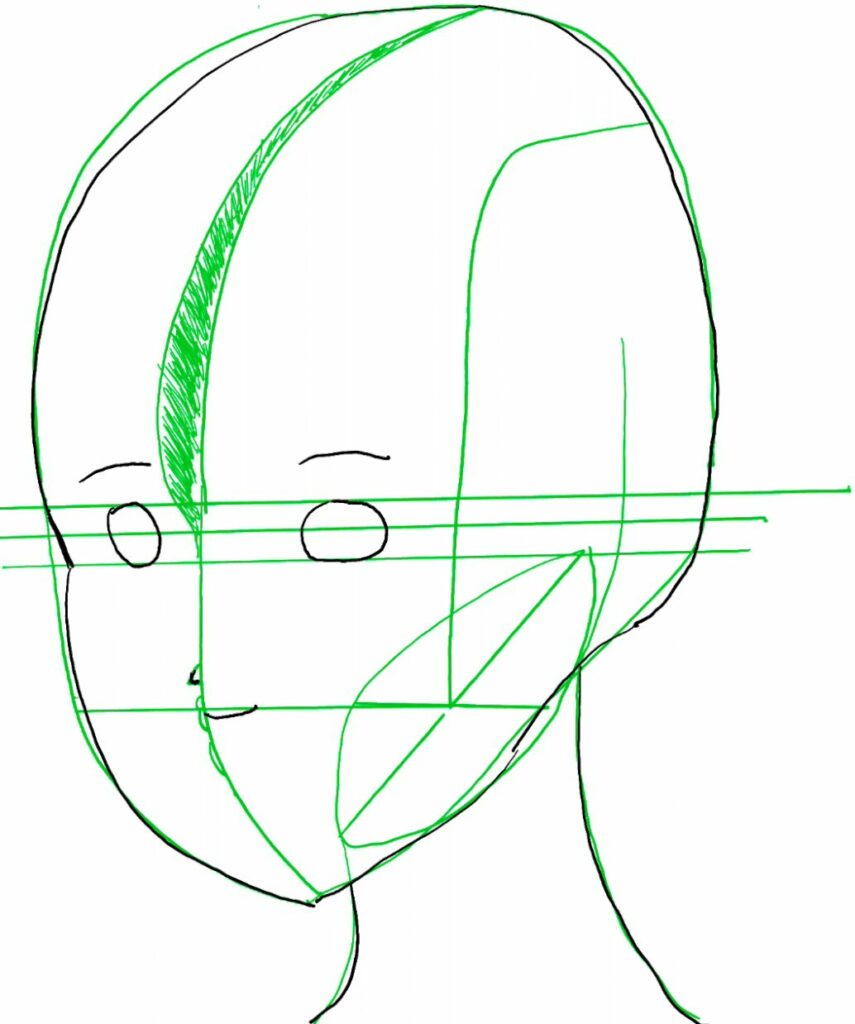
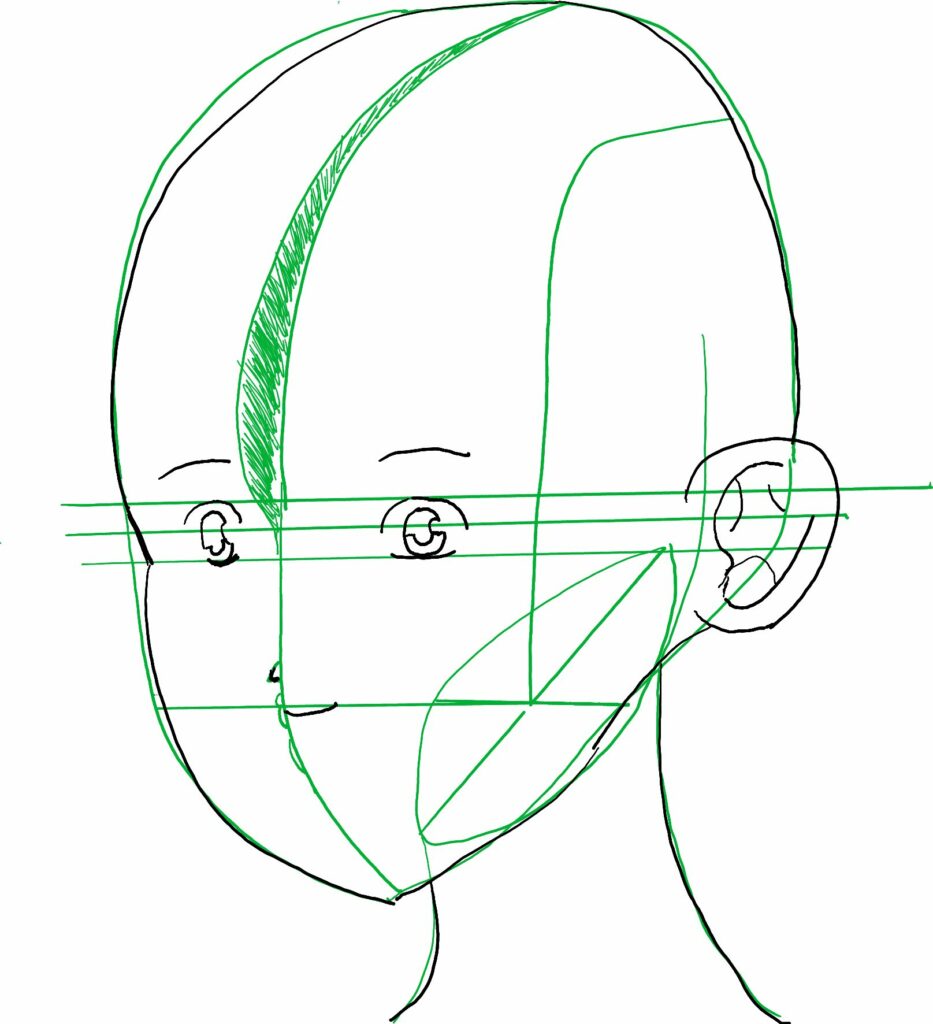
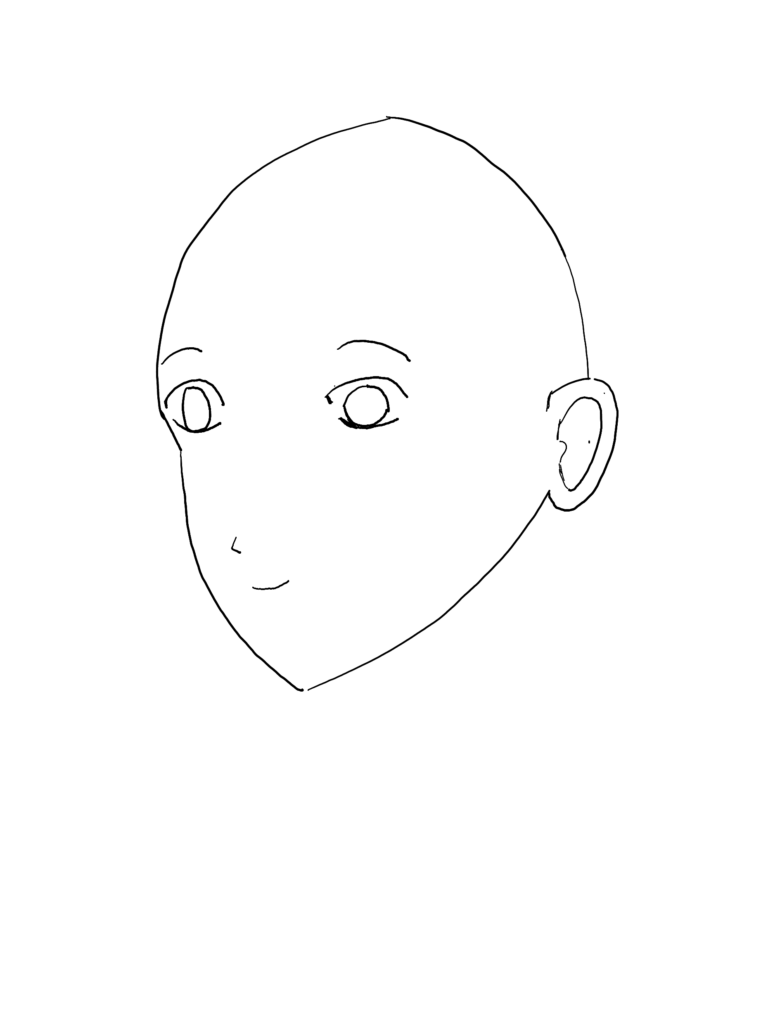
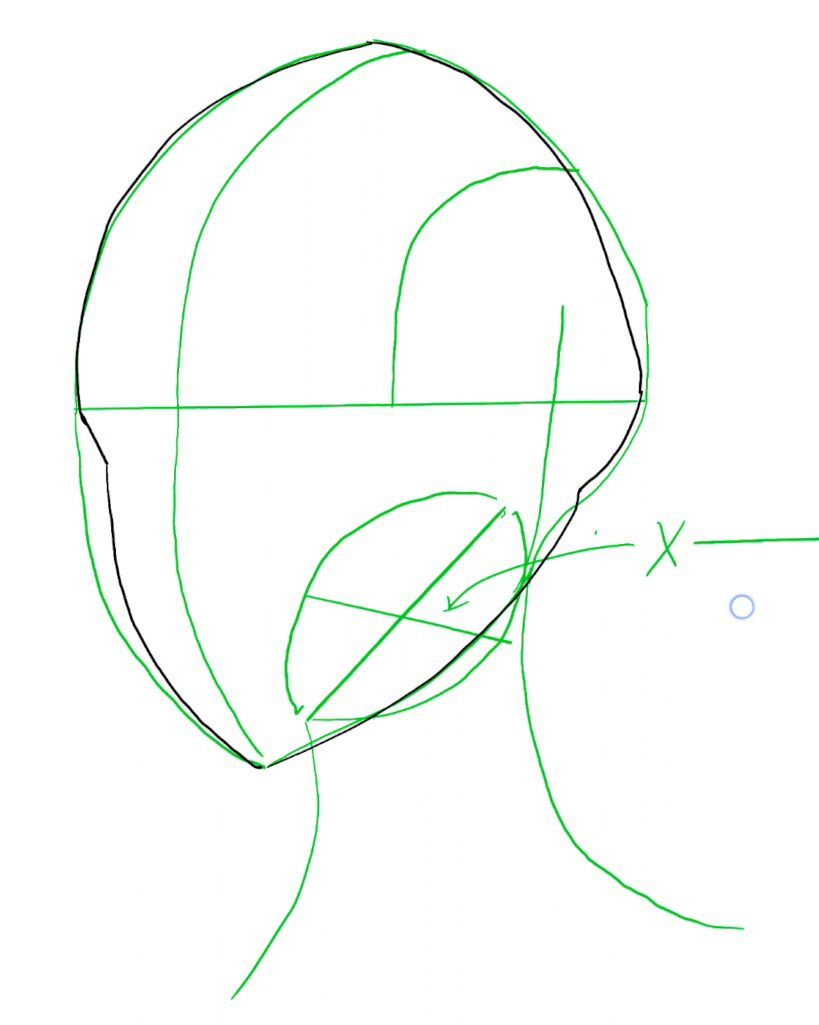
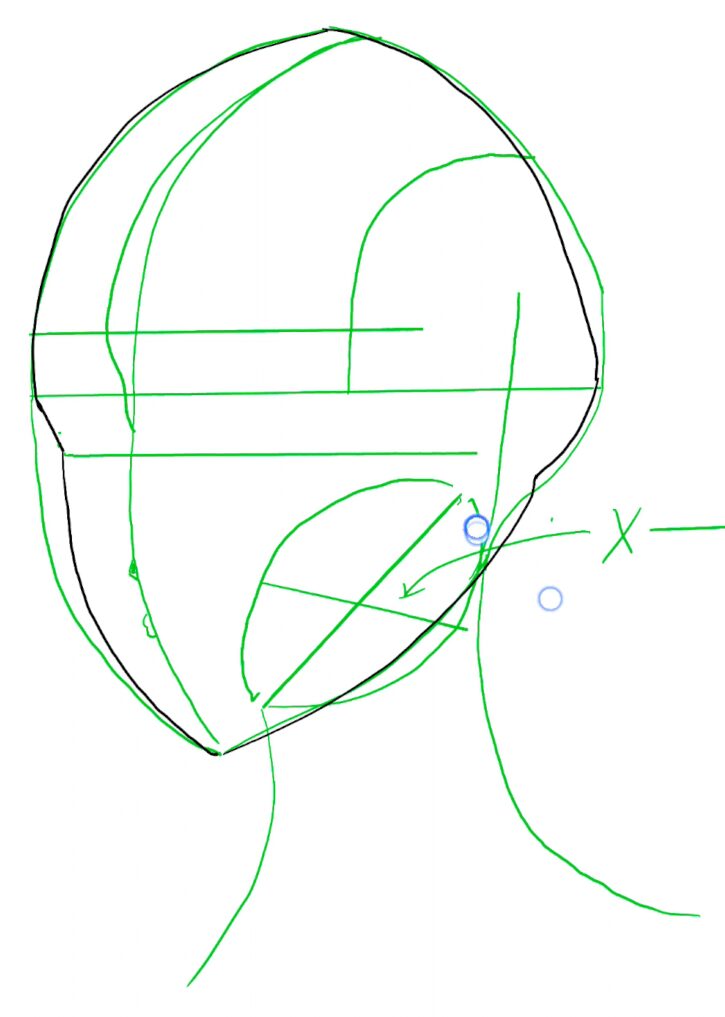
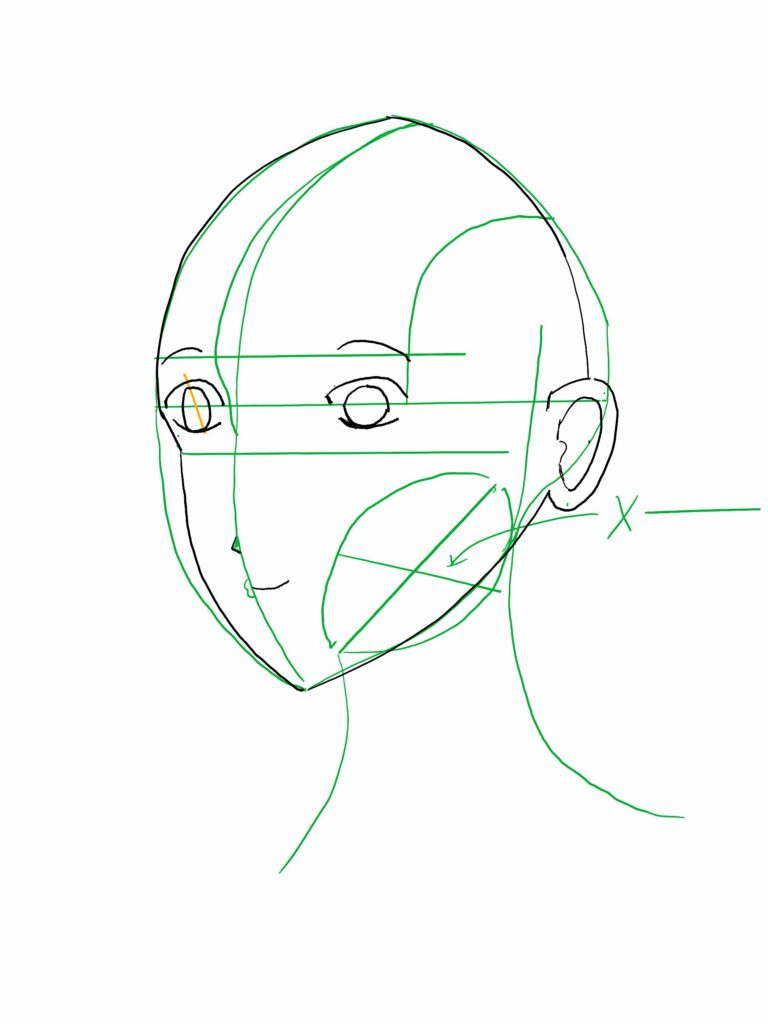
Learning to Draw Challenge – Day 26 – Shading – 2024/06/21

This was written June 22, 2024 as part of the 2024 Learning to Draw People Challenge

Introduction

After another long hiatus, it’s time to return to this drawing challenge. Today, I decided to learn a bit about shading, and so opted to try to draw an everyday object in the dark, with a single source of light. The object I chose was a mug (which definitely doesn’t count as a person). Here are pictures of the actual setup I was trying to replicate.
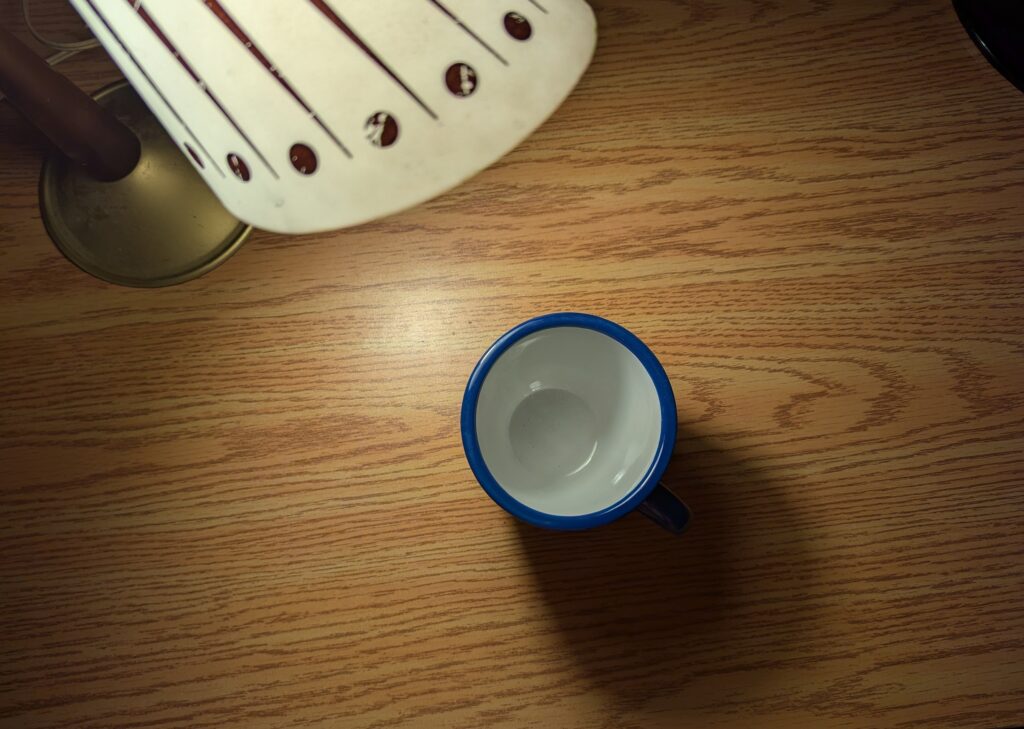
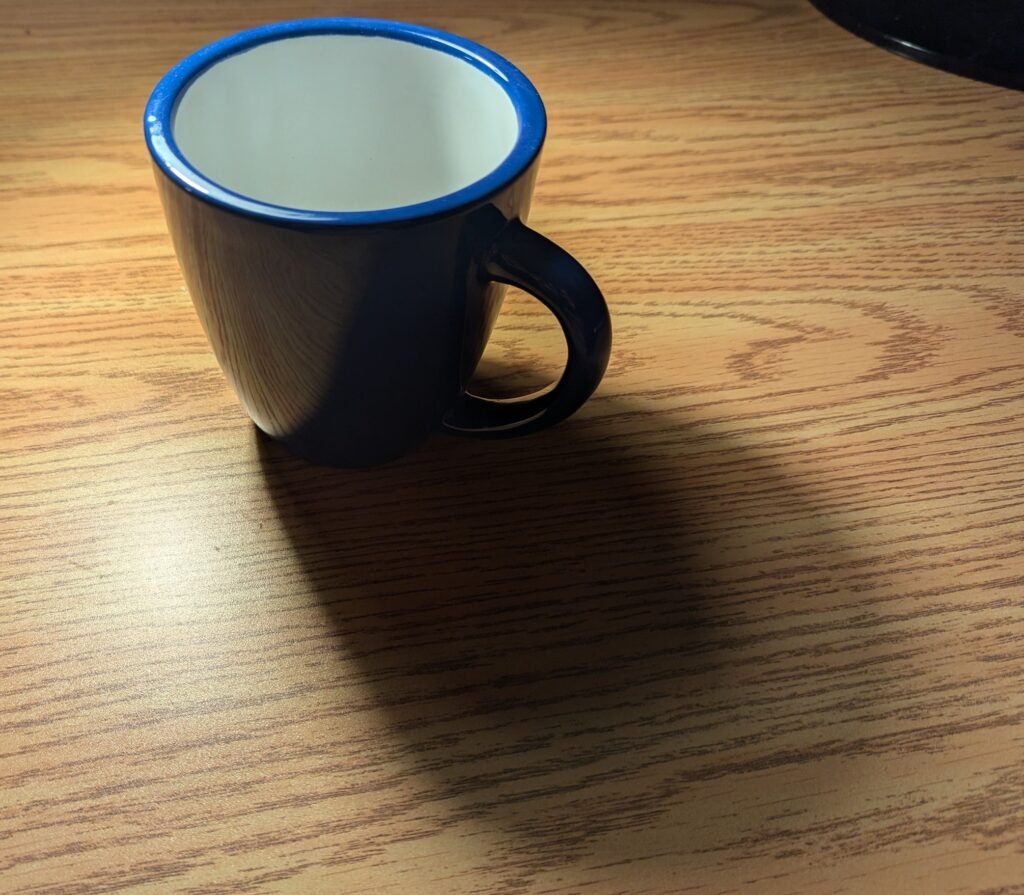
Mug lit from an angle – Seen from above
Mug lit from an angle – Seen from my drawing angle

Before discussing the drawing, a quick note. I was planning to use a new tablet, but the app I’d chosen had annoyances. I thus opted to go back to my previous set up. I will eventually have to investigate a good android drawing app, please share recommendations. (Edit: While writing this article, I did some research online, and people seem to recommend “Clip Studio Paint”, although it’s apparently costly. I may give it a try.)

Drawing

Without further ado, here is my drawing:
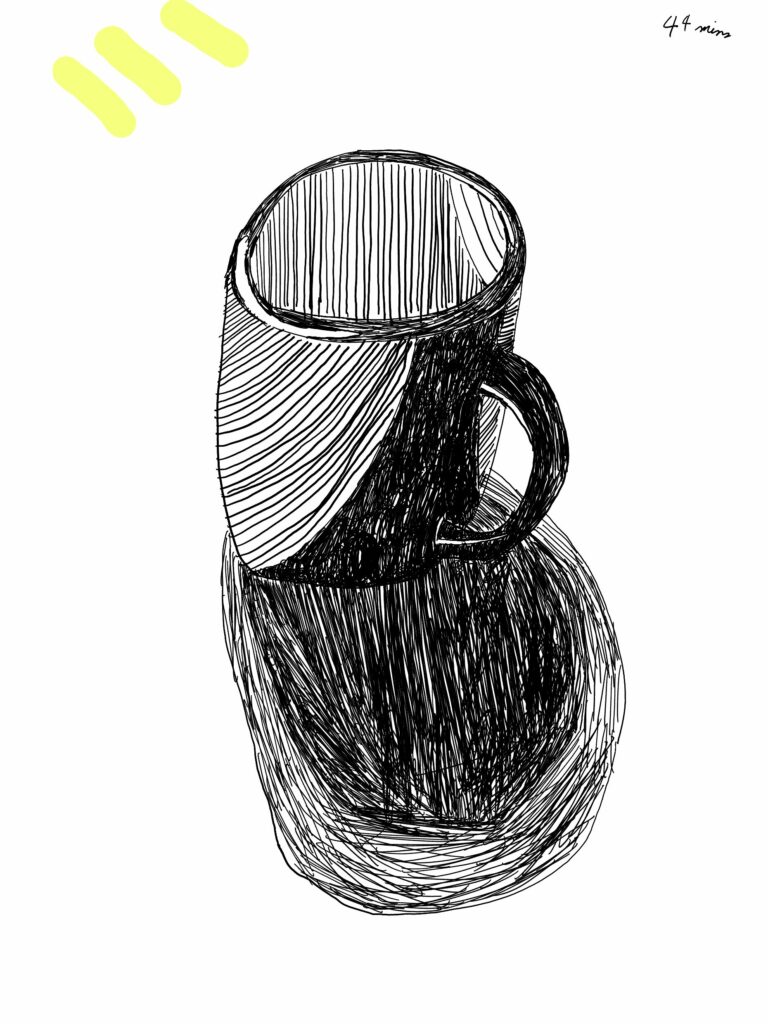
Day 26 – Final drawing

A few comments about the experience:

  • First of all, I decided to add the source of illumination on the drawing itself: rays of light coming from the top-left, simply for reference.
  • I have no experience drawing real life objects, which hindered this shading exercise (I might eventually need to practice this, but it isn’t my primary goal with this challenge). I particularly struggled with outlining the general shape, which funnily enough, is in part due to the dark and reflective surface of the mug. That made it harder for me to properly evaluate the shape of the outline.
  • I really struggled with the handle and its proportions, especially the bottom part.
  • I eventually realized I should roughly measure(/estimate) proportions. For this reason, I tried to use my thumb to approximate ratios. However, I realized (unsurprisingly) that I need to keep the distance between my eye, my finger and the object constant (and similarly with the canvas). Finding such a distance was initially unintuitive, so I’ll need to work on this. But it should be useful.
  • While there were reflective surfaces, I did not want to draw them. This was purely a shading exercise.
  • At some point, I distractedly displaced the cup, which likely affected the results. One option could be to base my drawing purely on a picture I would take, but I feel like I’ll get a more vivid and visceral experience with drawing from the real life object, where I can also interact with the environment and see how things fluctuate (i.e.: experimenting).

Now, a few notes about the shading itself, which was the purpose of this exercise. First, my approach, which should be apparent in the drawing, was to first outline the different areas of shade, and then fill in the shade. I did the same for the shadow.

Here are the different elements I tried to recreate:

  • The dark and light area within the cup, which are both lighter than the other areas.
  • The dark and light areas of the cup’s shadow.
  • The dark and light parts along the side of the cup and the handle, which are fairly dark due to the dark blue of the cup.
  • Two light reflection spots on the rim of the cup.
  • Two light reflection spots on the handle.

Overall, as a first exercise in shading, I think this went relatively well. I’m pleased with the inside of the mug and the different tones of shades I achieved. However, there are a few things that could be improved:

  • The darker part of the mug feels off, because of it gets squeezed between both lighter parts. It’s hard to explain, but I think it’s an issue with the lighter area on the left. It is either due to the shape of the outline, or the inking technique itself. I will want to investigate different inking techniques for shading and see what works best.
  • The top of the handle does not look like it makes sense in 3d space, in part due to the shading.
  • The light reflection spots I tried to highlight don’t seem to be working properly. I might want to either drop that in the future, or research how those are handled by professionals.
  • The shape of the shadow is off. I decided to “wing it”, instead of doing it more carefully. But while I’m unhappy with the actual shape and proportions, I’m happy with the shading itself.
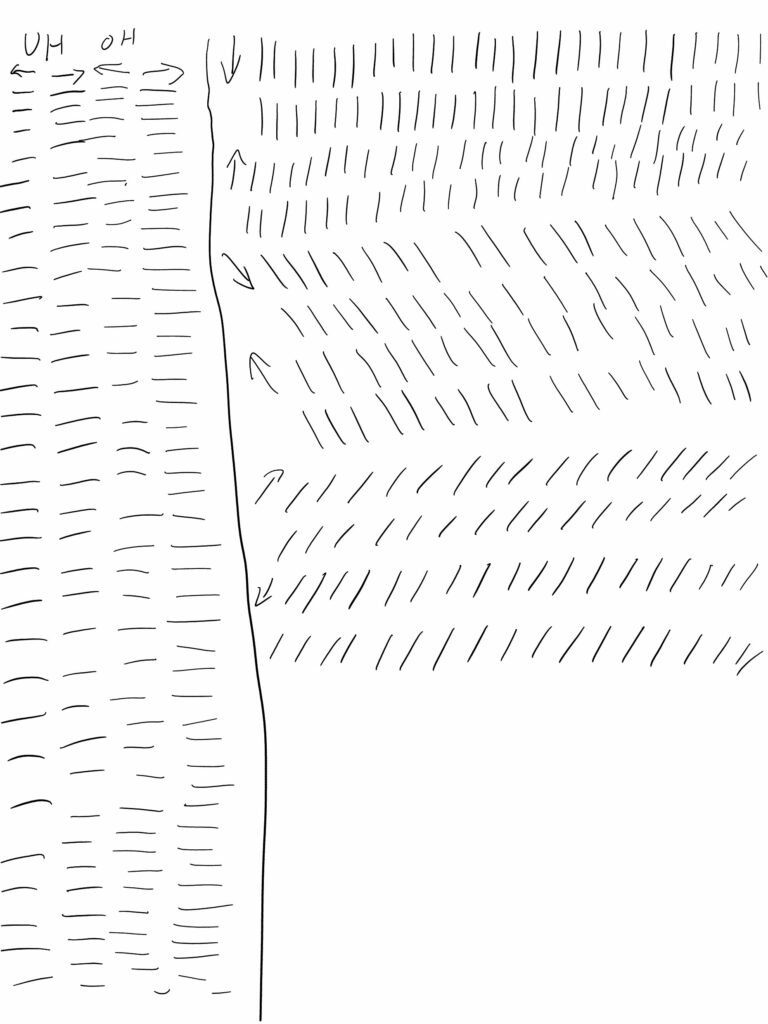
  • I will need to investigate the role of the orientation of the shading strokes (if I keep using this same technique). It seems to have an actual impact on perception. For example, aligning them vertically inside the cup seems to help suggest its depth. More research and experimentation is warranted.
  • The edge of shading areas should probably a little more diffuse and blurry than clear-cut.

But despite some of these faults, I’m still happy with this first experiment, and I think I’ve learned a few things, even having a direction for future investigations. Thus, I consider this a successful session.

Stats

The drawing took me a total of 44mins to complete. However, I neither recorded this session, nor timed any other parts of the process.

Conclusion

For this session, I did something fairly different for once, and it was interesting. As was my goal, I did learn a bit about shading, although it’s unclear how well it will translate into shading in the manga style (e.g.: shading a nose). Still, this is a fundamental concept of drawing, so it makes sense to dive in, even if only slightly. Moreover, I have some further directions to head into:

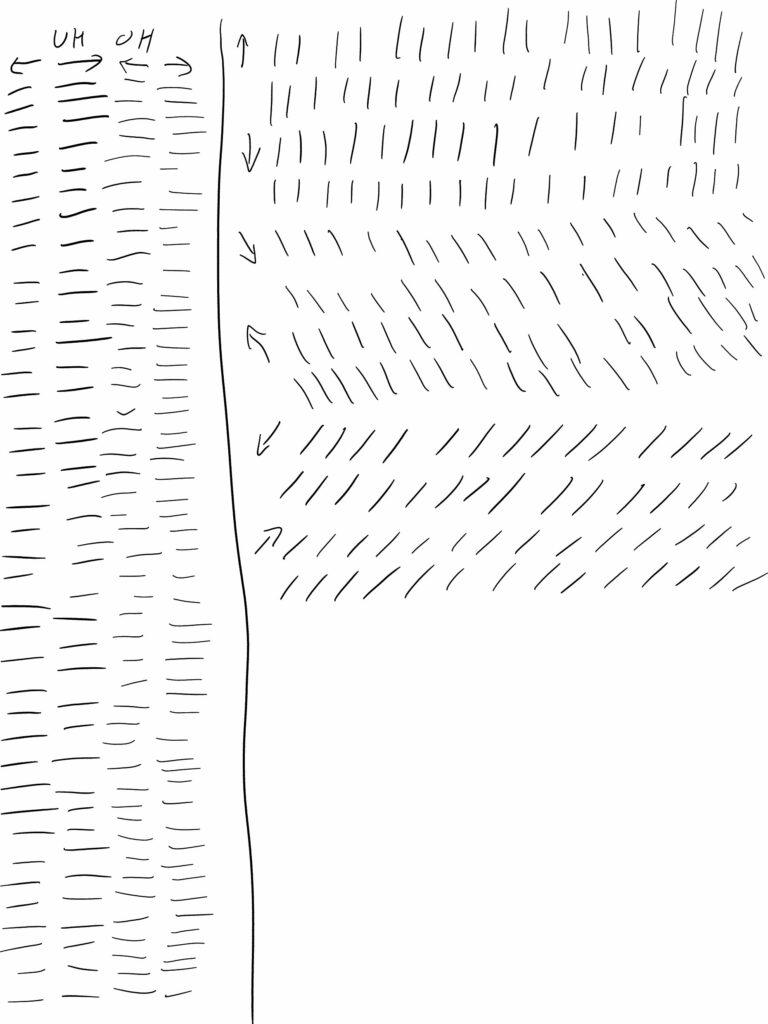
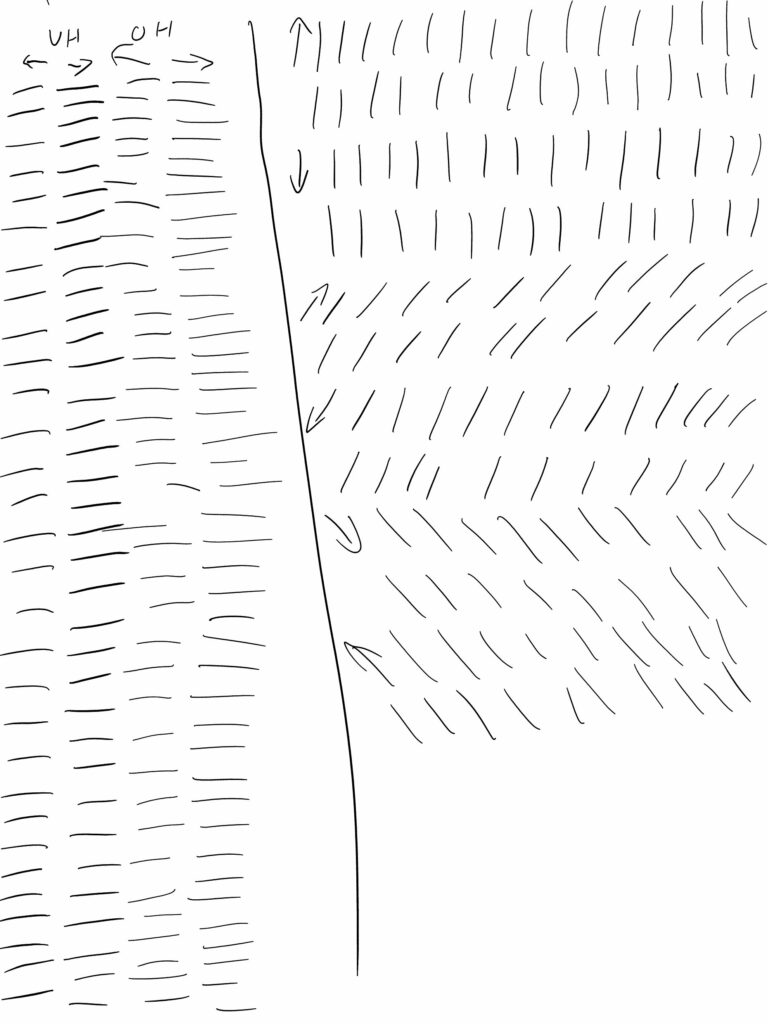
  • There are different inking techniques that can be used for shading. I’ve found a few on this website, and will want to experiment a bit with them. I’ve also found cross-hatching patterns here, and some hatching patterns and general exercises here.
  • I will need to investigate how to highlight shiny areas, which seems to be the dual of what we expect from shading.
  • With the hatching pattern, line orientation seems to have an impact on the perceived outcome.
  • I should start using my fingers at a distance as guides for proportions of different elements when drawing from a reference (like one imagines a painter doing).
  • I should experiment with different lighting setups (source, type, orientation, etc…).

Now that I have a direction for shading, I think I will want to have one more session where I focus on shading, and then get back to the main Challenge. Thanks for joining me on this exercise, and until next time! Take care everyone!
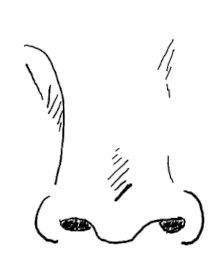
Learning to Draw People Challenge – Day 25 – 2024/05/13

This was written May 13, 2024 and June 20, 2024 as part of the 2024 Learning to Draw People Challenge

Introduction

Hello everyone, and welcome back!
After a long break, I’m happy to welcome you to the start of my third attempt. There have definitely been a few failures, but I’ve also learned from them, so hopefully this time will go better! Note that this have a rocky start for now. I would recommend reading Blog Update – Life Prioritization if you’re looking for more clarifications on the situation.

Before going further, you might have noticed that this is labelled as Day 25, and I have skipped over Day 24, this is because I had a small session where I drew models for Starting to Swim (Part 2). It felt uningenious not to include that session in my count, since I did practice that time. I may eventually release a post about it as a bonus one, but I can’t promise it.

Next, I’ve actually skipped the drawing exercises this session since I wanted to dive straight into drawing. I may eventually revisit the exercises, but for now, I think I may skip them.

It’s also worth mentioning that I dealt with some technical issues that were really annoying. For some reason, my tablet sometimes decided to erase entire strokes right after drawing them. I’m not quite sure what caused this issues, and whether it was the pen, the tablet, or my hand. Under normal circumstances, I would have to investigate this, but I actually was gifted a Samsung S6 lite tablet, which I plan to start using (with a different software) in the future.

Preparation

Before drawing, I considered my first frame and what it contains:

  • Closed eyes
  • Nose
  • Mouth
  • Cheeks

Looking at this list, there are a few things that came to mind. First, I’ll need to choose what style and variant I want for the different elements. What kind of eyes, what kind of nose, etc.. Not just in terms of the character’s attributes, but also the art style. Next, I realized that another important aspect, especially with respect to the nose, is shading. This is both a crucial and challenging drawing skill which I will definitely need to learn.

Eventually, I settled on working on noses, and looked at a few models to see what I might my options were. Turns out, there is a lot of variation when it comes to drawing nose. For example, it can be drawn as:

  • Simple holes
  • A small triangle
  • A larger triangle with the whole bridge drawn, along with shadows
  • A bigger and more realistic nose with the tip drawn in more detail

I thus opened my guidebook to the secion on noses, and opted to try some models, starting with a more detailed variant.

Drawing Session

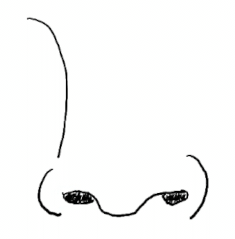
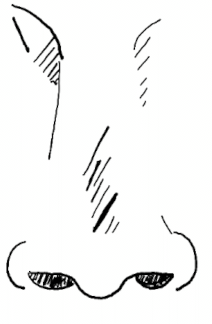
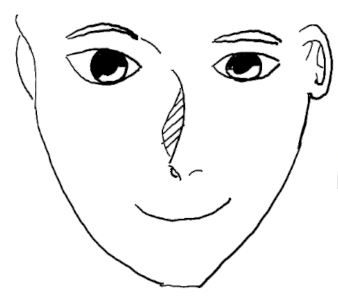
During this session, I ended up drawing three noses. Here are my attempts:

First Nose

First Nose
For my first nose (And no, I’m not talking about plastic surgery), I started by having a few struggles with aligning different elements. First, I struggled with the curves for the bottom of the nose (around the nostrils). For example, here is a curve I struggled with. You can see how the bottom left doesn’t match the rest of the nose:
Misaligned and misproportioned curve

I also struggled with some small details, such as the nostrils’ size. Here’s an example of one I was unhappy with (on the bottom right of the picture, i.e.: the left nostril). Fortunately, that’s easy to fix.

Weird nostril

Beyond that, I struggled a lot with nose shadows and relief, but I will spare you the details. Enough to say that shadows are complicated, and I think I should have a side-quest: studying shadows.

Otherwise, I’m fairly happy with how this nose turned out. My main complaint would be that the top right part (the end of the curve) feels misaligned with the bottom part). A funny note that I wrote, the more I drew the nose and looked at it, the less it looked like a nose. The human brain can be weird sometimes. Here it is once again for reference:

First Nose

Second Nose

Second Nose
First off, as a quality of life improvement, I opted to dedicate an area of my canvas to this nose, but also to put it on a different layer, in order to hide the first drawing.

Next, here are a few things I either struggled with or realized:

  • As with the previous drawing, connecting different parts of the nose without a connecting line can be challenging.
  • When drawing the nose’s tip, it seems easier to start with the line at the tip itself, and then adding extra lines around it.
  • The tip of the nose’s relief can be tough to center. Aligning different elements with each other to have a coherent whole has been non-trivial, and I need to make a conscious effort to build this intuition. Luckily, it’s something that can often be fixed through “editing” steps.

With my second nose, I’m happier with the general shape (which came at the cost of a lot of rework), although I’m a little disappointed with the shadows and reliefs.

Third Nose

Finally, for my third nose, I decided to go for a simpler model, but as part of an whole face.

Third Nose

At this point, I was definitely rusty when it comes to sketching faces, and this is an underwhelming attempt. Regardless, it is important to practice once more. Here, I ran into a few issues, not all nose-related:

  • I struggled with eyes’ direction (where they look). It seems like it’s based on a combination of the general shape and orientation, the placement of the iris, along with the placement, size and orientation of the reflection. More experimentation might be needed to better understand how those interplay, although for now I might just do it on a case-by-case.
  • Aligning the nose with the face wasn’t easy. Once again, it’s a matter of aligning different elements. It needs to properly line up with the “center”, but also the eyes and the eyebrows.
  • The shadows remained a struggle. Especially relating it to the topology.

Overall, I’m definitely dissatisfied with this drawing; there are multiple elements I’m unhappy with. While a few of the elements were simple drafts to help understand this conceptually, the mouth is definitely off, which does hinders the nose exercise. Moreover, I’m also unimpressed with the nose. The shadow feels off, and the nostrils aren’t great. Still, it’s work in progress, and the next iterations will hopefully be better, I just have to start practicing again.

Time Statistics

While drawing took me 43mins, and I took 19mins to write a sketch of post and initial sections, I have no idea how long I took to actually complete the article during my second run, so the statistics will be omitted for this session.

Conclusion

So, here are my takeaways:

  • There is definitely a tradeoff between detail and work amongst the different kinds of noses, and I will need to choose a specific version, and remain consistent and coherent with it. Also, the detailed nose will definitely be more challenging when it comes to doing different angles.
  • Coherence between different elements is extremely important, and something I need to work on. For now, this takes the form of reworks, but hopefully I will gradually build my intuition.
  • Aligning different outlines that aren’t continuous is important, and sometimes trickier than it seems.
  • I struggle a lot with topology, orientation and shadows. I should thus do a dive into those.
  • For my next session, I would like to do some shadow exercises. I’ll look up some simple ones, and what objects work are best to train with. I expect these will involve sketching objects I point a lamp at in the dark. I’ll try to get useful pictures to show how the process goes.

On that note, thank you very much for your patience, I know things have been slow and very delayed, but I’ve been needing to focus on my mental health and to figure out some priorities, as stated in Blog Update – Life Prioritization. I’ll try to get back into this proper, though I also have some important tasks and traveling coming up very soon, so no promises. Take care everyone and until next time!

This post is followed by Learning to Draw Challenge – Day 26 – Shading – 2024/06/21

Learning to Draw People Challenge – Upcoming Project

This was written from May 07 through May 09, 2024 as part of the 2024 Learning to Draw People Challenge

Introduction

Hello everyone and welcome back.
As mentioned in Learning to Draw People Challenge – Take Three, I’m about to revisit this challenge. I’ve also had some ideas on how to supplement the challenge to both be more motivating and also better guide my learning.

Project Overview

So, what will this project consist of? Well, the idea is fairly simple. Right now, I’ve simply been…meandering, without a clear goal, simply trying to draw different things from my guidebook. Sure, it can be fun and interesting, and I can even learn a lot from it. But ultimately, there’s only so much I’m getting out of it, and in the long term, it has no clear direction. Thus, I figured a project would be a good addition. After all, a lot of courses tend to use projects as a good synthesis exercise. Moreover, it will allow me to stray further from the exact models, to experiment more, and hopefully to exercise my own artistic freedom.

I expect this to be a mid-to-long-term project, considering it’s centered around learning many different things. The goal will be to draw different panels for a consistent and continuous scene. You can imagine this as a few pages in a manga, comic book or graphic novel. Moreover, these panels are pre-selected. I’ve actually had this idea and a draft of the panel descriptions while I was out at an event and feeling down, feeling like an outsider. I reckon this pushed me into thinking/creative mode, which I focused on this project. Having my phone with me, I decided to jot down notes and capture my ideas, leveraging my motivation and being creatively “fueled”. I…did go a little overboard with the ideation phase, but that’s just the initial phase, which can be reworked.

The idea is to have different panels focus on different aspects of drawing, while still having a small “story” and a single character we can follow. What’s more, this will push me to design a character that exists outside the realm of the guidebook, and also force me to learn consistency across drawing, since they’ll depict the same character. Ideally, each subsequent panel should either work on a new aspect of drawing, a more involved version of a previous skill, or combine multiple ones together in a new way. Obviously, since I want a specific narrative, this won’t necessarily be 100% accurate, but hopefully this will still help me to gradually build my skills.

The Panels

So, what ideas do I have for these panels? Let me set the scene: The entire scene will take place in a bedroom, where we have a single character wake up and dress up before heading out (I plan for the character to be male, but the scene could unfold with any type of character). Here are the panels, in order:

  1. Sleeping face (closed eyes, no hair, no ears, but tip of hair)
  2. Eyes open, zoom out a little (see ears, chin, top of head)
  3. Character yawns, zoom out a little more (Working on face expressions)
  4. See character in bed, from above, final zoom out (No blankets, only wearing underwear)
  5. See character in bed, from the side
  6. See character turn on their side, from the side
  7. See character sitting on the bed, from the side (legs still on the bed)
  8. See character with legs dangling from bed, getting ready to get out of bed
  9. Character lowers head into hands, sighing
  10. Character turns head towards alarm clock to check the time
  11. Focus on alarm clock and the time
  12. Character gets up
  13. Character approaches chair with clothes ready on the back
  14. Characters picks up pants
  15. Character in the act of putting pants on*
  16. Character with pants on picks up shirt
  17. Character pulling shirt over head*
  18. Character buttoning top buttons of shirt*
  19. Character with pants and shirt on struggling to puts socks on*
  20. Character walking towards door
  21. Zoom on hand approaching the door knob
  22. Zoom on hand touching the door knob
  23. Framing upper body, character hanging head down and sighing, while hand is still touching the doorknob
  24. Same framing, turning doorknob
  25. Door opening
  26. Door open, “light coming in”, character looking outdoors

In total, this consists of 26 frames, some of which should be fairly complex (for an amateur at my level). However, I do think this should be good opportunity to gradually work on various skills and aspects. As you may have noted, I also added asterisks next to a few frames. Those are ones that I think could be omitted without destroying the scene, if they turn out to be too challenging. They’re mostly clothing interactions, where the character would be in odd poses, which I expect to be fairly complex.

The Goal

As stated before, the main goal for this project is to have something tangible to work towards, and to guide my learning. Along this vein, I am hopeful that this selection of frames should build skills gradually. We go from the simplest version of a face, to a gradually more complex one, eventually emulating emotion. We have simple versions of full body along two different angles, before moving on to gradually more complex poses. We then introduce clothes gradually, although with some complications thrown into the mix. The final few frames involve interacting with the environment and emoting more emotions, but I expect they shouldn’t be much more complicated than what came before. It does, however, help close the narrative, and focus specifically on hand work. Overall, not only should this give me a chance to gradually build my skills, but it should help showcase my progress as well, which should be interesting.

The plan for me is to spend some time figuring out what skills I need for the next frame, and then probably spend a few days working on these skills before moving on to the actual frame. I might even make a few attempts, and unlike before, possibly spend more than one day on a single drawing. We will see how things unfold. As the frames get completed, I plan to showcase them and the whole scene. I may have a page somewhere presenting the scene as it is so far, so you can see the progress in its full glory (or abomination).

Conclusion

There you go, the plan for my new project: a simple manga scene that should have enough variety to grow multiple skills gradually. I’m somewhat excited about this, and looking forward to see how this pans out. I hope you’re also excited! If you have any questions, or recommendations (such as potential improvements to the scene), please leave a comment below. Have a nice one, and stay curious!

This post is followed by Learning to Draw People Challenge – Day 25 – 2024/05/13

Learning to Draw People Challenge – Take Three

This was written April 29 and April 30, 2024 as part of the 2024 Learning to Draw People Challenge

Introduction

Welp, it’s officially been a month since the start of my hiatus, and I really want to get back into it. I may have “fallen” twice already, but I’m planning to keep getting back up and figure out what works best for me! As mentioned in April Update, I feel ready to resume this challenge, and have some thoughts on how to approach it this time.

When will I resume?

This is the most obvious question: when shall I actually resume? My current plan is to resume the challenge on Monday May 13. Why that date in particular? Two main reasons:

  • I have a Final Exam on May 10, and want to make sure to study for it before it happens.
  • With the new strategy I want to implement (discussed below), I would rather start on a Monday as opposed to a weekend (Plus it also be my birthday weekend).
Is the date actually going to be final? Not necessarily. I could see myself starting a little early, though ideally not any later.

Strategy

General Schedule

One of the things I’ve noticed with the previous runs is that I manage to last maybe a week or two before my motivation and energy both start to wane (along with an increase in sleep deprivation). Similarly, it seems that while working on projects, I tend to have “short-term” bursts of high motivation before getting fatigued, and I’m wondering whether I could make use of that. Accordingly, I want to try out a “week on – week off” strategy, where I have a full week of daily drawing, followed by a full week off, and rinse and repeat. This would hopefully help me make better use of my motivation, and also lead to a better life balance, since I could use the week off towards other activities (such as exploring Taiwan).

I have not yet decided whether I’ll also be drawing during the weekends or not, I’m still torn between the two alternatives. I’ll probably see how my first week goes before deciding. Still, 5 days every two weeks is still be better than my current track record.

Also, I want to retain the ability to get “credits” to help manage unexpected situations. As mentioned in Learning to Draw People Challenge – Take Two, it allows me to draw during an off-day to gain a “credit”, which can be used to “skip” a normal day of work, although without affecting my normal posting schedule. I believe it was a really good addition to my last attempt.

Additionally, and very importantly, I’ll once again want to “review” the new strategy at the end of the first week. Although by the nature of this strategy, I should also have a review after the second week of drawing for a proper evaluation.

Stats

One of my concerns has been how long each individual session takes. Thus, I decided to look at some statistics. Thankfully, I recorded some of that information. Here is a screenshot of some of these stats:

Drawing Articles Time Statistics

One of the first things to notice is that drawing was about a third of the duration (articles taking twice as long to write), which seems a little intense. Similarly, reviewing the article sometimes took about as long as writing the article, which also seems off. Therefore, I would like to modify how I tackle these sessions to (hopefully) spend my time more judiciously.

Individual sessions

Following the above, I think I should streamline my process and make it more consistent. Here are a few changes I would like to try:

  1. I would start with the drawing phase as per usual, but with a notebook in which I would take timestamped notes.
  2. After drawing, I would review the video, take screenshots, and take additional notes.
  3. With the images and notes ready, I would clean up and rearrange the notes into logical topics, sketching the narrative. (While the exploration should remain mostly linear, the rest of the article and the takeaways could be better presented). The end-result should consist of different sections, each with a very rough draft.
  4. With a rough sketch ready, I would flesh out the article for a proper draft.
  5. The final step would be to review the article.
I also think I’ll need to monitor the time spent in each part, and different time ratios. Thus, I will likely want to “timebox” how much time I spend on the article itself (and each phase of the process).

My intuition is that, while it feels intense for an article to take longer to write than the time spent drawing, it kind of makes sense, since I need to analyze the process, internalize, and synthesize what I want to write about it. However, the writing phase being twice as long (which happened on a few occasions) feels concerning. In a similar vein, it feels like reviewing should not take longer than the actual writing. I feel like it realistically shouldn’t take me more than 2/3rds as long. Still, I haven’t yet decided what ratios I should aim for, and it will probably require experimentation too. I expect to start with initial guidelines, and which will evolve over time (or be discarded entirely).

I will, however, keep in mind that there might be a reason for such ratios to arise naturally. Accordingly, I will remain open to the idea that these ratios might be ideal. Nonetheless, I think cleaning up my process and trying something new won’t hurt, and might give me valuable insights and new tricks.

Motivation

Another addition to this run is a larger “mid-term” goal. In the past, I was simply learning to draw different things, with no clear goal, nor project I was working towards. I think that lack of direction worked against me, both in terms of motivation and having a clear learning plan. Accordingly, I decided to instigate a project. The goal would be to make a small “manga scene” consisting of a few panels chosen ahead of time (through a description). It would be aimed at building different skills throughout the panel progression. This would include a single persistent character (modeled consistently), as opposed to blindly following the models in my book.

Ideally, I would be to practice the skills required for the panel a few times, before moving on to the actual panel, which I could add to the sequence. The scene I’ve envisioned is not the most exciting, but I’m hoping it can serve as motivation and that I can get something out of it, no matter how “simple” it might feel. And I think it might be cute, interesting and maybe insightful to see a few pages of panels where we can (hopefully) see my gradual growth.

Conclusion

Stay tuned for my third attempt, which should start May 13, and will utilize a new strategy. Hopefully, this should work better, and also be a little more interesting for all of you, since I’ll also be working towards something more tangible.

Take care everyone, and remember to stay curious!

This post is followed by Learning to Draw People Challenge – Upcoming Project

Learning to Draw People Challenge – Second Pause Discussion

This was written March 28, 2024 as part of the 2024 Learning to Draw People Challenge

Introduction

Hello everyone and welcome back,
As stated in Learning to Draw People Challenge – Day 23 (2024/03/16) – Dawn of a new Break, I had to take a break from my Challenge once again due to some issue I’ve been facing. I decided I would talk a bit about these issues, along with what I’m planning to do in the interim.

Stress and Issues

Let’s first talk about the various contributors to this pause. First of all, the primary reason for coming to Taiwan was to learn Chinese, and this should remain a priority. Obviously, my Chinese classes require both time and mental effort. On top of that, I try to read in Chinese every day, which can take a few hours (for barely any pages), and leaves me mentally drained. This thus limits the amount of effort I’m able to expend on other endeavors.

Speaking of time, I do spend a lot of time on transit, taking the metro and bus from where I live to school and back, along with some significant delays while waiting for the bus. This is a non-negligible chunk of my day that can’t be disregarded, during which I tend to be idle and not really “productive”.

Beyond that, I’ve also been stressed. Not only do I have exams every week, but it’s also been tax seasons, and my current situation complicates matters. I also have to figure out what I’ll to do this summer, and the uncertainty is eating at me, along with worries of issues with the timeline and my visa.

Next, through a combination of different elements (including insomnia, stress, and the amount of things I was trying to handle at once), I was becoming sleep deprived, which negatively impacted my ability to focus, and in turn both my motivation and ability to perform involved tasks. This means that forcing myself to stay up later for the challenge gradually made my situation worse, and I therefore need to find a solution on this front.

Another big issue is how much idle time I waste on the internet, especially during the evening or weekend. A big example of this is Youtube browsing, continually and mindlessly watching videos, yet not getting any value from it. Shorts in particular are rather egregious and problematic. I start watching some videos, but have such a hard time stopping, even if I know I ought to.

I also shouldn’t understate the fact I’ve been trying to spend some time with new friends I’ve made in Taiwan, along with just exploring some areas, or trying to get new experiences here. I’m visiting a completely different part of the world, I might as well try to make the most of it. Moreover, I think such activities ought to be good for my mental health, which is primordial for achieving any of my goals.

Finally, the time I spend on my articles can undoubtedly be overwhelming. I first need to spend time on the action itself (in this case drawing). I then go meta and analyze what I did while writing about it. But it doesn’t end there, since I also review my article afterwards, which also requires a significant chunk of time. (And funnily enough, in classic Shawn fashion, I’m sometimes tempted to go another layer of meta deep and write an article about my review process, the kind of changes I make and what I’ve learned on that front). All of that usually results in a few hours spent each day on this project, which can get into conflict with the other previously mentioned elements.

Priorities

So, a lot of these points definitely highlight that I need to organize some of my priorities. Some priorities that should rank higher than this blog and the drawing challenge include:

  • Learning Chinese
  • My Health (Which is why I started swimming)
  • My Mental Health
  • My Sleep
  • Enjoying my time in Taiwan
This is just a quick blurting out of my thoughts, and I should personally do a deep dive, but it’s still a useful thing to quickly consider, and try to balance. I also think it’s important to note that (and forgive me, this will be a little abstract):
Even if element A is more important than element B, it doesn’t mean I should completely neglect B for the sake of A. For example, if I decided socializing was more important than something else, it doesn’t mean I should just spend 100% of my time socializing, but instead that I should prioritize finding some time to socialize. We could consider each of those priorities having a “quota” of sort.

Next steps

Based on all of this, what are my thoughts for moving forward? Well, I think there are two big things I want to work on, which I’ll likely turn into their own project on here:

  • Trying different techniques to improve my sleep, along with evaluating them and recording my subjective experience.
  • Work on a method to change how I use Youtube to make it healthier for me. I’ve been thinking about it for a long time, and think I’ll try to work on a browser extension. Stay tuned for more details.
    • I think these two things should help me a lot with tackling large projects such as my Challenges, by both limiting how much time I waste, and allowing me to feel more refreshed, motivated and focused. (And yes, the Youtube issue is also impacting my sleep). But that’s not where things end. I’ll also need to keep working on my physical health, which for now means going swimming weekly (hopefully eventually twice a week).

      Finally, because I know that my stress is a big issue, I also will want to find ways to properly relax. One potential solution might be to look into meditation. And let’s not forget my mental health, which is also something I need to keep in check.

      Conclusion

      Thank you all for your patience and understanding. I’ll keep you updated on my progress and let you know what I learn from all of this. More updates to come in the future, so stay tuned!
      Have a nice one, and take care of yourselves!

      This post is followed by Learning to Draw People Challenge – Take Three

Learning to Draw People Challenge – Day 23 (2024/03/16) – Dawn of a new Break

This was written March 16, 2024 as part of the 2024 Learning to Draw People Challenge

Credits: 1

Introduction

Welcome back everyone!
Unfortunately, I think I may need to take another break. This latest session made it clear to me that I’ve been getting under the weather and the stress is getting to me (along with sleep deprivation). Which in turn induces impatience and negatively impacts the quality of my learning, along with my ability to apply what I’ve learned. And not only for this Challenge, but also with learning Chinese.

Still, let’s at least go on with this session. Since I’ve been wanting to track these stats, I evaluated my sleepiness as an 8/10, and I started drawing at 10:15pm.

Exercises

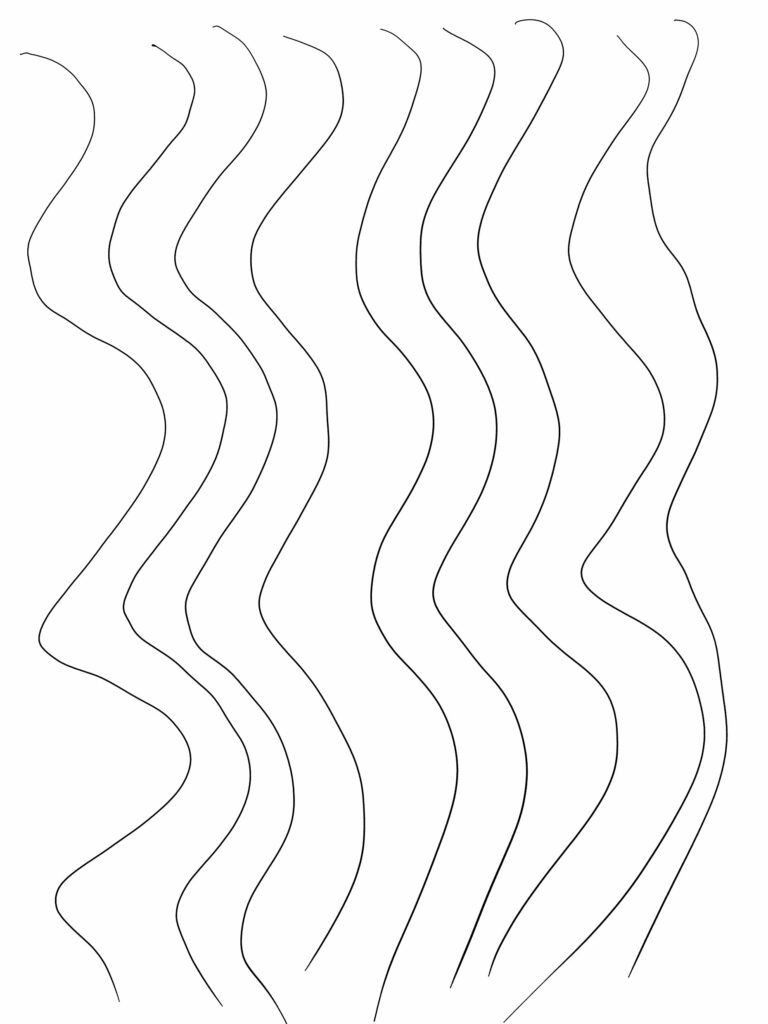
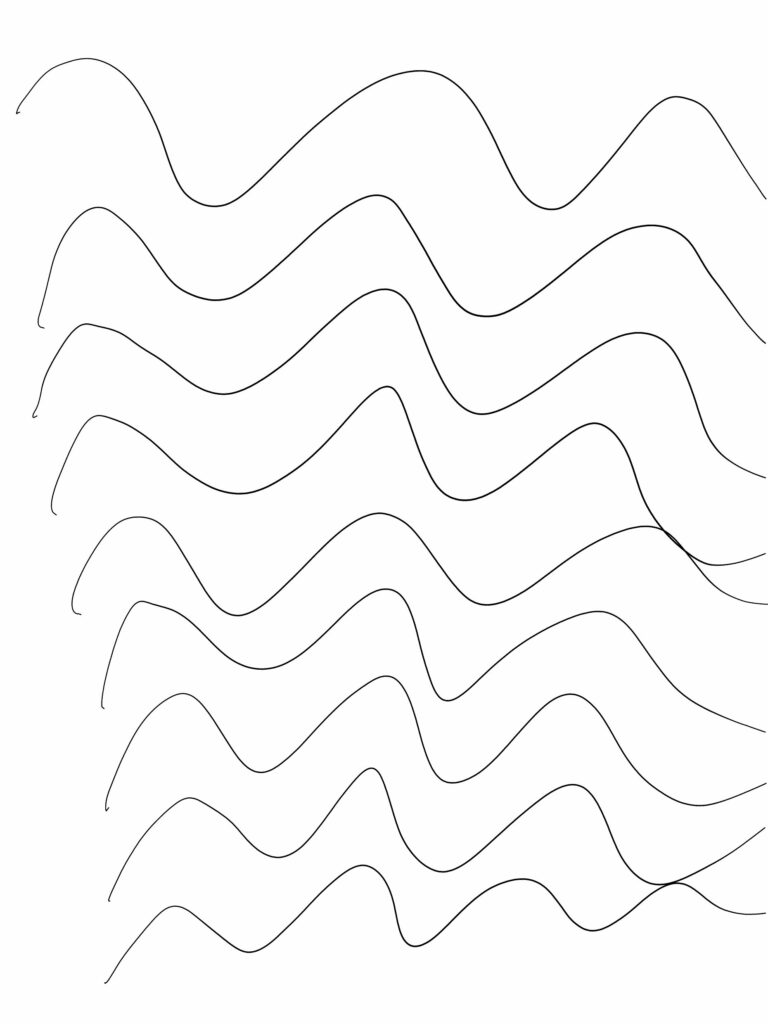
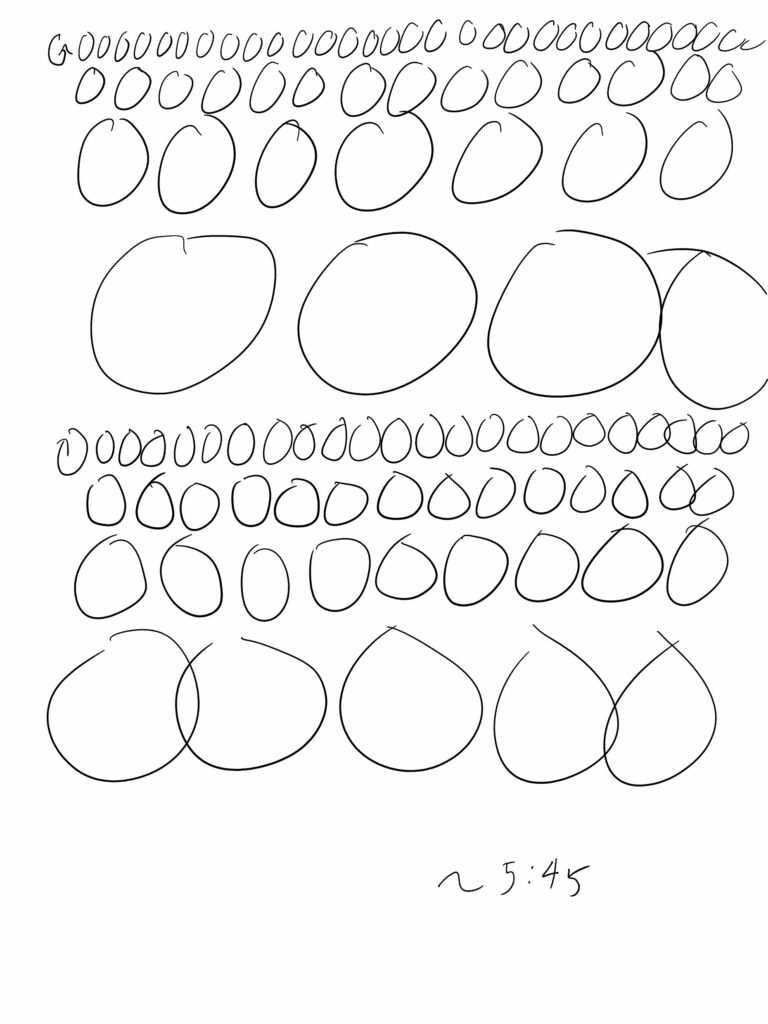
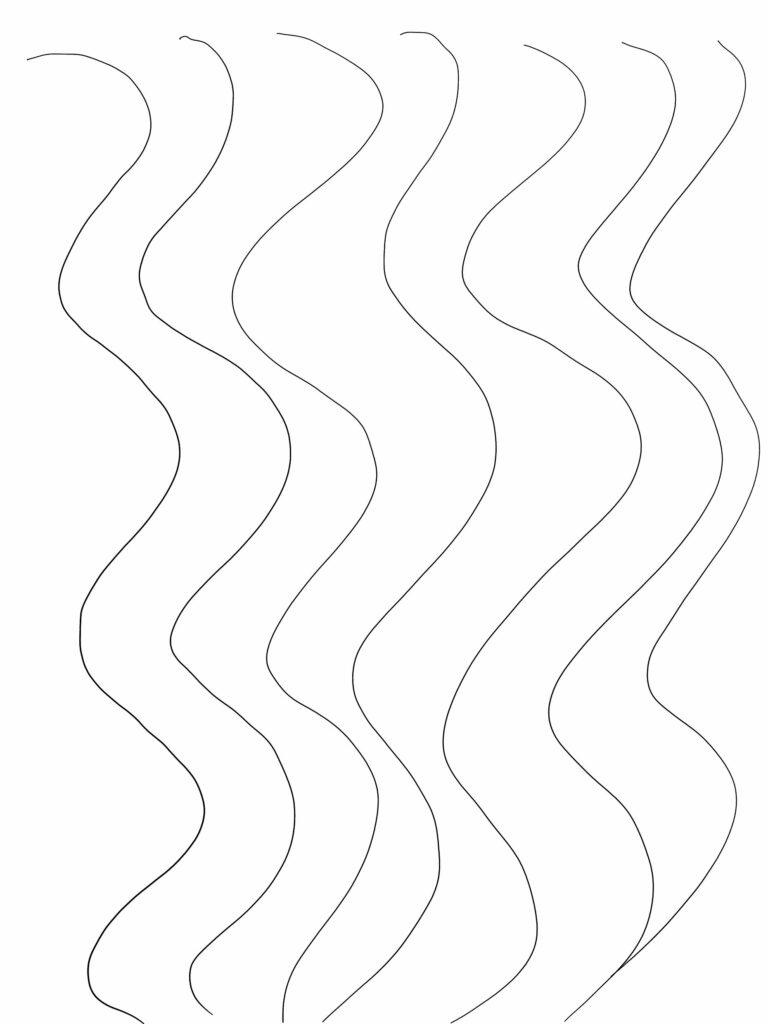
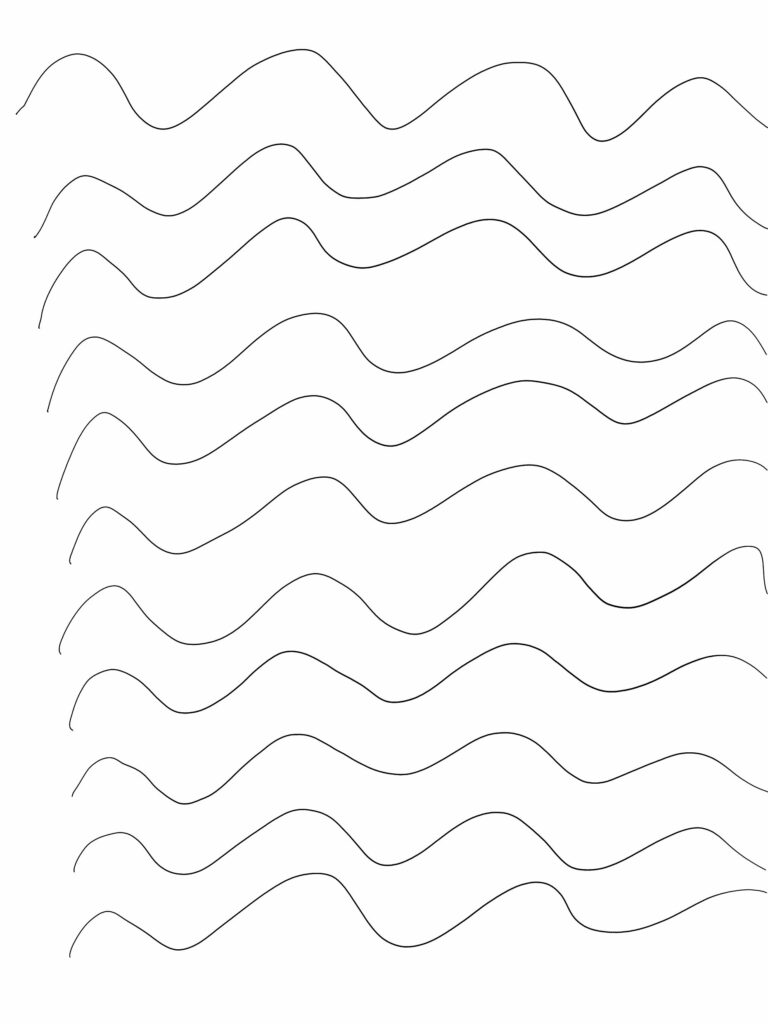
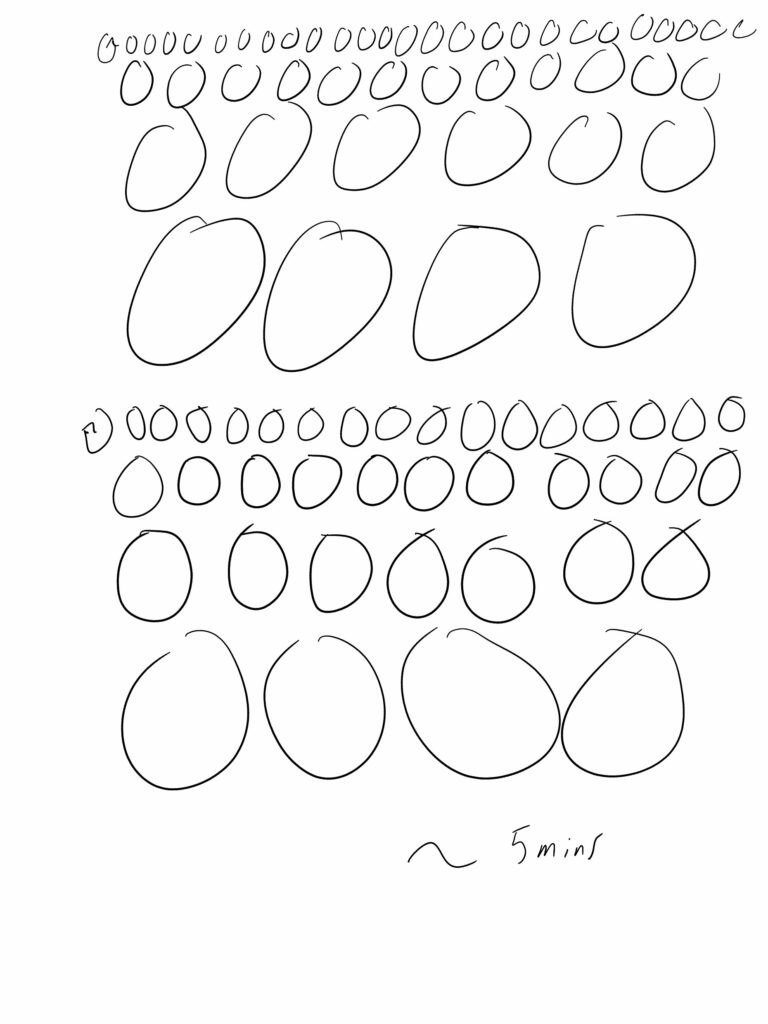
This time, I tried to be more mindful during the lines exercise. However, it gradually decayed from an amalgamation of stress and frustration, which resulted in me becoming impatient and rushing. And unfortunately, this state lasted through most of the session. This was also reflected in the wavy lines and circles exercises, although I must admit the wavy lines exercises weren’t that bad today.

Overall, the exercises took me about 5m45s to complete.

Day 23 – Lines Exercise
Day 23 – Wavy Lines Exercise (Vertical)
Day 23 – Wavy Lines Exercise (Horizontal)
Day 23 – Circles Exercise

Drawing

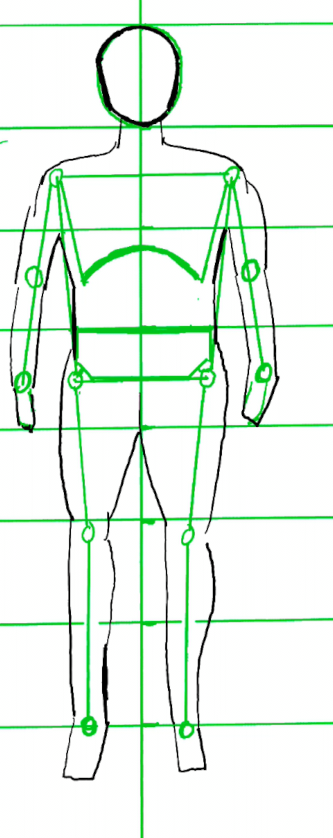
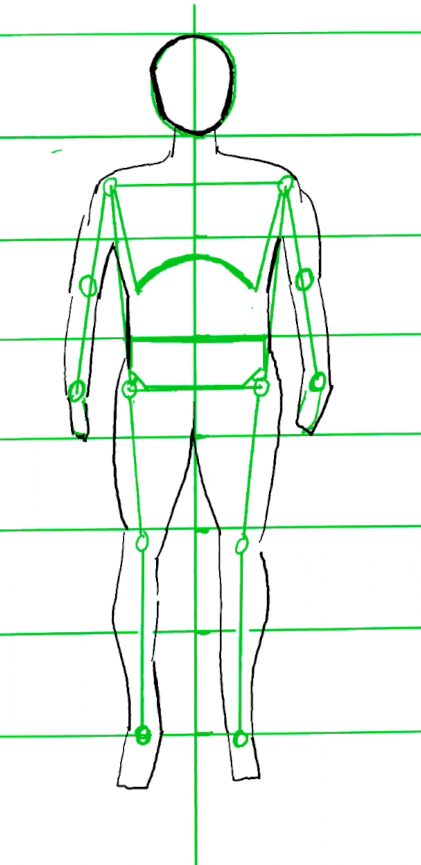
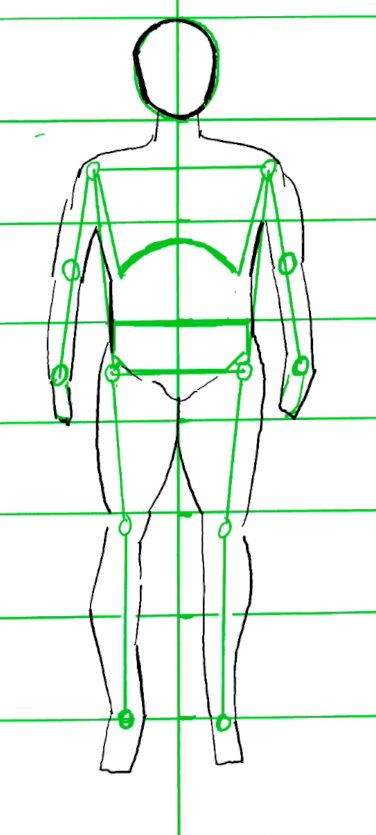
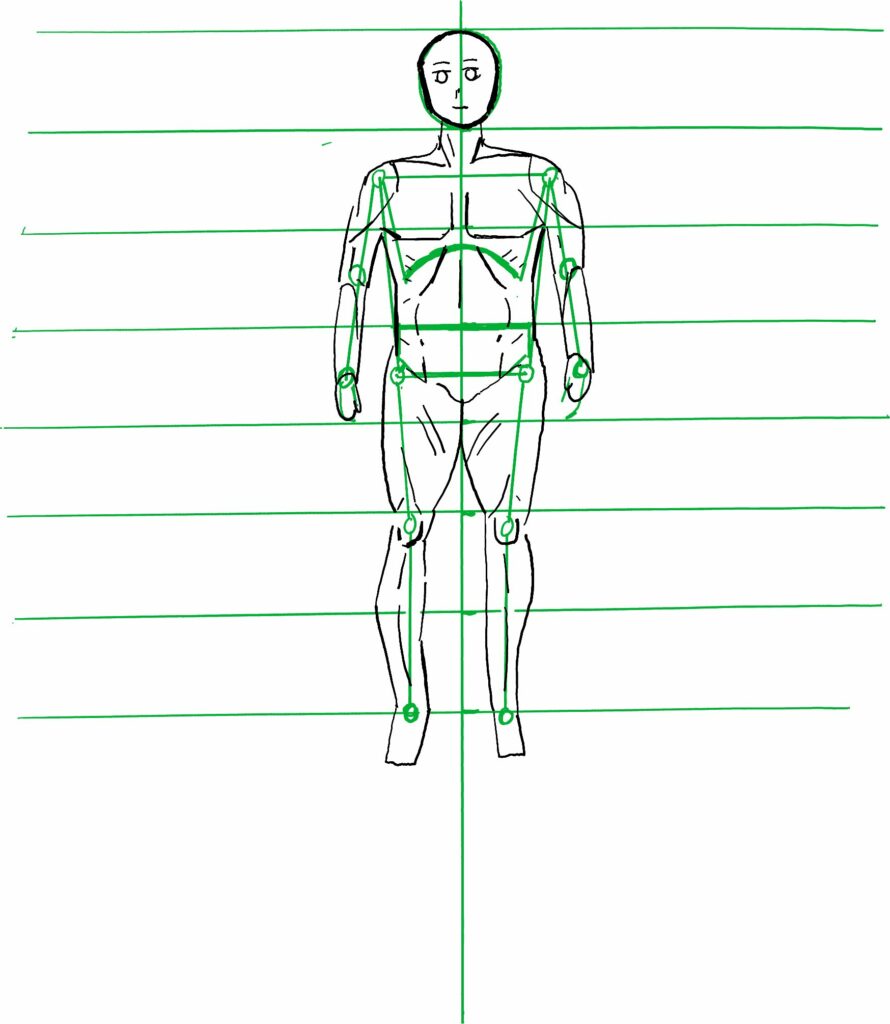
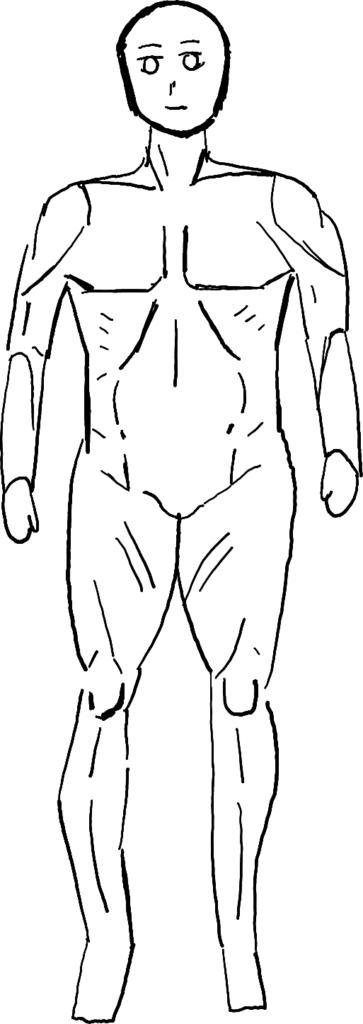
For the drawing, I opted to revisit the full frontal body. I first drew the initial guidelines meant for measurements. Unfortunately, I think I made these guidelines a little shorter than I’d like, which made things feel a little too cramped. Although this might generally be good practice in the future.

Day 23 – Initial Guidelines (for measurements)

I then started drawing the wire-frame on the same layer, which I think might be a mistake. In the future, I might want to use different layers to limit complications from adjustments. For example, some adjustments caused me to erase part of the guidelines.

I once again struggled with the head, redrawing it a few times. Consequently, I might eventually consider using the circle tools to improve and hasten this phase, only drawing the subsequent phases by hand. They are guidelines after all, and it’s not like I’m shying away from using a ruler.

In terms of drawing the wire-frame, I decided to listen to my past self and draw the lines first, adding the nodes afterwards as I suggested on day 17. However, after finishing the first phase of the wire-frame, I was unconvinced with the torso, and thus opted to restart from scratch. Here’s the first result.

Day 23 – First Wireframe Attempt

I was happier with the second attempt, having increased the height:width ratio. Still, I eventually realized that the torso was wider than I’d initially planned, likely due to the drawing section being on the shorter side. Regardless, it wasn’t really an issue.

Day 23 – Final Wireframe Attempt

Next up, adding nodes for the elbows, which I realized the book shows as not being centered on the arm’s line, but a little off towards the outside, which I presume is to push the elbow out a little bit and make it feel more natural. I also added hands and chest guidelines.

Day 23 – Guidelines completed

Next up, drawing the actual outline. I started with the head, which needed a few attempts, and some adjustments using the eraser. I made it a little thicker from adjustments. I then added the limbs, by gradually drawing counter-clockwise. I definitely still have some issues properly understanding the anatomy, but I believe it has improved a little since the beginning. I also ended up trying to apply a few different fixes, in particular to the leg area. Here are a few attempts for reference:

Day 23 – First outline attempt
Day 23 – Trying to fix the right leg (on the left). Result too thin
Day 23 – Another try to fix the right leg (on the left). Result better, but the shin still off on the outside.
Day 23 – Yet another attempt at fixing the right leg (on the left). The outer shin’s slope seems a little too abrupt, but still an improvement.
Day 23 – Final Outline. In retrospect, the previous attempt might have been better, but I think I just gave up at this point.

Once done with the outline, I added some muscle lines all over the body. I’m mostly satisfied with the chest area, but beyond that, I’m underwhelmed how the lines turned out on the limbs.

Finally, I added elements to the face before calling it a day. This took a while, and I was still unimpressed with the result. But considering this was a body exercise, I now think it’s “good enough”.

Day 23 – Final Drawing (With guidelines)
Day 23 – Final Drawing (No guidelines)

Conclusion

Looking back at this session, it’s not so much the drawing I’m underwhelmed with, but rather my behavior and approach during both the drawing session and the writing. Due to my stress and increasing lack of sleep, I’ve reached a state of “carelessness”. I often thought “eh, whatever”, which is not conducive to learning and improving. Even worse, I almost feel like I’ve been regressing lately! (Though I do realize this is still miles ahead from where I started).

For this reason, I think I need to take a break. However, unlike last time, I don’t plan for this to be an inactive break. I will obviously still have my Chinese studies on the map, but I also have another project I think I should work on (which will hopefully help me with better managing my time and prevent me from getting this stressed and tired). I also have a few smaller posts I want to write. I’ll get into details about this in a separate post, although you might expect me to be a little less active this week.

As for the stats, drawing took me about 48mins, and writing roughly 40mins, along with 43mins spent on reviewing. This sums up to 83mins spent on the blog post, and a total of 131mins overall. This means drawing was roughly 37% of the overall time, and reviewing counted for about 52% of the time spent on the article.

As always, thank you for joining me, and sorry this past week was more of a descent into my own madness. Stay tuned for a new update about my situation, and don’t worry, I don’t intend to let this challenge die! Although I do apologize for having to pause it once again. Have a nice one and take care everyone!
This post is followed by Learning to Draw People Challenge – Second Pause Discussion

Learning to Draw People Challenge – Day 22 (2024/03/15)

This was written March 15, 2024 as part of the 2024 Learning to Draw People Challenge

Credits: 0

Introduction

Hello and welcome back everyone,
I hope you’re all doing well. First of all, the eagle-eyed amongst you may have noticed that my credits dropped down to 0. Indeed, I made sure to hold onto that one credit because I knew yesterday was going to be very busy. Also having to pay off a sleep debt, I figured I should rest. But now I’m back at it!

This session started around 6:15pm, and I evaluated my tiredness at 6/10, better than the rest of the week. However, I must add that I’ve also been feeling very nervous and stressed, which should probably also be taken into consideration.

Exercises

Let’s start with the exercises. As of late, I’ve definitely been letting myself go with the lines exercise, using it mostly as a warm up. Today’s was rather sloppy, and I might have to make a conscious effort to improve these. Although it’s definitely not a priority at this point.

In contrast, I believe the wavy lines exercise went particularly well today, and it might be my best results yet. I’m happy with them, and feel like I’m starting to get the hang of it. In particular, I think the horizontal ones turned out pretty well.

Meanwhile, the circles were soso. I think I should definitely look up tips to draw better circles. Overall, the exercises took me about 5mins, which is incredibly short.

Day 22 – Lines Exercise
Day 22 – Wavy Lines Exercise (Vertical)
Day 22 – Wavy Lines Exercise (Horizontal)
Day 22 – Circles Exercise

Drawing

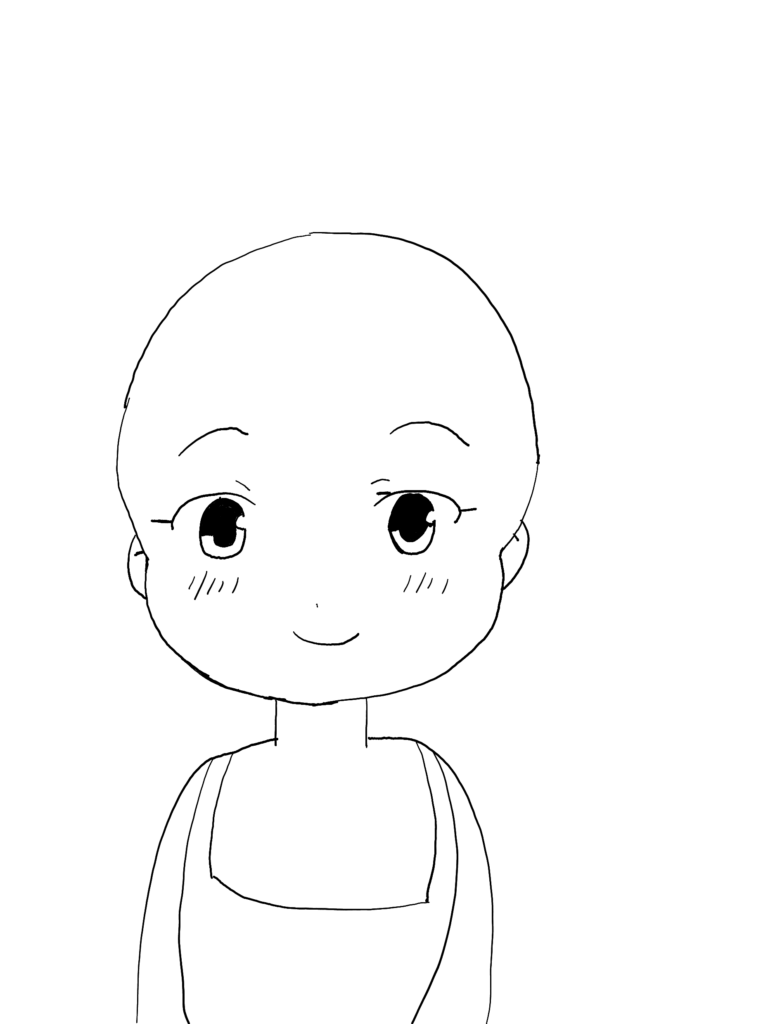
As I’ve mentioned last time, I decided to wait until I’ve translated the related pages before going back to the angled profile. Yet, I needed something short and a little simple today, especially with a time limit of about 40 minutes before the Cafe I was in closed. For this reason, I chose a frontal face in a new style, akin to chibi.

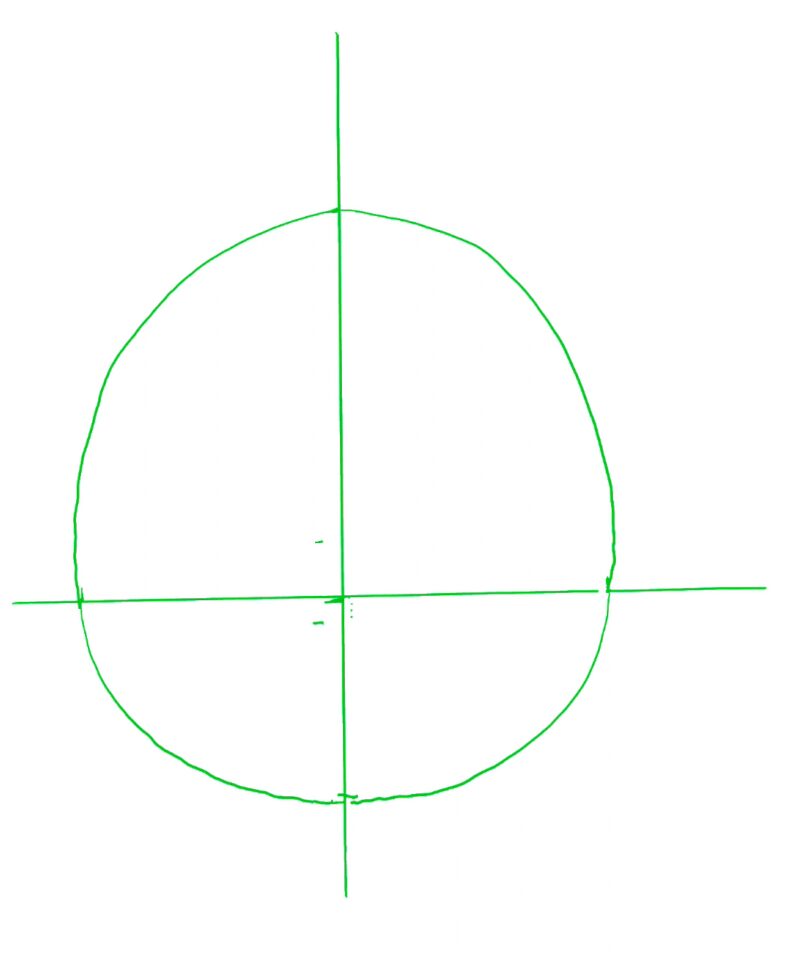
The first thing I drew were initial guidelines with rough measurements, making small ticks here and there to guide the head’s outline.

Day 22 – Initial Guidelines

Next up, I drew the outline in the guideline layer. Of note, I struggled with line confidence today, with my lines being on the shaky side. This is generally especially true for longer lines (e.g.: outlines), but today felt particularly bad.

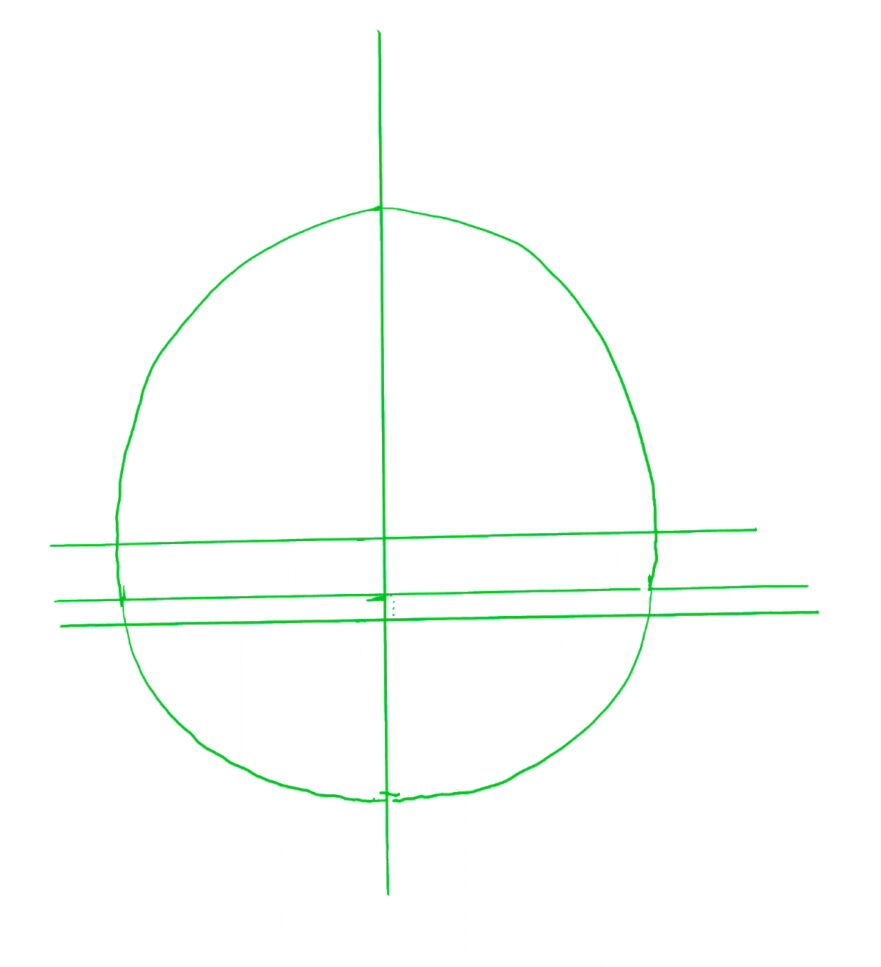
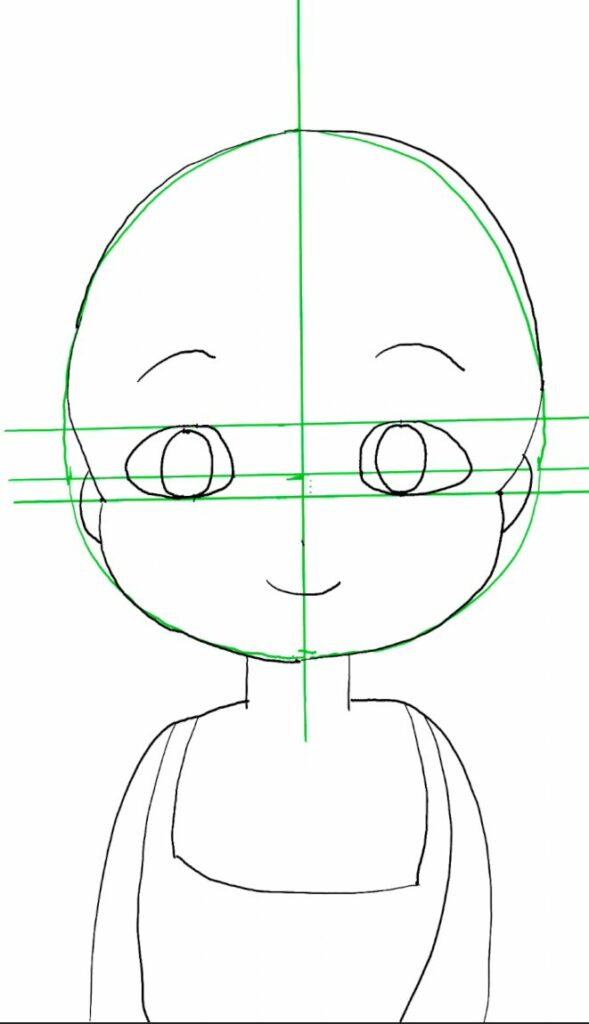
I also added extra guidelines for the eyes (unfortunately not quite parallel). The previous horizontal one should align with the “middle”,while the others with the top and bottom. Note that these eyes are particularly “bottom-heavy”.

Day 22 – Outline Guideline
Day 22 – Eye guidelines added

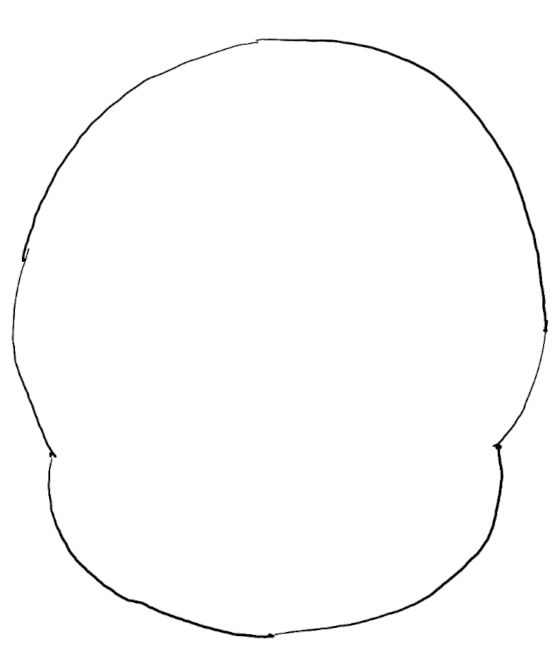
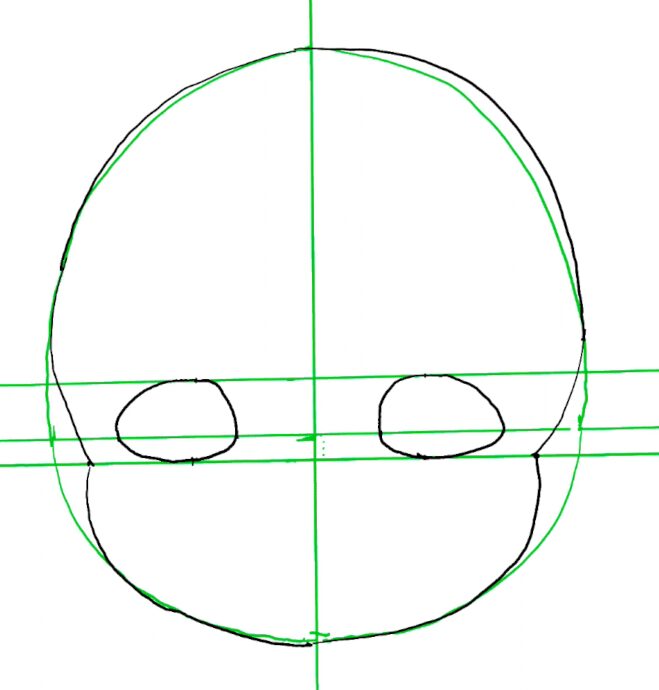
With these guidelines ready, it was time to add a new layer and start drawing proper. In this style, the head’s outline wraps inwards toward the eyes, so I estimated where that would converge and marked a spot on each side. I then drew my curves. I once again struggled with this. Head outlines seem to be one of my biggest struggles, which luckily can be mitigated with later additions like hair (for non-bald characters). Thankfully, this is something I get to practice on most drawings. Though I may want to look up tips on consistency (both consistent results, and consistency between different elements). This is definitely a stage during which erasing and retrying is common practice for me.

Day 22 – Outline added (With guidelines)
Day 22 – Outline added (No guidelines)

With an outline sketched, I moved on to the eyes. I noticed that the eyes looked to be oval, with more “weight” towards the center of the face. Consequently, I made some rough ticks for the ovals’ axes, and tried to sketch them. This took multiple attempts, and adjustments to the aforementioned ticks.

Day 22 – Initial Eye Ovals added

With their outline ready, I moved my attention to outlining the iris. I eventually realized this should be taller than wide, while not touching the top of the existing oval, but merging with the bottom (top and bottom relative to the drawing). I then added eyebrows, ears, a smile, an upper body and clothes. In the future, I may want to check rough measurements for the mouth’s position. Also, the upper-body is just meant to be decorative, yet this is something I’ll need to practice through full-body sketches.

Day 22 – Face Elements added and refined

Next up, small shading for the eyes, along with reflection. I actually struggled with the shading, since it’s only a few lines, and I’m not fully understanding the theory behind them. But it seems like the orientation of those lines is of primordial importance. The reflection is also something I struggle a bit with: drawing the circle with the right width, and positioning it correctly.

The eye’s outline was itself also detailed. Do note that I erased the previous outline (which I commonly do during step). I also added some additional details such as a blush, and a line in the ears.

Day 22 – Eye details added

I was then distracted with trying to fix a few elements, such as the eye’s shading and reflection, and the jaw’s outline.

Day 22 – Some fix-ups

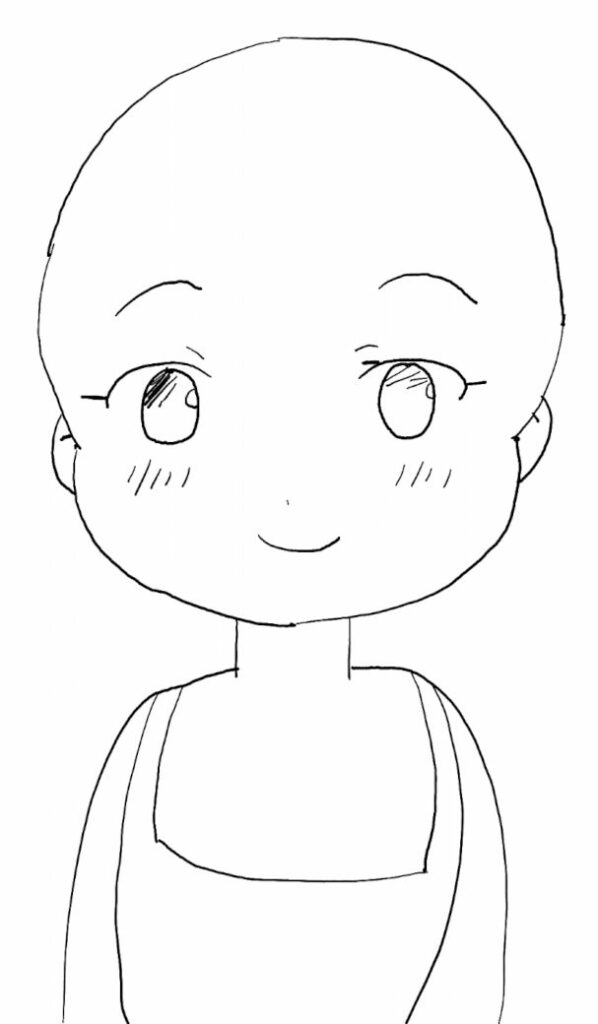
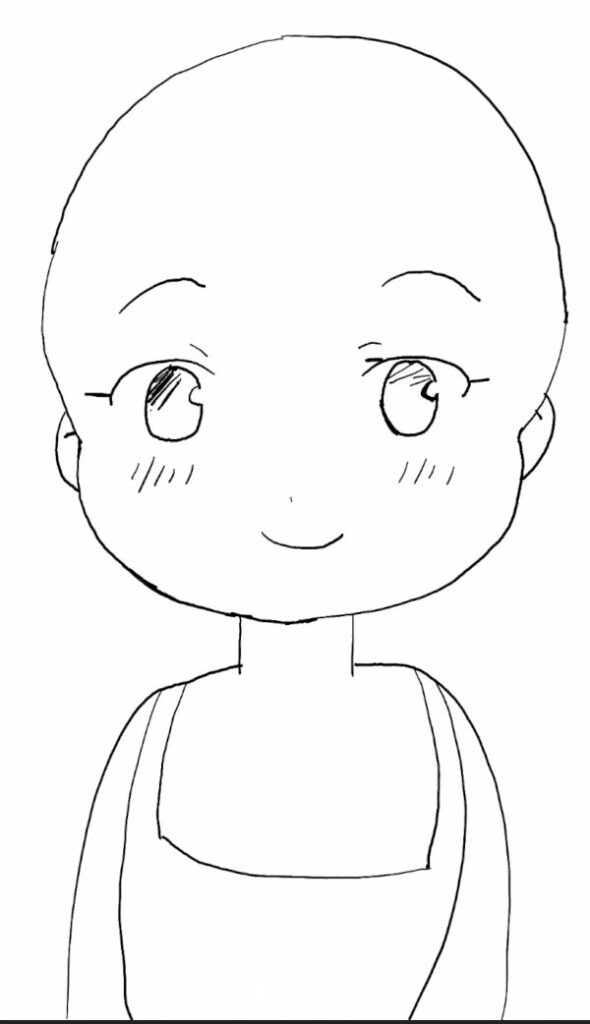
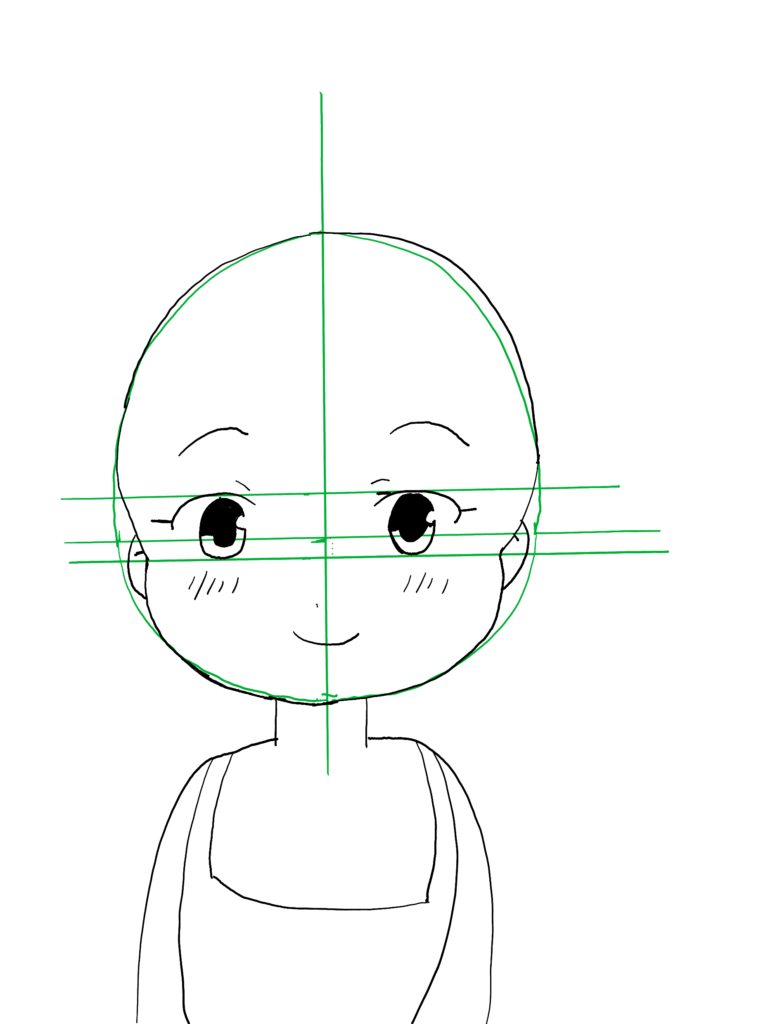
Finally, I moved on to the final details for the eyes, adding the iris, and darkening the rest of the eye (making the previous shading pointless). Once done, it was time to end the session, at roughly 39mins, 34mins of which were dedicated to the drawing. Here’s the final result:

Day 22 – Final Drawing (With Guidelines)
Day 22 – Final Drawing (No Guidelines)

Conclusion

Looking at this drawing, here are a few of my thought:

  • I really need to work more on my face outlines, in particular making them “smoother” and with better line confidence.
  • In the future, I will need to work on some spacial positioning. The mouth seems a little off, and the eyes might be slightly too far apart. Yet, I think I’ve still improved a lot. While I’m unhappy with it here, this is still much better than some of my early work.
  • Below the neck is an area I really struggle with in general.
But overall, it’s not too bad for a first attempt at a different style. I also think it might have looked better had I added hair, and applied some additional fix-ups.

As for the stats, 39mins were spent on drawing, and 38mins on writing the post. Reviewing took me about 41mins, but good portions of it were either with adding the pictures (since I’m now doing this in a single batch) and fighting against WordPress (I generally hate tools that try to be smart and just change everything without your consent, but I’ll spare you a bigger rant). This means the article took roughly 79mins, and the session itself was a total of 118mins. Finally, drawing represented about a third of the session, and reviewing took just a little longer than writing the article.

On that note, have a lovely weekend everyone, come back next week for more!

This post is followed by Learning to Draw People Challenge – Day 23 (2024/03/16) – Dawn of a new Break

Learning to Draw People Challenge – Day 21 (2024/03/13)

This was written March 13, 2024 as part of the 2024 Learning to Draw People Challenge

Credits: 1

Introduction

Hello everyone and welcome back.
Once again, I had a busy day, although I started drawing at 7:15pm, earlier than the last few days. I also chose set up a timer for 40mins (I did have a call at 8pm, good motivation to limit my session). I think the timers are definitely helping me keep things under control this week. Obviously, if I have more time in the future, I should definitely try to have longer sessions, since they allow me to experiment more and go deeper. But for now, I need to keep my sanity and get some sleep. Speaking of, I evaluated my tiredness at roughly 8/10; the lack of sleep is definitely catching up.

Exercises

To kick things off was the straight lines exercise. Somehow, I had a lot of trouble with those today, but that’s ok. I think it was because I needed time to get into it, and was drowsy and stressed about time. As for the wavy lines, this one went decently. Not amazing, but not too bad either. The circles were not great, but I did rush through them. Overall, the exercises took me roughly 7m30s.

Day 21 – Lines exercise
Day 21 – Wavy Lines exercise (Vertical)
Day 21 – Wavy Lines exercise (Horizontal)
Day 21 – Circles exercise

Drawing

And now for the main course: The Drawing. Although I first had to clean my tablet, since its surface felt a little off.

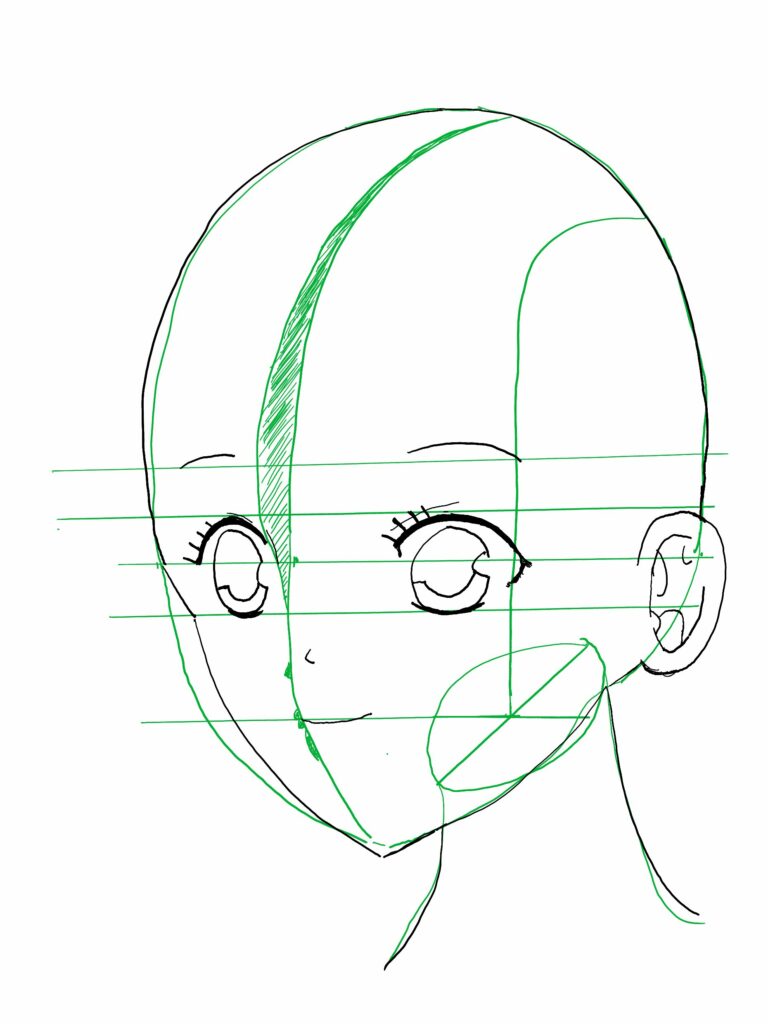
The drawing started with the usual guidelines. A horizontal line, the head’s top, and a few additional guidelines. I then added the jaw, and used it as a reference for the neck’s cross-section. There were a few areas I struggled with here, but I think it’s gradually improving day-over-day. As for the cross-section, I initially put it too far to the front, and had to play around with the associated guideline to find the right horizontal position. As for the angles, I think I realized that the axes represent the head’s main axes, thus front to back and left to right. As such, they should represent these directions for the head in this 3d-space and align accordingly. This should give me a better reference for drawing them. If I can do that, all that’s left is drawing the correct length, and properly drawing the ellipse (which I don’t find trivial).

Day 21 – Initial Guidelines

Next, I thickened the forehead’s central line to help with eye-socket placement, and added some horizontal guidelines for mouth, eyes and eyebrows. I also added nose, mouth and chin “guidelines”.

Day 21 – Completed Guidelines

With the guidelines ready, I added a new layer, and worked on the head’s contour. This time, I was more careful with the left side, trying to properly adjust the slanted edge next to the eye, while attempting to neither make the cheek too puffy, nor have the edge too close to the central line. I think it looked ok with the guidelines. (Although I did end up adjusting it later). I also added a nose and smile.

Day 21 – Head Contour added

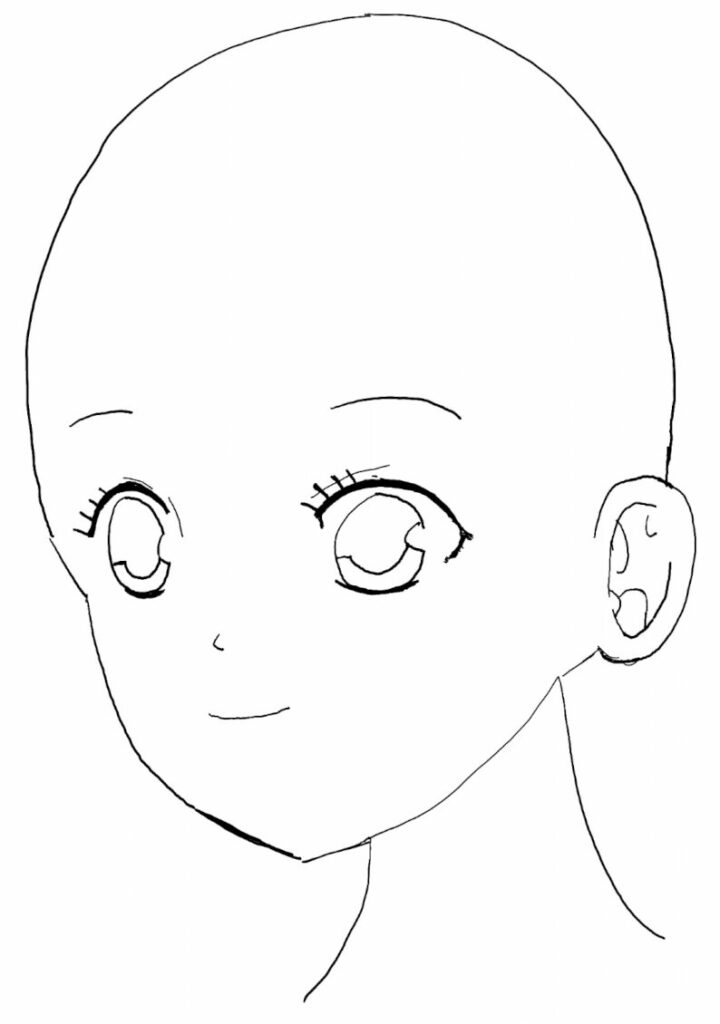
Next up, the eye outlines. One thing I did notice here is, it seems like the left eye (on the right), should not be a circle, but an oval, with the part closer to the nose being the stouter “base”, and the outer one being the taller and narrower top.

Day 21 – Eyes Outline added

I then added initial details to the eyes and sketched an ear. Overall, I think the eyes here are ok, albeit with some flaws. In particular, the right eye (on the left) looks “taller” than the other one. Moreover, the shape of the outline has some issues. However, some of these can be tweaked in subsequent steps, so it’s not a disaster. As for the ear, I’m a little disappointed in the result, which is in part due to rushing through it, instead of giving it its deserved attention. However, I better understand its placement now, at least on the horizontal. The top should go just below the top of the eyes, and the visible part of the outline should dip to about the center of the eyes.

Day 21 – Initial Eye details and Ear added

As a last major step, I decided to finish the eyes, adding some reflection in them, along with eye-lashes. Looking back at it, I do think the left eye (on the right) looks a little too “short”, almost making it look injured. I also feel like it’s not looking in the correct direction. But these should be straightforward to improve on, simply a matter of practice. Beyond that, I think the rest of the eyes look fine.

Day 21 – Eyes detailed

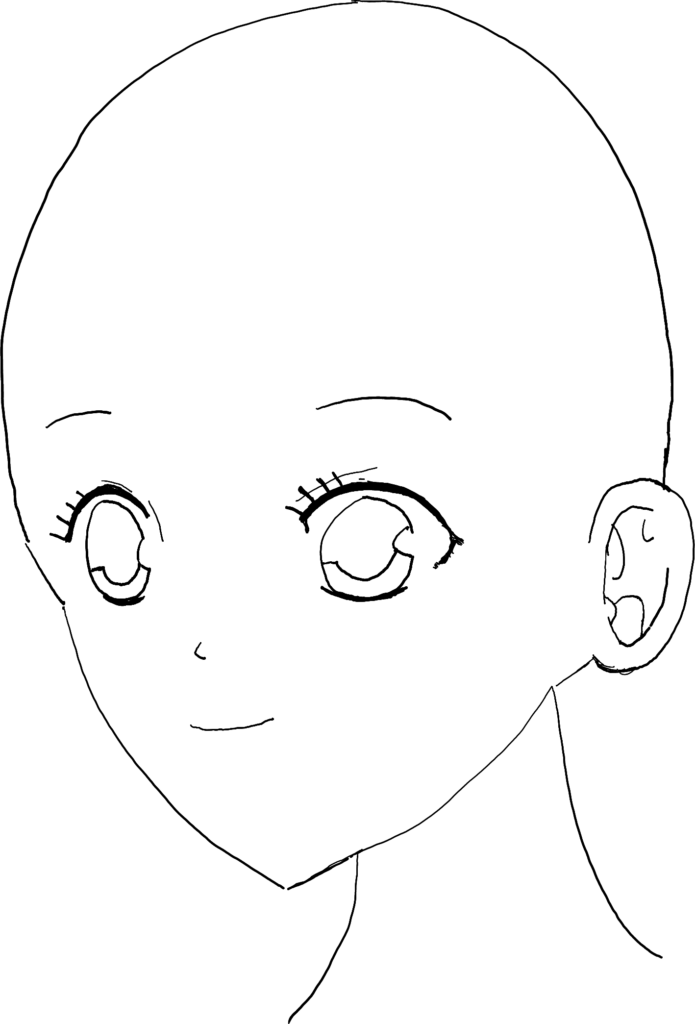
At this stage, I was running out of time, but the face looked a little off. The nose and smile seemed poorly aligned, so I decided to move the nose. Looking back, I think this was a huge mistake. After all, the nose was properly aligned with the central line. I think the real issue here was the smile, which should be extended a bit further to the left, and possibly lowered slightly. Unfortunately, as a consequence of moving the nose, the center was misaligned, and I consequently decided to change the jawline. I think the new jawline actually looks worse. But alas, I ran out of time, and didn’t yet have the hindsight to know I shouldn’t have moved the nose. Overall, this took me 31 minutes to draw.

Day 21 – Nose moved
Day 21 – Final Drawing (With Guidelines)
Day 21 – Final Drawing (No Guidelines)

Conclusion

While I’m a little disappointed with the final result, I think this is still an improvement over the previous day’s drawing. In particular, I’m getting a better understand of the head’s shape, along with the proportion and placement of the various elements. Although I do wish I hadn’t made those final tweaks. For reference, here’s yesterday’s final drawing.

Day 20 – Final Drawing (No Guidelines)

Gradual retrospection and application of my own feedback seems to slowly be paying off. Speaking of, one thing I should work on over the next iterations is to investigate the measurements for the guidelines (to improve spacing of the different elements). I also think I’ll hold out on this exercise until I translate the page for its presumably valuable information.

As for the statistics, the session took me roughly 40mins, writing about 43mins and reviewing about 40mins, for a total time spent on the article of 83mins, and a total session of 123mins (Or roughly 2 hours). This means reviewing took about as long as writing the article, and drawing was a third of the overall session.

One final note, I also decided to finally try to wait until after writing the article before uploading the pictures, which did help with the workflow.

Thank you for joining me once again on this roller coaster of a journey. I hope you’re all doing well! Have a lovely day.

This post is followed by Learning to Draw People Challenge – Day 22 (2024/03/15)

Learning to Draw People Challenge – Day 20 (2024/03/12)

This was written March 12, 2024 as part of the 2024 Learning to Draw People Challenge

Credits: 1

Introduction

Welcome everyone, hope you’re doing well. So far, this has been a busy and sleepless week for me, so I decided to try something to alleviate this. I opted to use a timer of 30 minutes for this session, and stopped when it rang. Moreover, I tried to limit how much I redrew individual parts and strokes, and instead carry on.

I once again started at midnight (technically on the next day). I also evaluated my tiredness level to be at 8/10.

Let’s see how this went.

Exercises

For some reason, I started my session with a landscape canvas, which changed dimensions and affected spacing. However, it’s nothing dramatic. Beyond that, wavy lines seemed to be going better today. Especially with the vertical ones, a few of the later ones looked reasonable.

Day 20 – Lines exercise
Day 20 – Circles exercise
Day 20 – Wavy Lines exercise (Horizontal)
Day 20 – Wavy Lines exercise (Vertical)

Drawing

Following yesterday’s session, I opted to go for the same exercise. Thus, today’s article should be briefer than usual. Let’s dive into it.

I started with the guidelines, beginning with the top half of the head. I actually progressed all the way to the neck’s cross-section, but noticed the head was too wide (likely a subconscious consequence of using a landscape canvas), and thus opted to start from scratch. (About 3m30s into the drawing).

Day 20 – First Guidelines Draft

On my second attempt, I roughly used the same approach as the day before. However, this time I did make one of the cross-section’s axes more horizontal (Although not fully horizontal, since it isn’t in the book). In retrospect, I think there are issues with the neck’s cross-section, in particular its location. I think the angle is definitely better than yesterday’s, but it could be improved by “flattening” it a little by turning the longer axis clockwise. It should also be lowered a bit. All the same, I think the neck itself makes sense here, my concerned being focused on the cross-section itself.

Day 20 – Initial Guidelines

Next, I added some depth to the face’s “mid-line”. It took a few tries, but I eventually realized that it was easier when starting from the bottom. However, there is one issue: I didn’t line up the “middle” of the eye-socket with the existing horizontal line. I then a added nose, mouth and chin, though I redrew them after realizing the mouth was supposed to line up with the center of the neck’s cross-section. In retrospect, this was a mistake, since the latter was higher than it’s supposed to be. Here are both attempts, in which I also drew the head’s contour:

Day 20 – Adding Face Elements Guidelines (First Attempt)
Day 20 – Adding Face Elements Guidelines (Final Attempt)

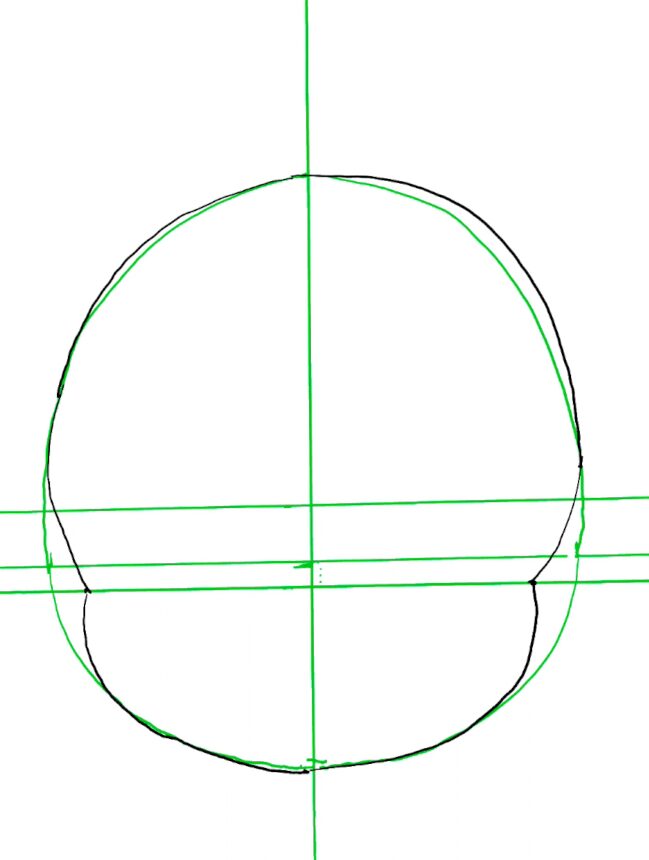
Speaking of the head’s contour, I was a little too worried about the edge being too close to the “central line”, resulting in a puffy cheek. Ultimately, the correct result should be somewhere between yesterday and today’s attempt, although probably closer to today’s.

Next up, the eyes. I added new guidelines based on the position of the eye sockets. As noted earlier though, this wasn’t properly aligned with the existing horizontal line, which means that the outer part of the eye socket isn’t properly aligned (the “dip” on the head’s contour). Regardless, it’s nothing dramatic. I followed this up with eye outlines, eyebrows, nose and smile.

Day 20 – Rough eyes outline

If you’ve been following my previous posts, you likely already guessed the next step: adding initial details to the eyes (the “iris/pupil”) and a rough ear.

Day 20 – Ear added and Eye Iris added

Finally, I refined the eyes, at which point the timer rang, calling the session to an end. Here’s the final result:

Day 20 – Final Drawing (With Guidelines)
Day 20 – Final Drawing (No Guidelines)

Conclusion

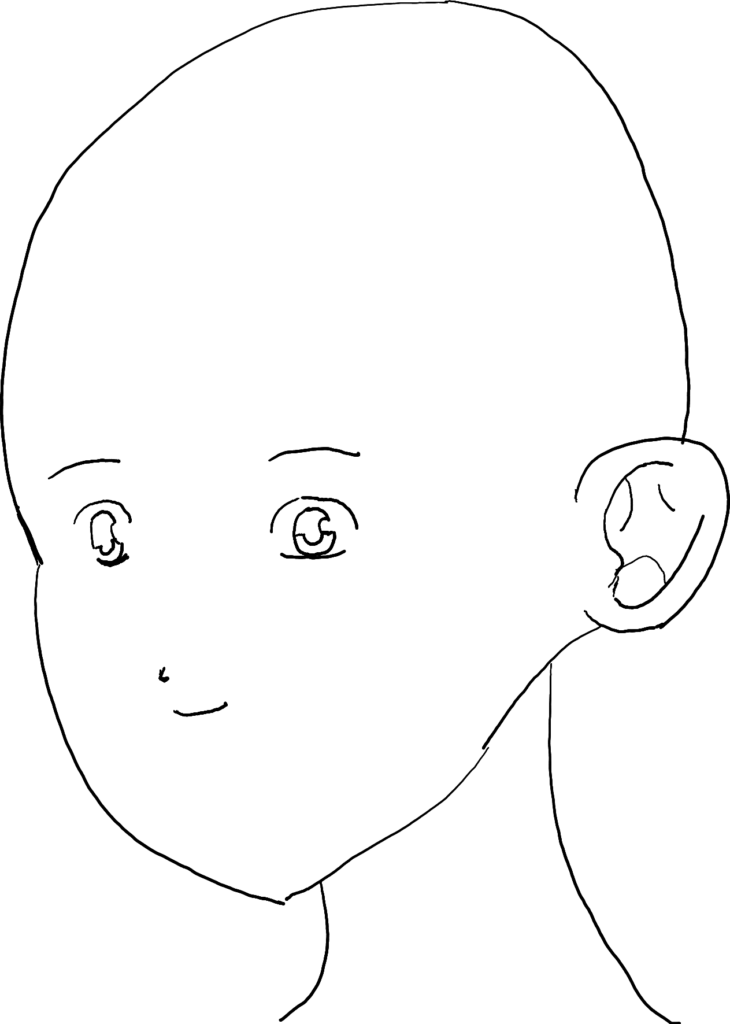
While I do see multiple issues with this drawing, and have ideas on how to improve it, I think it’s still miles ahead of yesterday’s. Which is great, especially when considering I only spent around 25mins on the drawing. Here’s yesterday’s drawing for reference:

Day 19 – Final Drawing (No Guidelines)

I also have highlighted a few things I will want to focus on next time. Additionally, an area I will also need to practice is the general shape of the head. For some reasons, I’m really struggling with both the cranium and the jaw. Although it should be noted that, if I were to continue with the next steps, I would likely get into some refinements. Moreover, drawing hair would make the cranium obsolete. Yet, there are some elements which could not really be fixed without a major overhaul. And some of these faults could skew other future elements.

Now, for the statistics. Since I used a timer, drawing took exactly 30mins. Meanwhile, writing the article took about 35mins, and reviewing about 27mins, for a total of 62mins on the article, and 92mins for the entire session. This means drawing covered roughly 33% of the session, while reviewing accounted for approximately 44% of the time spent on the article itself.

In terms of improving the time spent on writing the articles, I’ve noticed one huge bottleneck I have is uploading images, which I do throughout the writing progress. It turns into idle time that disrupts the flow of the task. I will therefore want to attempt a new workflow, where I still capture the images from my recording, but label them numerically, and just leave a reference in the article. Then, I could upload them all simultaneously at the end, without interrupting my workflow. In terms of adding them to the article itself, this could be part of the reviewing phase.

As always, thank you for joining me on this adventure. Hope you’re finding this interesting, and feel free to leave feedback. Have a lovely one!

This post is followed by Learning to Draw People Challenge – Day 21 (2024/03/13)

Learning to Draw People Challenge – Day 19 (2024/03/11)

This was written March 11, 2024 as part of the 2024 Learning to Draw People Challenge

Credits: 1

Introduction

Hello everyone,
I hope you all had a wonderful weekend. Following my last drawing, I figured it might be worth revisiting different angles for the head. Thus, I decided to go once again for the angled profile, since I believe I have a lot to learn from this one, and it seems fairly common. But don’t worry, I’ll eventually explore other angles.

Before starting, my session began around midnight (technically on the next day), and I evaluated my “tiredness” at a 7/10, although by the end it was much closer to an 8/10.

Exercises

The more I do these exercises, the more they feel habitual. For this reason, it feels like the line exercise, at this point, is just a mechanical motion to which I don’t pay much attention anymore. Nor do I really try to evaluate it either. And that’s probably because it’s been relegated to the status of practice. All the same, I did notice how odd the wrist angles can get for horizontal lines (whether overhand or underhand). I do worry they might not be great for the hand, all while be commonly used.

Another thing I noticed during my line exercises, which I’ve also noticed while practicing Chinese characters: if I’m playing music, I tend to write strokes to the beat of the music. This probably means I’m going slightly slower than I could, but I wouldn’t consider it a significant issue. Especially if the music helps with the motivation and headspace. Regardless, this felt like an interesting side-note.

Finally, I’m still evaluating my approach to the wavy lines, since I’m still struggling with them. With the horizontal ones, I realized I was paying too much attention to the peaks and they alignment, in such a way that I dismissed the smoothness of the curve and the peaks would get too narrow. This should be useful information for my next attempts. I also tried to pay attention to the first line, instead of the previous one, which I think this may have helped, although not mainly for the horizontal ones.

Overall, the exercises took me roughly 6m30s from start to finish, including writing down a few notes.

Day 19 – Lines exercise
Day 19 – Wavy Lines exercise (Vertical)
Day 19 – Wavy Lines exercise (Horizontal)
Day 19 – Cricles exercise

Drawing

Realizing I needed further practice with different head angles, I opted to practice the angled head profile. The actual drawing was a disaster, but I did learn a lot from this exercise, which I’ll need to consider during my next attempts. I also…will have to work towards reading/translating these two pages to get as much information and context as possible. Without further ado, let’s dive head-first.

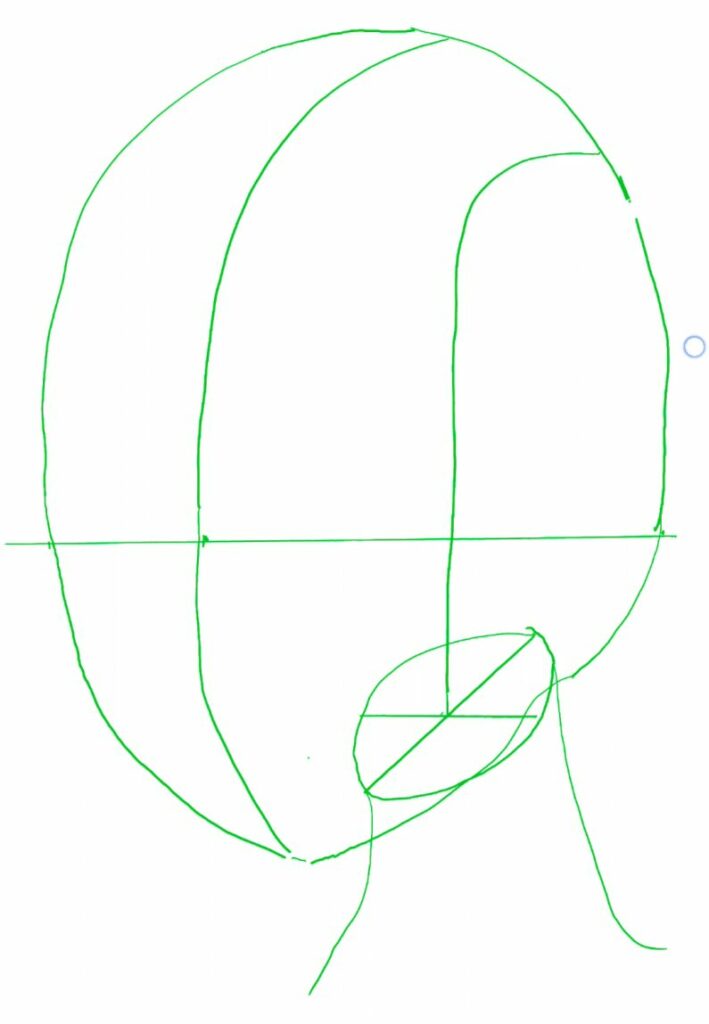
First up: guidelines. I started with the head’s contour, although this time only with the top. I really struggle with these big circular strokes: properly proportioning them, getting the correct angles, and having the right “3-dimensional symmetry” (Making both sides consistent). But once the top was done, I prepared other guidelines. I figured these additional guidelines could help with positioning the contour. Thus, for the bottom part, I started with the line representing the center of the face, before drawing half the jawline. I then added the neck line, and got ready to draw the neck’s sectional intersection. Here are a few of those leading steps.

Day 19 – Guidelines Top of Head
Day 19 – Central Guideline continued
Day 19 – More Guidelines added

Ah, the neck’s cross-section. Always such a challenge. This time, I decided to draw it before connecting the rest of the outline, to help gauge the latter. However, I struggled with a few aspects:

  • Getting the correct size. I tended to make it too small.
  • Properly positioning it. Positioning the horizontal midpoint is fine,since there’s a guideline for it. However, knowing the vertical position felt more challenging. (Especially when coupled with size issues).
  • Getting the correct angle.
It turns out that I actually got this one wrong. I realized afterwards that one of the ellipse’s axes should be horizontal. Looking back at it now, it’s also clear that it doesn’t have the expected angle to look realistic in 3d space. Regardless, I pushed ahead, closed the contour and added a neck. Oh, and I somehow erased part of the guideline meant for this cross-section.
Day 19 – Neck Cross-section added
Day 19 – Guidelines First Phase complete

So, with one major error already under my belt, what’s up next? I prepared the next layer and re-drew the head’s outline. This one was meant to have a slight “dip” for where the eye would align. However, the curve below this “dip” isn’t steep enough, thus shrinking the distance between the central line and the face’s contour too much. Take note, this will come back to haunt us.

Day 19 – Head Contour

Next up, time to add some extra guidelines. You might remember those from an earlier session where I couldn’t figure out what they were for. I believe I now understand the extended central line’s purpose. I think the goal is to represent the width of the nose bridge. Thus, it’s supposed to guide the eye-socket. The top before it “shrinks” represents the top of the eye socket. The position where the shrinkage ends represents the bottom of the eye socket. Also, the curve is supposed to align the eye angle and position. Unfortunately, I didn’t realize that on time, and thus didn’t add the proper eye guidelines. Speaking of, one thing I did notice on this one, but didn’t apply to the Goku drawing: the eye line is purely horizontal, no curve here. Other “guidelines” added were lips and a nose (Which I initially mistook as parts of the actual drawing).

Day 19 – Final Guidelines added

With the guidelines now complete, time to move to the actual drawing. I added a smile, the initial rough circles for the eyes, and some eyebrows (with which I struggled). One thing to note is the angle of the right eye (to the left of the drawing). I added a guideline to show how it’s meant to be angled. (The general direction is the highlight, not the actual angle).

Day 19 – Rough face elements added

Finally, I did an initial refinement for the eyes and added an ear, before calling it a day. One side-note here, I did realize at this point that a “confident line” does not require a quick stroke. Indeed, it’s possible to have a confident line while still taking your time to get the general movement and angles.

Looking at the final drawing, a few things become clearer:

  • As noted earlier, the face’s contour is too close to the central line, which means that the nose and smile are too close to the edge (The mouth and nose are also slightly misaligned)
  • The right eye (on the left) is way too close to the edge.
  • Both eyes are inconsistent in size. The right eye (on the left) is bigger vertically than the left eye, which shouldn’t be the case.
  • The general shape of the cranium is off.
Day 19 – Final Drawing (With Guidelines)
Day 19 – Final Drawing (No Guidelines)

Conclusion

Overall, what are my thoughts? Well, it goes without saying that I’m disappointed with the actual drawing. Regardless, I don’t think the session itself was a disappointment. Indeed, I’ve learned a lot of things here, which I look forward to implementing next time. Although I’ll also want to try to read what’s actually written in the book to better guide this. As always, more practice will be key.

Although, thinking over this session and the previous one, I think there’s a new exercise I would like to eventually try (although I don’t know that I have the right setup for it). It might be worthwhile to take drawings from artists I admire and want to learn from as study material. First, observing the drawing and sketching reference guidelines, mapping the 3d-space and angles as necessary. With these guidelines in place, I could start drawing on top of the guideline, using the image as a reference on a different screen. Note that I wouldn’t want to trace anything beyond initial guidelines, since my objective would be to gain a better understanding of the drawing itself.

As for statistics, the drawing session took roughly 43 minutes, with 6m30s for the exercises, so 36m30s for the drawing. Meanwhile, writing took about 60mins, with the review process taking approximately 42mins, for a total of 102mins for the article, and 145 minutes for the session overall. This means the drawing sessions was roughly 30% of the session, and reviewing was about 41% of the time spent on the article.

Closing words: I do think that setbacks and disappointment are generally unavoidable. The most important thing is to not let them get to you and to try to learn from them. And if any of you were impressed and intimidated by any of my previous sessions, you can definitely see that I’m far from perfect and still have a lot to learn too. It’s just a long and interesting journey with plenty of ups and downs, but hopefully the general trend will be upward. If you’re facing disappointment from anything you’re trying to learn, just remember that we have a tendency to focus on the negative, but that it shouldn’t eclipse the progress we actually make.

And on that note, have a nice one everyone! Keep shining!
This post is followed by Learning to Draw People Challenge – Day 20 (2024/03/12)